Custom Streetwear, Casualwear & Denim Manufacturer•MOQ 50 pcs•Denim MOQ 100 pcs•7-Day Sample Available

What Makes a Garment Truly Private Label
Understand what makes a garment truly private label, from product identity to branded details, so the program feels intentional instead of lightly customized.

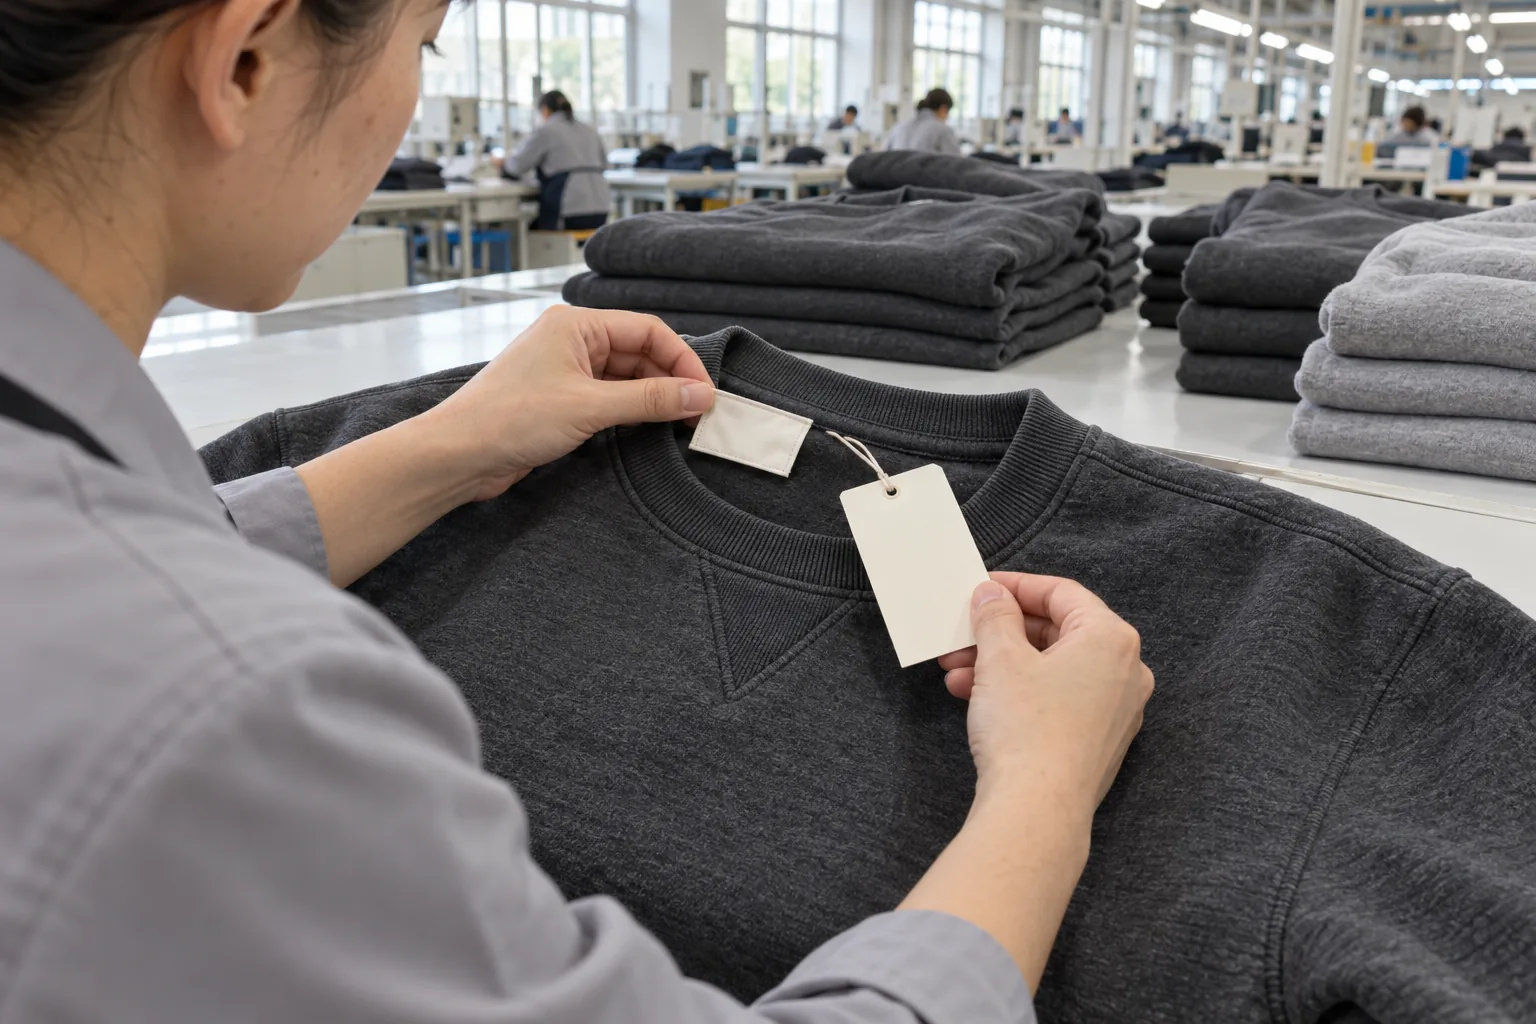
A logo at the neck tells a shopper whose name is on a garment. It does not tell a buyer whether the correct size ticket, care information, hangtag, and product reference will arrive together on every unit. What makes a garment truly private label is the brand’s control over the product sold under its name, including the details that identify it when it leaves production.
For a brand approaching bulk approval, a useful control is a label and hangtag gate: a documented checkpoint before branding components are ordered, attached, or released for packing. It connects the approved garment to the information customers and stock teams will receive. The aim is simple: prevent a well-made product from becoming an incorrectly identified product.
Make product identity a release decision
A private-label garment does not need a custom-developed fabric or an elaborate packaging system to belong credibly to a brand. It does need an agreed specification and clear responsibility for what goes on the product. A familiar jersey body with a controlled fit, approved construction, and correctly specified branding can support a coherent collection.
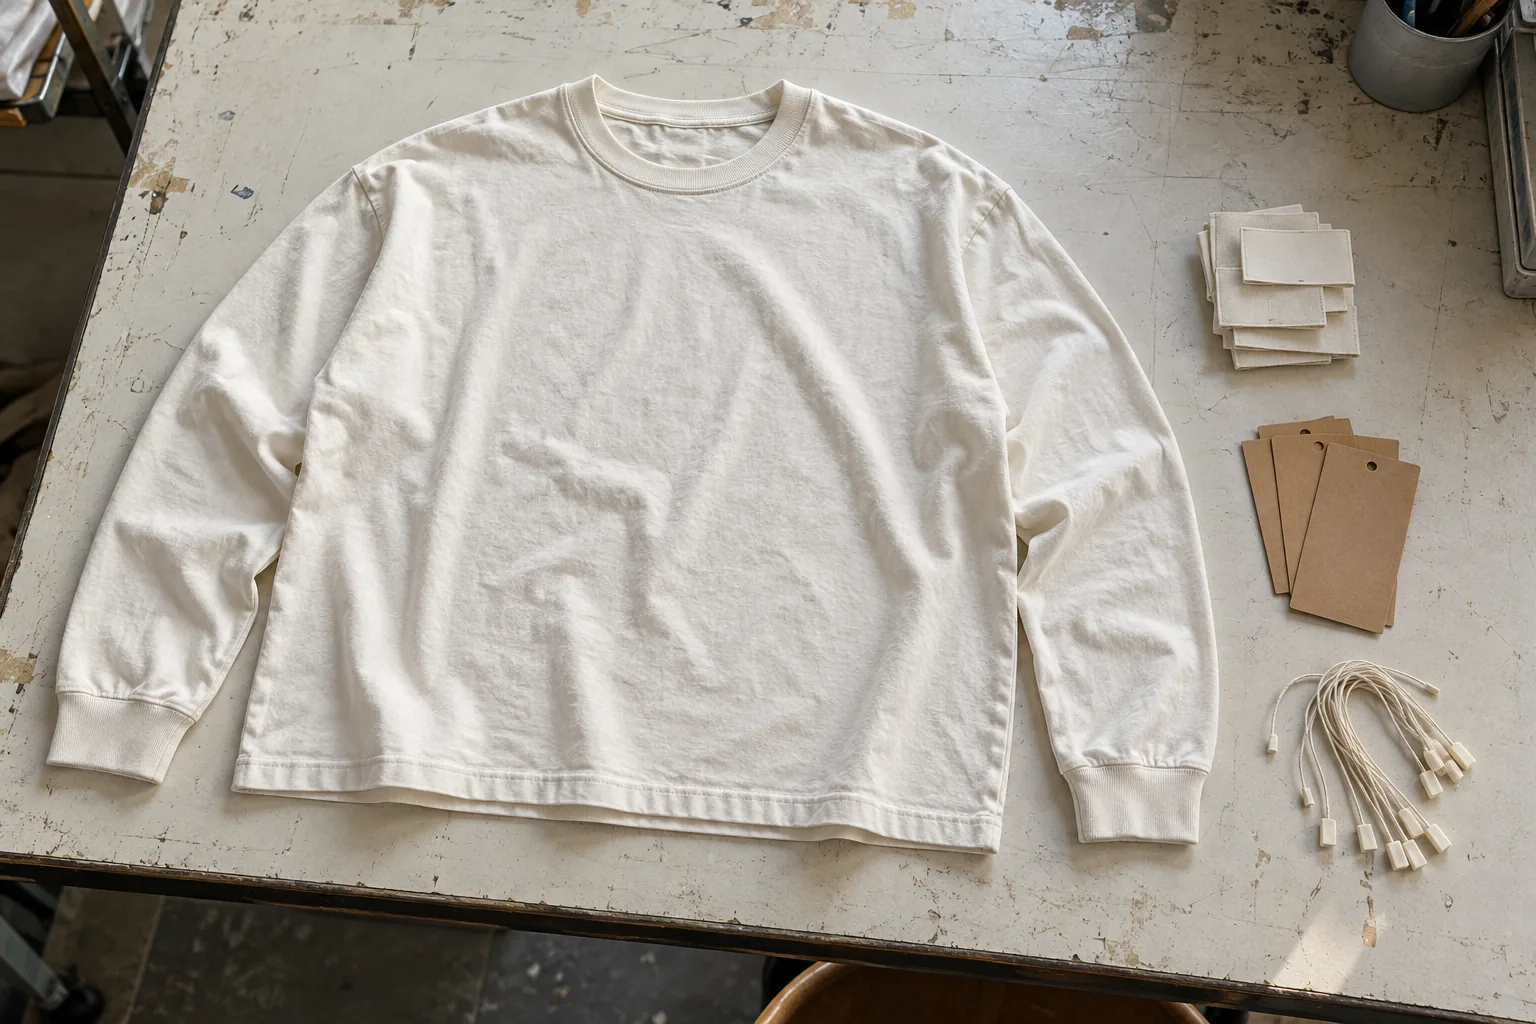
Consider a boxy long-sleeve tee offered in two colors. Both versions may share a neck label, but their stock references and color descriptions differ. If the factory receives one attractive hangtag mockup without a variant list, there is no reliable instruction for identifying each version. Treat that missing information as an unresolved production decision, even if the garment sample looks ready.
Build one component map for every sellable variant
Start with a component map that separates shared branding from information that changes by size, color, or destination. Assign each component a reference and revision. Keep the approved artwork file, physical dimensions, material, attachment method, and placement instruction together so purchasing and sewing use the same decision.
| Component | What the buyer freezes | What can vary |
|---|---|---|
| Main brand label | Artwork, weave, fold, finished dimensions | Approved color treatment |
| Size identification | Size notation and location | Size for each garment |
| Care and composition label | Verified content and approved layout | Fabric composition or destination requirements |
| Hangtag and stock identifier | Card, attachment, product reference format | Color, size, SKU or barcode if used |
The map should also say which components are absent. For example, an intentionally tag-free neckline needs an explicit alternative for any required information. Leaving a field empty invites an assumption; marking the approved arrangement makes the instruction usable.
Approve how the label behaves on the garment
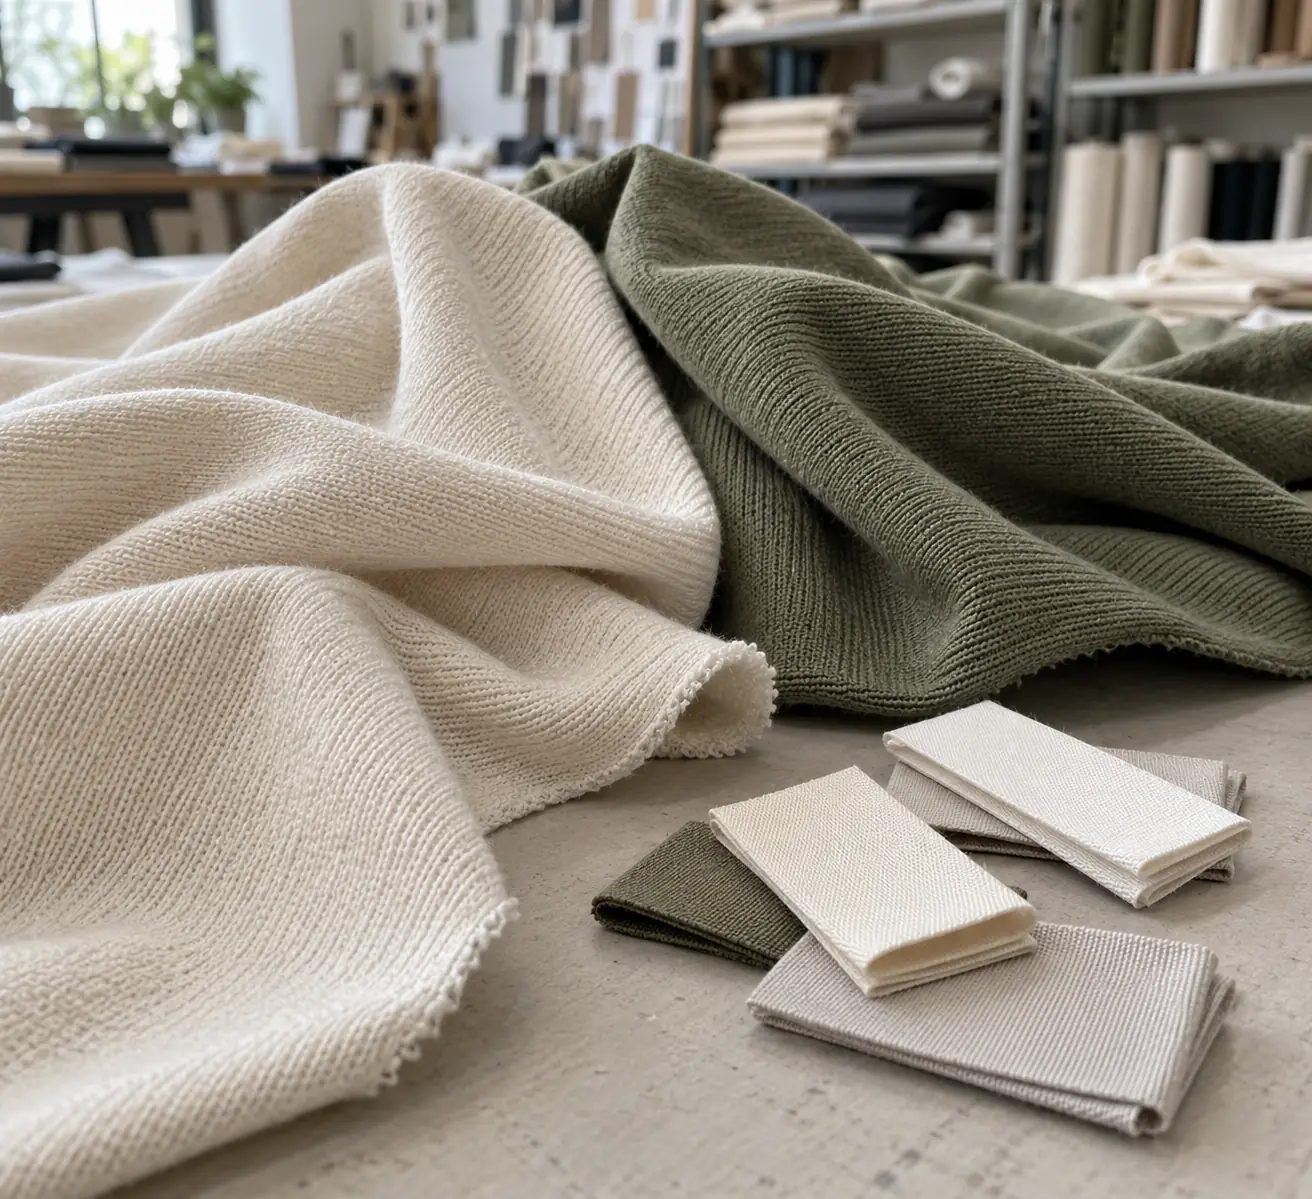
A digital proof can confirm layout, but it cannot establish how a folded label feels against the neck or whether a care label protrudes from a cropped hem. Ask for the intended component on the relevant garment sample, with its attachment visible. Specify placement from a defined seam or edge rather than requesting a label “near the collar.”
For a heavyweight sweatshirt, check whether the label seam creates a stiff ridge where the collar meets the back panel. For a lightweight tee, inspect the face side for puckering caused by the attachment stitches. The same label construction may behave differently on these two fabrics.
Hangtags need a physical check too. Agree where the loop passes, whether it can snag the fabric, and whether removal leaves a visible hole. If a sample uses substitute components, record exactly which details remain unapproved. A substitute should never silently become the bulk reference.
Separate artwork approval from permission to attach
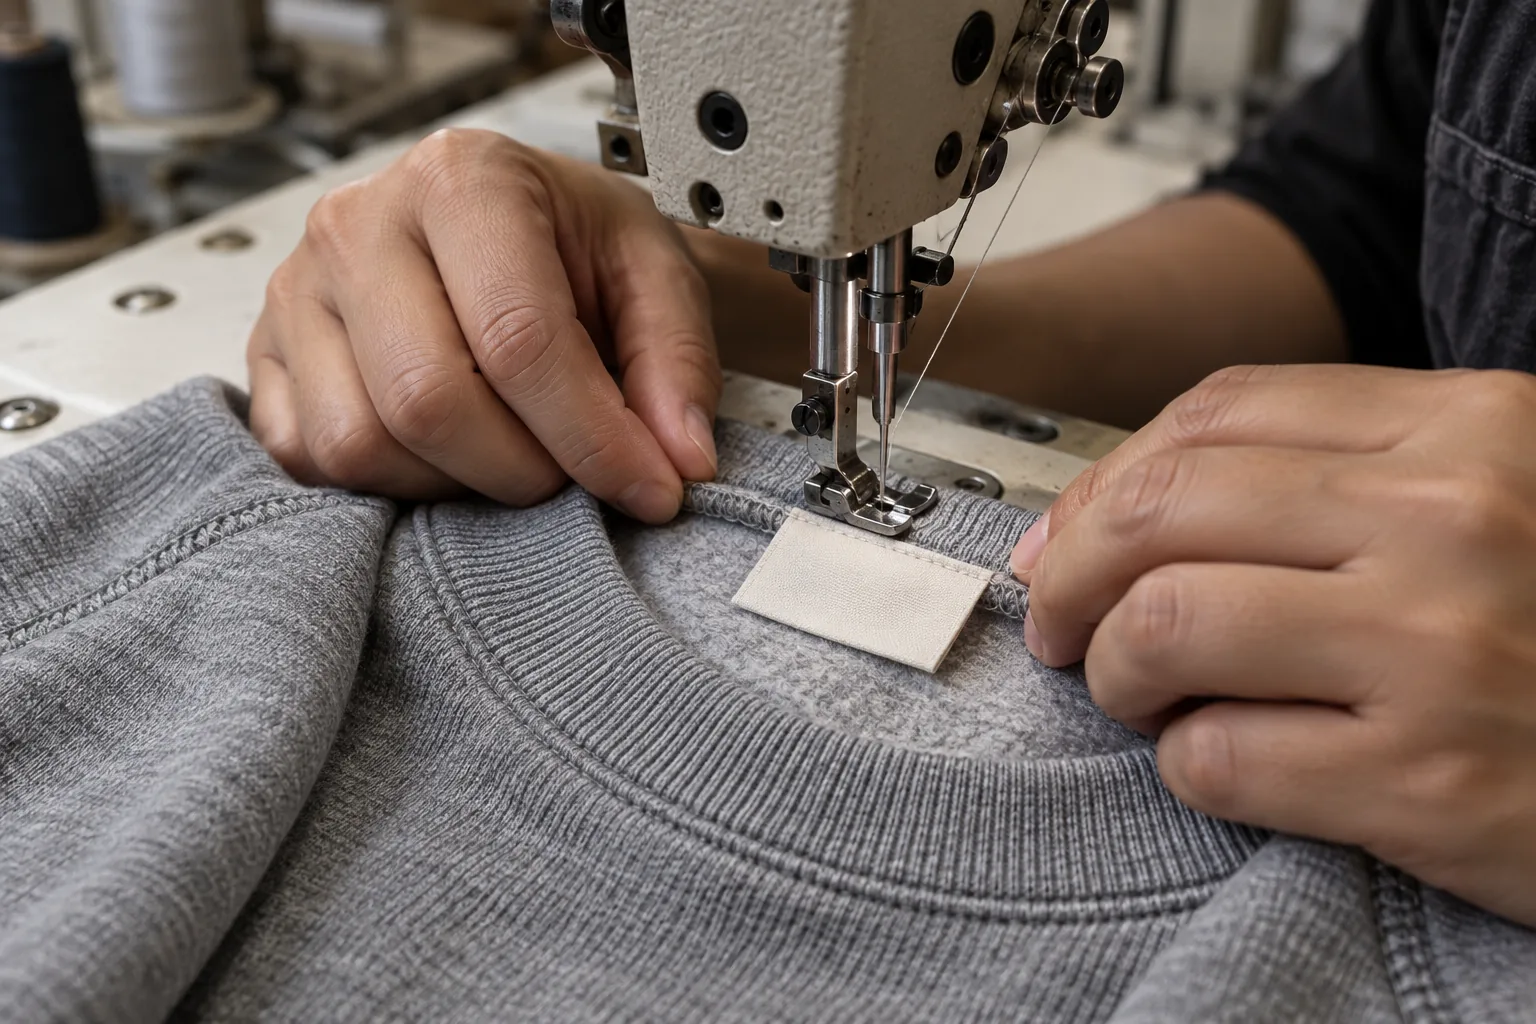
Use two recorded decisions. First, authorize the component specification for sourcing or manufacture. Later, authorize attachment after the actual components have been checked against the approved references. This distinction helps catch a wrong label batch before it is sewn into otherwise acceptable garments.
Assign one buyer-side approver to consolidate comments. A designer may approve logo proportions while an operations colleague checks variant references, but production needs one final version. Any change after approval should identify the affected components, whether existing stock can be used, and which units receive the revision.
StitchQuote offers cut-and-sew, private label, sampling, fabric and trim sourcing, branding through woven labels, prints, and embroidery, and QC before packing. For planning, its MOQ for most categories starts from 50 pieces per style; denim starts from 100 pieces per style. Confirm component sourcing quantities separately instead of assuming every custom trim follows the garment minimum.
Check identity before the packing release
Agree the inspection scope and acceptance criteria before bulk production. A correct first unit does not establish that every size bundle has received the right ticket. Include checks across sizes and colors, and define how a mismatch triggers containment and rechecking of affected units.
- Match garment to identifier: compare the physical size and color with the sewn size designation, hangtag, and stock reference.
- Compare against retained approvals: check label revision, dimensions, fold, placement, and hangtag construction against the approved references.
- Inspect attachment: look for loose stitches, exposed rough edges, puckering, and attachment damage.
- Verify information: compare care and composition content with the buyer-approved specification; verify applicable destination requirements with a qualified adviser.
- Test identification where used: scan barcodes against the intended product record and check that duplicate or incorrect identifiers have not entered the batch.
- Record disposition: identify held units, the correction required, and who authorizes release after reinspection.
Keep the final garment, label, and hangtag references together for repeat orders. A reorder should point to a known revision, with any new fabric or information changes reviewed before old components are reused.
Turn label placement into a measurable specification
Choose reference points that remain identifiable after sewing. For a back-neck label, record the horizontal distance between the label center and the garment center back, then the vertical distance from the neckline attachment seam to the label’s upper finished edge. For a side-seam care label, specify the insertion seam, the distance from the finished hem to the insertion point, and which face carries the first readable line. Take measurements with the garment laid flat and relaxed; stretching a jersey neckline changes the apparent position.
As an illustrative buyer specification, a label might be centered within 3 mm of center back, with its upper edge 10 mm below the neckline seam and an agreed placement tolerance of plus or minus 2 mm. These are proposed acceptance limits, not StitchQuote defaults. Review their practicality on the sample, particularly where a small neckline or bulky seam restricts sewing access. Measure the finished folded label rather than its unfolded cutting length, and distinguish placement tolerance from permitted variation in the label’s own dimensions.
Record the sample fabric’s composition, knit or weave, and weight in grams per square meter (GSM) beside the attachment approval. An illustrative 160 GSM jersey and a 320 GSM fleece provide different support for a dense woven label. If bulk sourcing changes the fabric, reassess puckering, seam bulk, and skin contact. After an agreed wash trial using the proposed care instructions, check for label curling, print loss, fraying, and differential shrinkage that pulls the surrounding fabric. Photograph the same attachment before and after washing so approval rests on observable changes.
Reconcile components against a worked order breakdown
Consider a hypothetical 100-piece tee order in one style, split into 50 black and 50 cream units. Each color contains 10 small, 25 medium, and 15 large garments. The component map therefore needs six size-and-color combinations, even if all 100 garments share one main brand label. Size tickets total 20 small, 50 medium, and 30 large; hangtags must follow the six individual variant quantities if they carry both size and color. Confirm any color allocation restrictions with the supplier rather than assuming the style minimum establishes them.
Before attachment, issue components in counted bundles against this breakdown. Keep damaged pieces, unused stock, and obsolete revisions separate, and record replacements issued during rework. At packing, reconcile accepted garments by variant against the packing list and component usage. An unexplained surplus of medium tickets alongside a shortage of large tickets is a reason to investigate the relevant bundles before release, even when the total garment count is correct.
Ask the quotation to distinguish component manufacture, artwork or setup work, attachment labor, and any agreed spare stock. More label versions, special folds, additional print colors, and individual tag sorting can affect cost or handling time without changing garment construction. Resolve these choices before ordering components: changing a removable card requires different rework from replacing a label trapped inside a closed neckline seam.
Questions buyers ask at the branding checkpoint
Can a hangtag replace a sewn care label?
Do not assume it can. Required information and its placement depend on the sales market and product. Confirm the applicable rules before approving the label set; a removable marketing tag may not meet the relevant requirements.
Does a seven-day sample include final custom labels?
StitchQuote has a seven-day sample option for standard styles with confirmed specs and available materials. Confirm whether your chosen labels are available within that scope. Complex styles, custom washes, and custom-developed fabric take longer; unresolved branding components also need a separate timing discussion.
What if the hangtag changes after sewing is complete?
Identify whether the change affects only the removable card or also the garment’s information. Hold affected packing instructions until the replacement is approved, and reconcile obsolete tags so they cannot be attached accidentally.
Send a complete branding set with the next inquiry
Provide the garment specification, component map, artwork revisions, size and color breakdown, intended sales markets, and photographs of preferred attachment details. Mark each item approved or pending. This gives the sampling and production discussion a concrete endpoint: one correctly identified garment that can be repeated across the order.
- Prepare the garment and placement specifications
- Review sampling and minimum order planning
- Explore private-label manufacturing support
- Discuss your label and hangtag approval set with StitchQuote
Request a manufacturing quote
Share your product type, quantity range, and destination. We usually reply within one business day.