Custom Streetwear, Casualwear & Denim Manufacturer•MOQ 50 pcs•Denim MOQ 100 pcs•7-Day Sample Available

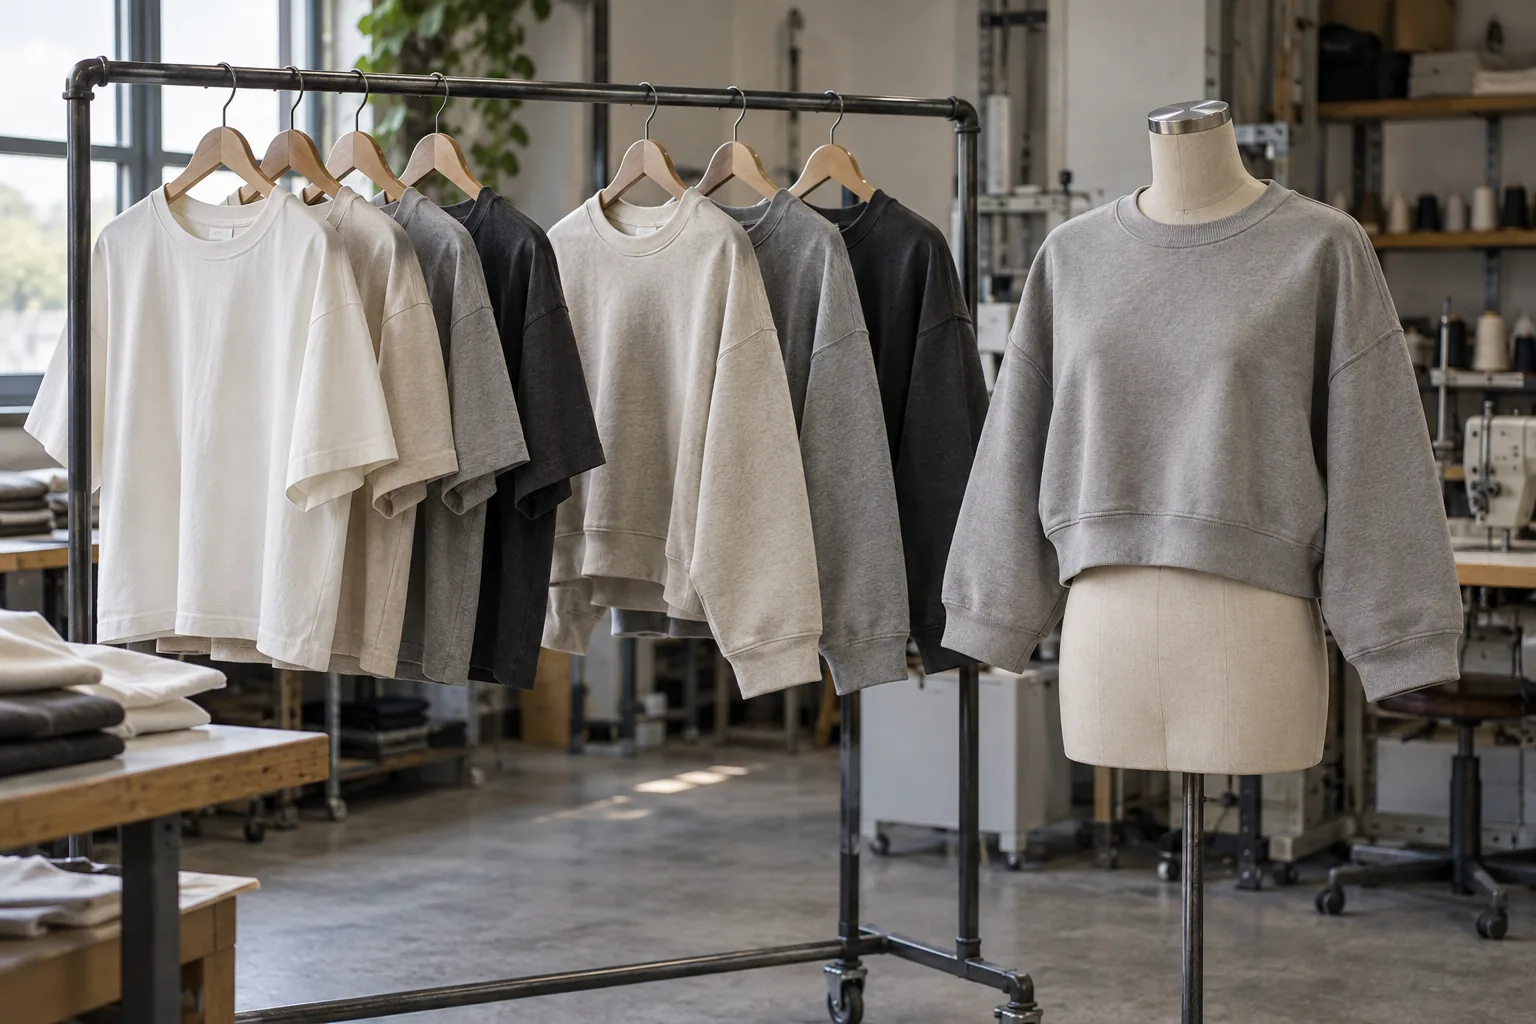
How to Choose the Right Blank for Custom Streetwear
Choose the right blank for custom streetwear by checking silhouette potential, fabric behavior, decoration fit, and how much customization the program really needs.

A blank can look convincing in a supplier photo and still fail your collection once it is worn, decorated, or washed. For a brand buyer, the useful question is whether the garment passes a defined set of checks before you commit to inventory. Color names and fabric weight alone cannot answer that.
This buyer checklist treats blank selection as a sequence of approval gates: intended use, fit, material behavior, decoration compatibility, and repeatability. Use it to compare ready-made options and to recognize when a custom cut-and-sew base deserves consideration. The aim is a garment you can approve with evidence and describe clearly when you reorder.
1. Define the job before requesting blank samples
Write a short product brief with three non-negotiables and three preferences. For example, a cropped crewneck intended for layering might require a stable hem, room through the upper arm, and a neckline that sits close. A particular shade of gray could remain a preference until suitable material is confirmed.
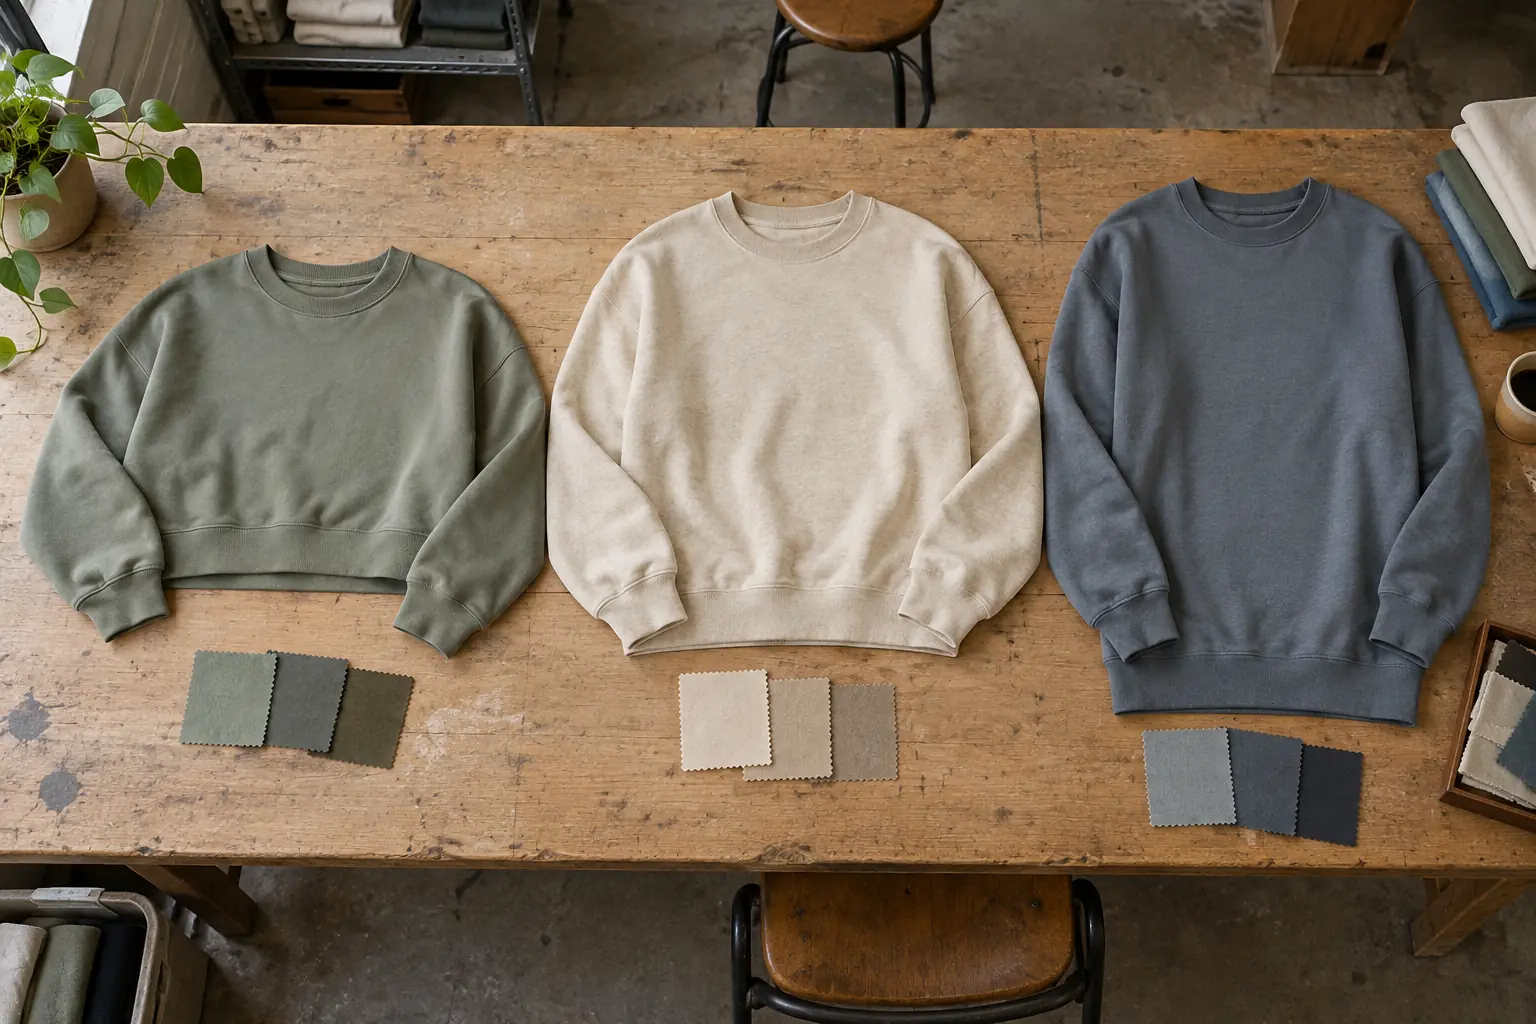
Specify the customer, intended size range, wearing context, and proposed decoration. A long-sleeve tee worn beneath an overshirt has different bulk constraints from a standalone boxy tee. Decide which compromises would make the product unsuitable, rather than allowing every attractive sample to redefine the collection.
- Required: features that determine whether the product works.
- Preferred: details you can trade against availability or development effort.
- Excluded: unwanted features, such as side vents or a visible back-neck patch.
2. Compare fit using measurements and movement
Request a measurement chart for each candidate and check what each measurement means. Body length measured from the high shoulder point is not interchangeable with length measured from the center back. Record the method beside the result so that your comparison remains useful after the samples leave the room.
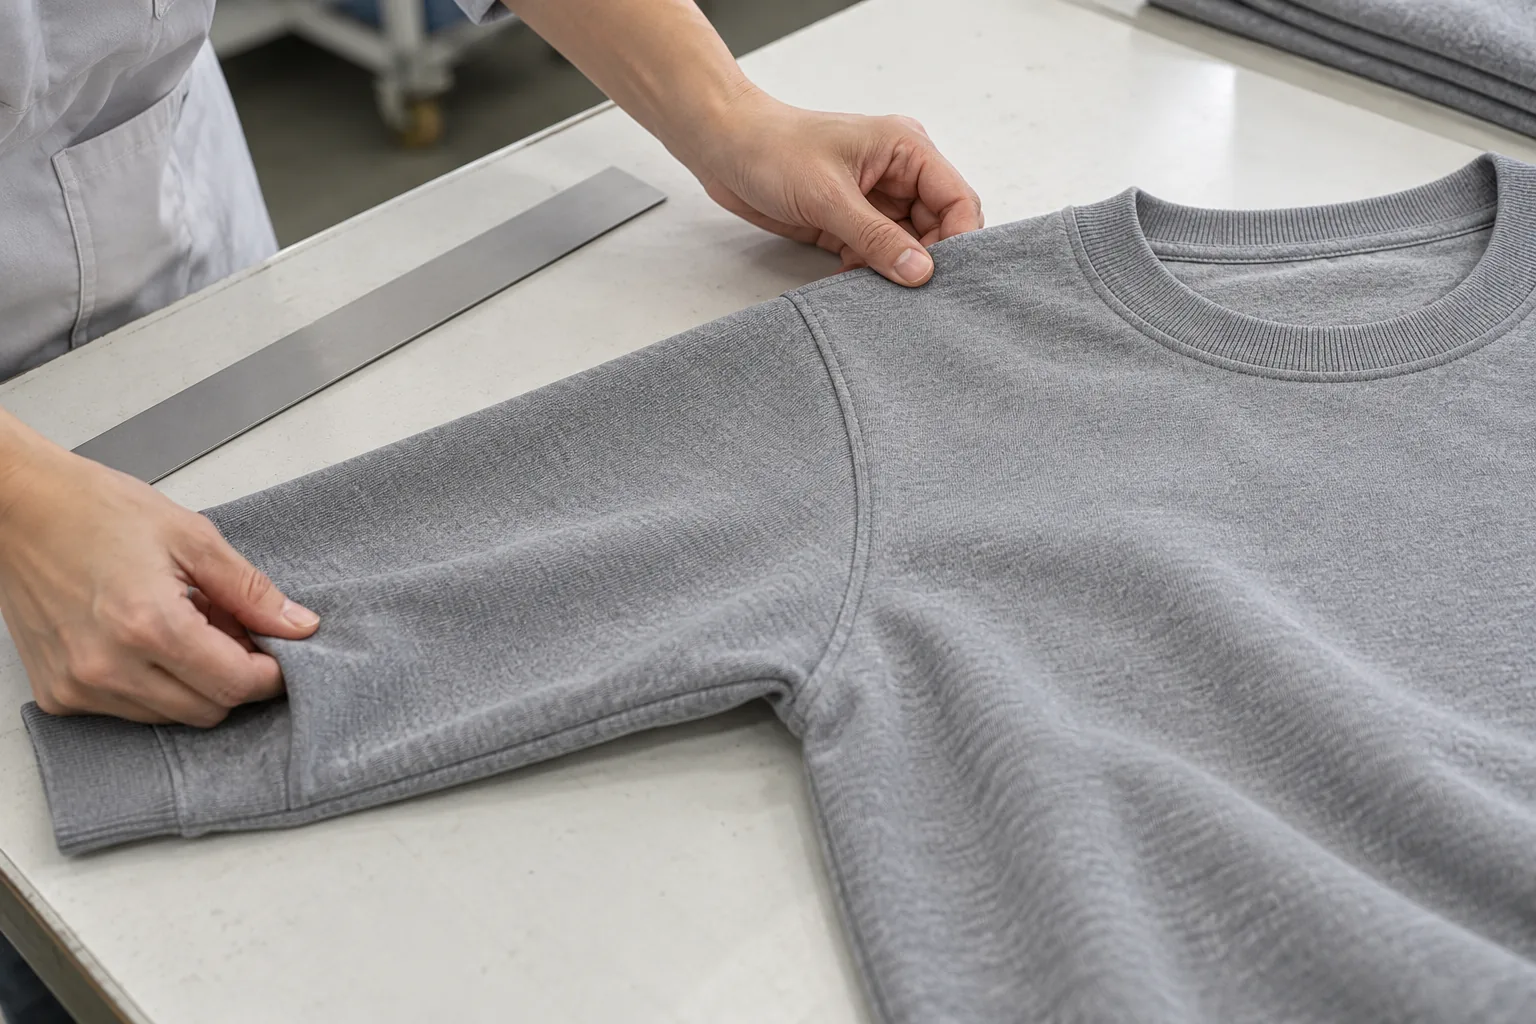
Try samples on a fit model representative of your intended customer. Check the garment standing, seated, and with arms raised. A dropped shoulder can look relaxed while the sleeve opening restricts movement; a wide chest can still feel tight if the armhole shape is unsuitable.
Do not approve the whole range from one medium. Ask how chest width, body length, sleeve length, and openings change across sizes, then verify relevant size extremes before bulk approval. If making the blank suitable requires rebuilding its proportions, compare that work with developing a dedicated pattern.
3. Test fabric behavior beyond the weight label
Fabric weight helps identify a category, but it does not establish softness, opacity, recovery, or drape. Compare candidates under the same light and handle them side by side. Fold each fabric, let it hang, and stretch areas that will encounter strain during wear. Note whether the material returns to shape.
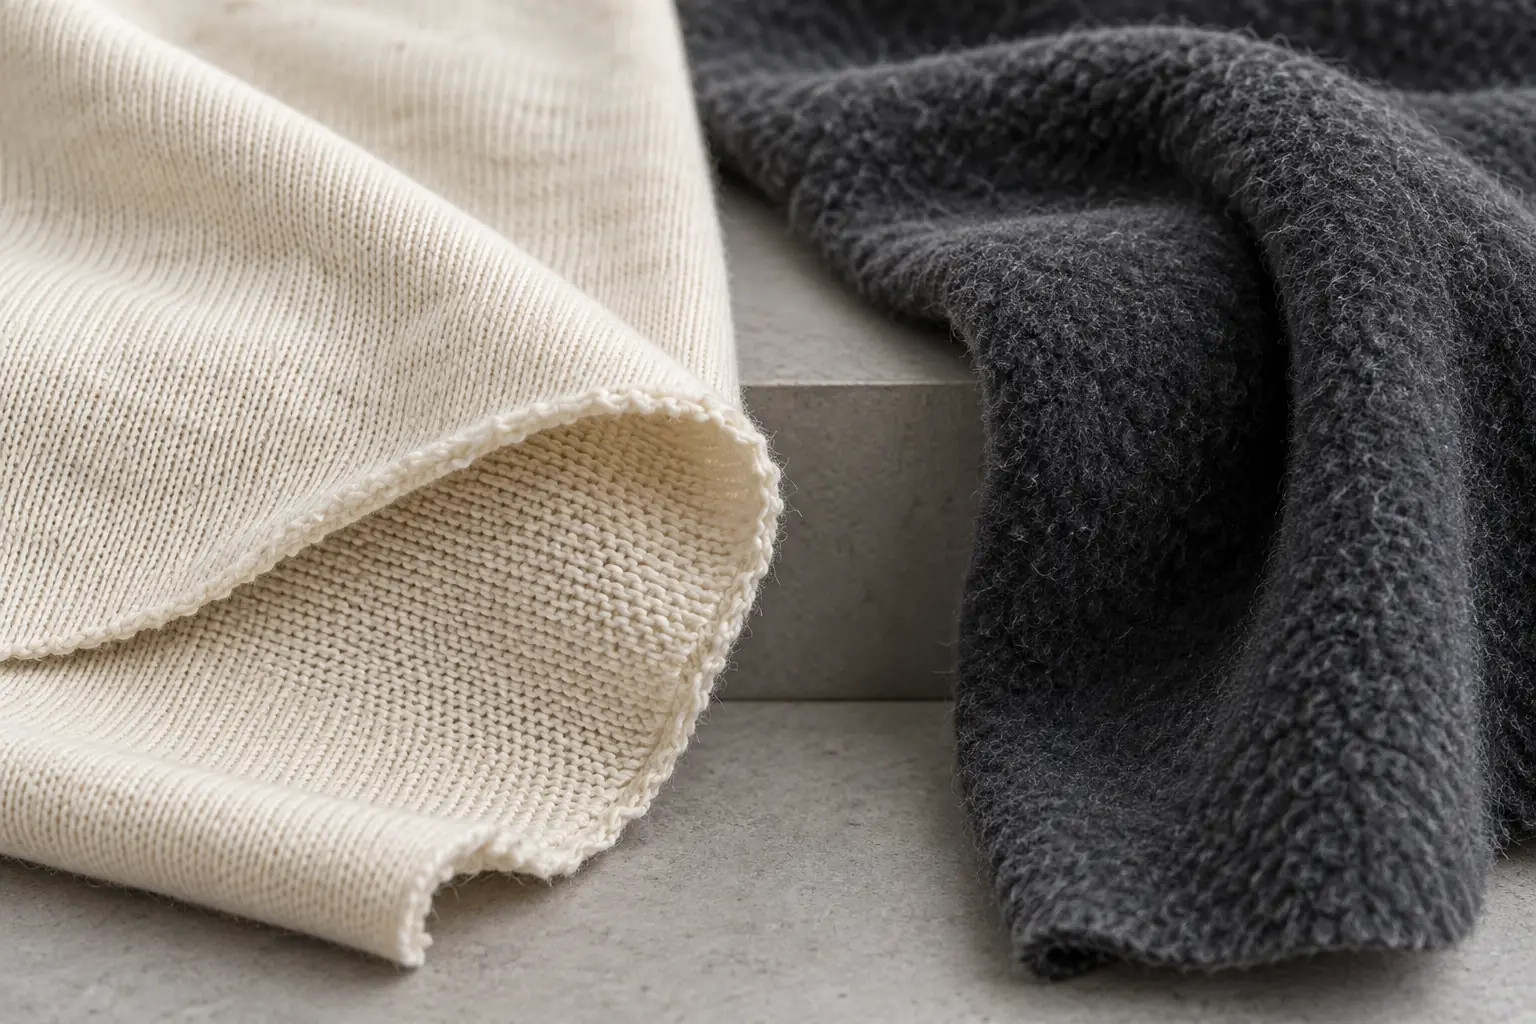
For a pale tee, assess coverage over contrasting underlayers. For a brushed sweatshirt, inspect the inside surface and check whether loose fibers transfer during handling. For ribbed collars and cuffs, evaluate recovery separately from the main fabric; a substantial body fabric does not guarantee a stable neckline.
Wash a sample using the intended care method, recording dimensions before and after. Check twisting, surface change, color change, and the relationship between body fabric and rib. Agree acceptable results with the supplier for your project instead of treating an unverified claim such as “preshrunk” as an approval.
4. Make decoration a pass-or-fail trial
Evaluate the blank with the actual proposed decoration wherever possible. A smooth surface may help a detailed print, while a textured surface can change its appearance. Embroidery adds localized stiffness and weight, which may cause a lightweight panel to hang differently. Confirm compatibility with the decorator using representative materials and settings.
Check placement on a worn sample as well as a flat garment. A chest graphic may appear too low on a deep dropped-shoulder shape, and a sleeve motif may rotate away from view. Identify seams, pockets, and uneven surfaces that could interfere with the application.
| Proposed detail | Evidence to request | Approval question |
|---|---|---|
| Large front print | Decorated sample after washing | Does the panel retain the intended drape? |
| Small embroidery | Face and reverse inspection | Is there puckering or uncomfortable backing? |
| Replacement neck label | Finished neckline sample | Is removal and replacement clean? |
Include label work in this trial. Confirm that removing an existing label will not damage the seam and that the replacement fits the available space. Account for applicable fiber, care, and origin labeling requirements when planning the finished product.
5. Establish the QC reference before placing the order
Keep an approved physical sample and attach a dated specification record to it. Photos help communicate placement and visible defects, but they cannot fully communicate hand feel or stretch recovery. Identify which sample represents the undecorated base and which represents the finished product.
- Measurements: list measurement points, size specifications, and agreed tolerances.
- Construction: inspect skipped stitches, seam openings, uneven hems, and neckline symmetry.
- Appearance: check shade consistency, marks, holes, and panel-to-panel differences.
- Decoration: confirm position, dimensions, appearance, and agreed wash-test results.
- Identity: verify size labels, required product information, and packing instructions.
Ask how production will be checked against that reference and how discrepancies will be handled before packing. Agree the inspection scope and defect criteria in advance. For repeat orders, confirm whether the fabric, pattern, color, and trim specifications remain available; a matching product name is insufficient evidence of continuity.
6. Resolve these questions before approving a candidate
Should I choose the cheapest acceptable sample?
Compare the cost of achieving the approved finished result. A lower-priced base may require label removal, additional handling, or decoration adjustments. Request a comparable scope for each option, including sampling and finishing, so that an omitted operation does not decide the purchase.
Can I approve a color using a screen image?
Use screen images to shortlist options, then approve a physical reference under agreed lighting. Check the color on the intended fabric, because texture and finishing affect its appearance. Record which reference controls production and how shade variation will be assessed.
When should I stop searching existing blanks?
Consider custom development when available candidates repeatedly fail essential proportions, construction, or material requirements. StitchQuote provides cut-and-sew, private label, sampling, fabric and trim sourcing, branding through woven labels, prints and embroidery, and QC before packing. Confirm the proposed development route rather than assuming a stock blank is available.
What quantity and sample timing should I plan around?
StitchQuote MOQ for most categories starts from 50 pieces per style; denim starts from 100 pieces per style. A 7-day sample is available for standard styles with confirmed specifications and available materials. Complex styles, custom washes, and custom-developed fabric take longer. Confirm applicability to your proposed garment before scheduling a launch.
Build a repeatable measurement and wash-test record
Lay each garment flat, smooth out folds without stretching it, and measure in the same condition each time. Define half-chest width as the straight distance between side edges at a stated distance below the armhole. Measure body length from the high shoulder point beside the neck to the bottom hem, and specify whether sleeve length starts at the shoulder seam or center back. Record shoulder width, sleeve opening, and neck opening separately; these dimensions explain fit differences that chest width alone cannot reveal.
Put the target and permitted deviation in separate columns. As an illustrative proposal, a buyer might request a 60 cm half-chest with a tolerance of plus or minus 1 cm, while proposing a tighter limit for a small neck opening. These are discussion examples, not StitchQuote production tolerances. Confirm what the chosen fabric and construction can consistently achieve. Keep size grading separate from tolerance: an allowed deviation must not substitute for an intentional size increment.
Use the same measurement points after washing. If body length changes from 70 cm to 68.6 cm, the reduction is 2%: divide the 1.4 cm loss by the original 70 cm and multiply by 100. Calculate width change separately, record the wash and drying method, and compare both results with the agreed limits. Photograph side-seam rotation and neckline distortion alongside the figures so a dimensionally acceptable sample does not conceal a visible failure.
Work through a small order before requesting the final quote
For an illustrative 50-piece tee order in one style, prepare a size breakdown such as 10 small, 20 medium, 15 large, and 5 extra-large. Confirm color allocation and material availability separately; a style MOQ does not establish minimums for every fabric, dye lot, or branding component. Identify which quantities are saleable bulk units and which development samples or testing garments need separate accounting.
Describe fabric as more than a GSM number. A brief might propose 220 GSM cotton single jersey, subject to sample approval, and specify fiber composition, knit structure, surface finish, and desired opacity. Ask whether the quoted weight refers to finished fabric and agree an acceptable weight range. Garment dimensions, usable fabric width, cutting layout, and shrinkage allowance all influence material consumption. This makes fabric weight useful for quotation without treating it as a complete quality specification.
Request a quote against a defined sequence: source the proposed fabric, approve the fit sample, trial the artwork and label, approve the finished reference, then proceed to bulk and QC. State artwork dimensions, decoration locations, label attachment method, and packing requirements. Additional print locations, dense embroidery, custom trims, and individual packaging create different operations and setup needs. Request these costs separately where practical so that changing one detail produces an understandable quote revision.
7. Put your selection evidence into the handoff
Send the selected sample reference, measurement record, decoration files, wash observations, and unresolved questions together. Mark each item approved or pending. This gives the next sampling or quotation discussion a concrete starting point and prevents a visually similar substitute from becoming an accidental approval.
Related reading and next steps:
- Prepare a tech pack for your selected garment
- Review sampling and MOQ planning
- Contact StitchQuote with your product brief
Request a manufacturing quote
Share your product type, quantity range, and destination. We usually reply within one business day.