Custom Streetwear, Casualwear & Denim Manufacturer•MOQ 50 pcs•Denim MOQ 100 pcs•7-Day Sample Available

What Makes a Sample Review Round Productive Instead of Repetitive
Learn sample review round apparel through a clearer factory-side view that helps brands reduce rework, align sample goals, and move toward approval with better.

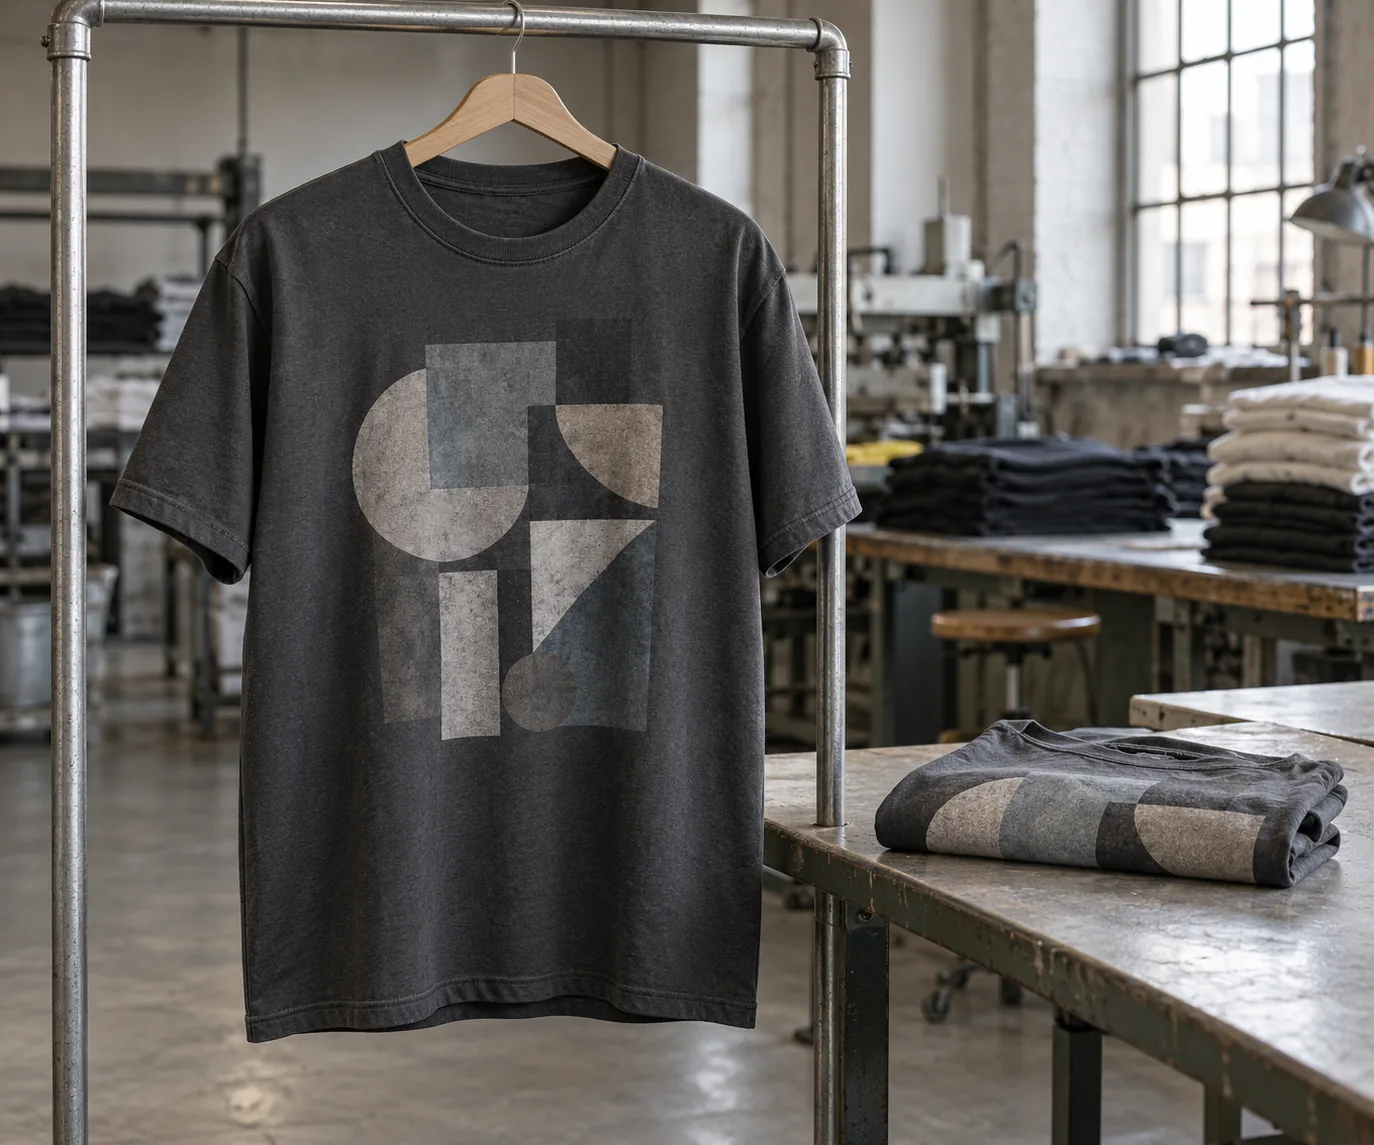
A sample review becomes repetitive when a buyer approves the garment’s appearance before deciding how its graphic will be produced. The next version may have better color but a heavier hand, or sharper detail but less stretch. Each correction shifts another feature because the print method remains unresolved.
For printed apparel, a productive review round closes a specific production question. Choose the decoration route on representative fabric, record what it must achieve, and then evaluate the complete garment. This approach helps buyers separate a print experiment from a sample that can support final approval.
Give the next sample a print decision to resolve
Before requesting another garment, write one decision at the top of the review brief: for example, “Select a print approach for a tonal chest graphic on a heavyweight cotton jersey.” Add the buyer priorities in order. Softness, opacity, fine detail, stretch recovery, and durability can compete; asking for all of them without priorities leaves the supplier guessing.
Consider a small back graphic with thin outlines on a dark sweatshirt. One review might establish whether the outlines remain readable with the coverage needed on that ground color. It should not simultaneously introduce a different fleece, resize the artwork, and change the ink finish. Those changes would make the result difficult to interpret.
Compare print routes on the fabric you intend to buy
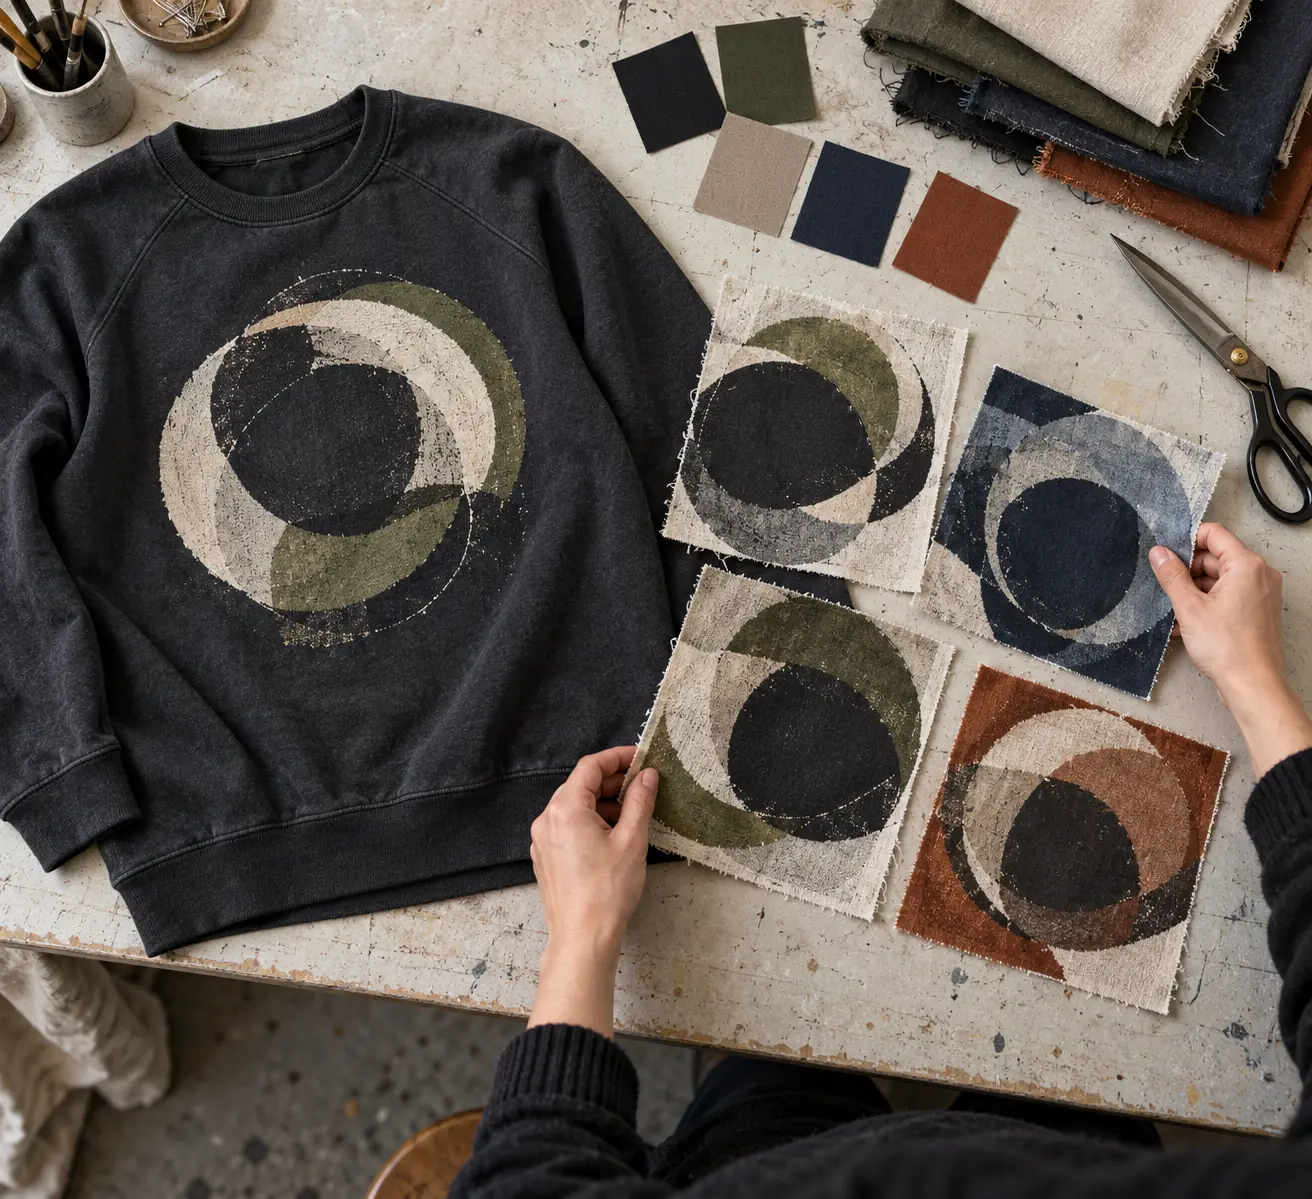
Ask for small print trials, often called strike-offs, before investing in another complete sample when decoration is the unresolved issue. Supply the intended fabric composition, weight, surface finish, and color. A result on smooth white cotton cannot settle expectations for a dark brushed blend or a ribbed panel.
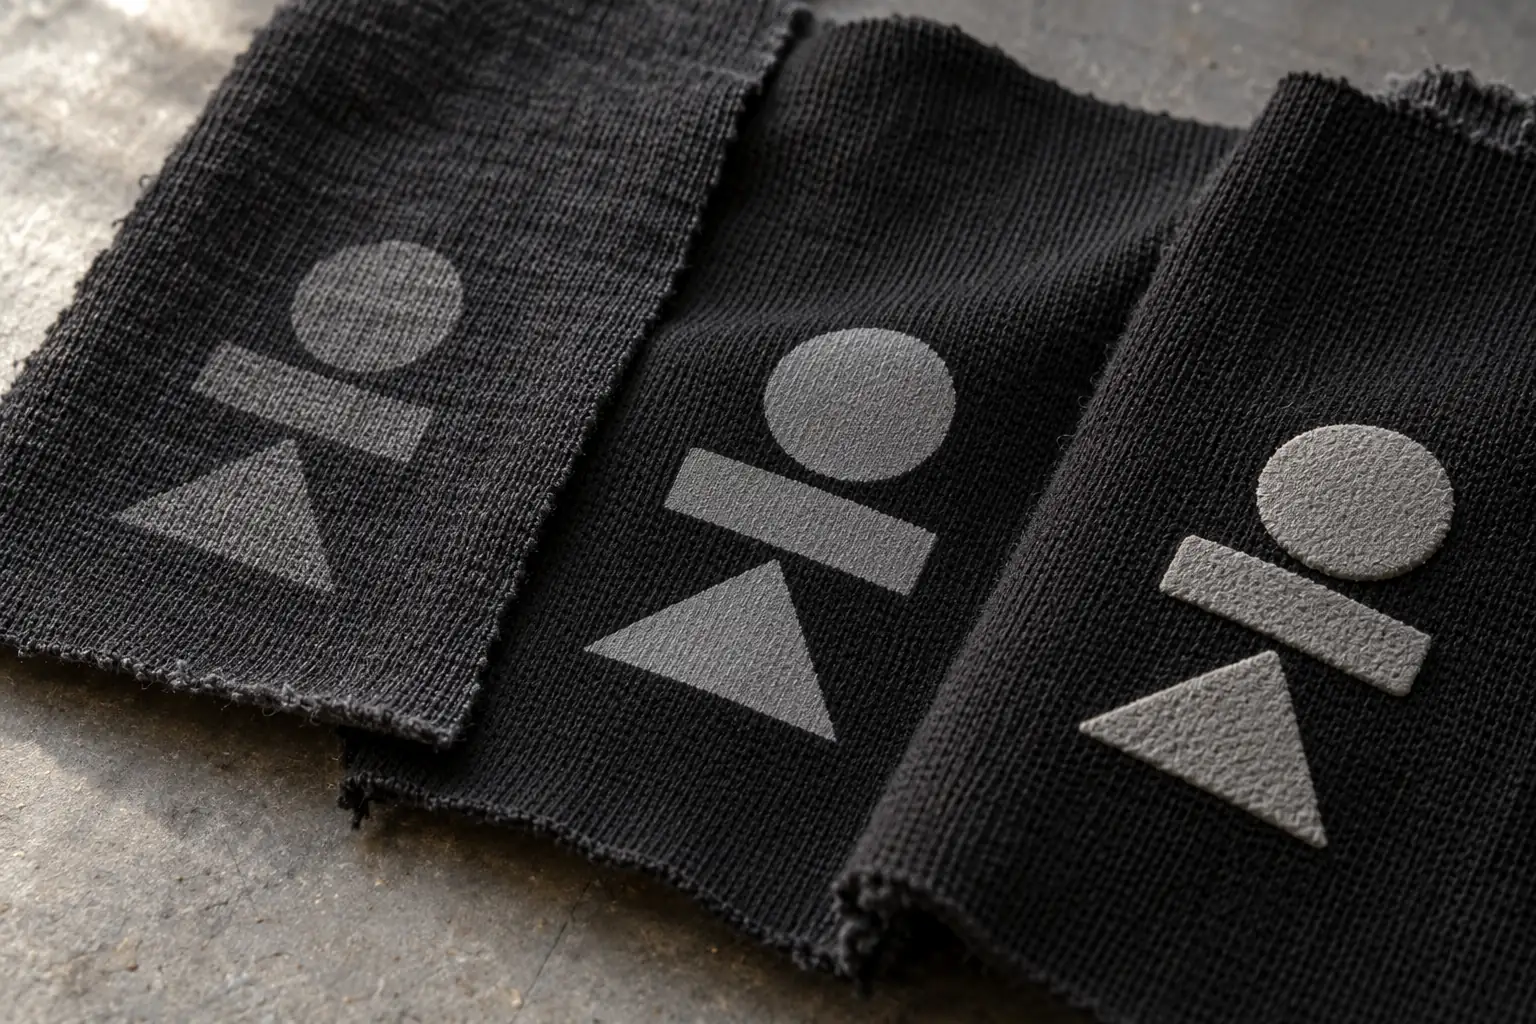
Screen printing, direct-to-garment printing, and transfers each offer different possibilities, but method names alone do not specify the outcome. Ink or transfer type, pretreatment where relevant, artwork preparation, and application conditions also affect results. Ask the supplier which routes are feasible for the actual fabric and order, then compare the useful candidates.
| Buyer priority | What the trial should reveal | Decision to record |
|---|---|---|
| Quiet tonal effect | Visibility in daylight and indoor light | Accepted contrast against the fabric |
| Fine illustrated detail | Line clarity and filled-in gaps | Minimum detail retained in artwork |
| Flexible placement | Behavior when the fabric stretches | Acceptable recovery and surface change |
Use identical artwork size and comparable substrates across candidates. If the available trial fabric differs from the intended production fabric, label that limitation and leave material-dependent approval open.
Freeze the inputs before judging the revision
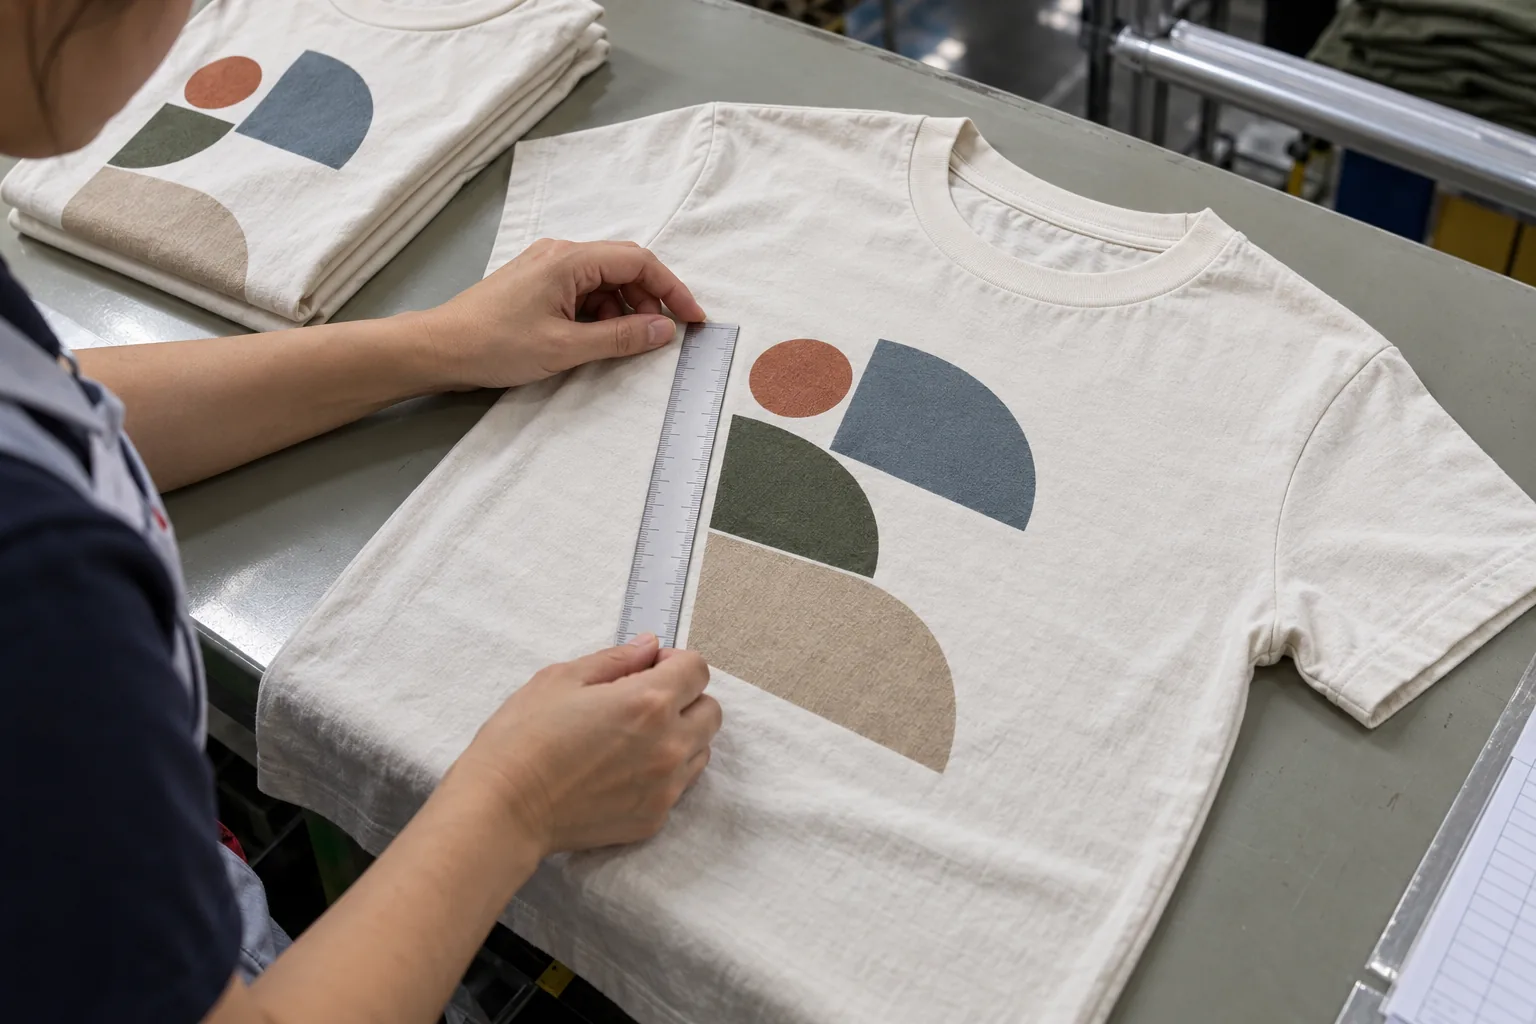
Once a route is selected, issue a dated artwork file and a compact print specification. Include finished dimensions, placement references, color targets, intended finish, and the approved trial identifier. Define placement from stable garment landmarks, such as the center front and neckline seam, rather than from a photograph alone.
Keep a revision record that separates requested changes from approved details. If the buyer asks to increase graphic width, state whether its top position stays fixed. Otherwise, a factory may reasonably recenter the larger image and trigger another placement discussion.
One person should consolidate comments from design, merchandising, and production. Where priorities conflict, resolve them before sending the brief. “Make it softer” from one reviewer and “increase coverage” from another are competing instructions until the brand defines the acceptable balance.
Review the assembled garment after the method is selected
A successful fabric trial still needs garment-level confirmation. Seams, pockets, panel shapes, and sewing access may affect decoration. A wide graphic that looks balanced on a loose panel can appear distorted once the garment hangs on the body.
For example, a print intended to cross a zip opening needs a different review from a centered graphic on a plain tee. Establish whether decoration occurs before or after assembly, and examine alignment and clearances accordingly. Ask the supplier to flag artwork that approaches a seam or obstructs reliable application.
Review fit separately from print approval, even when using the same physical sample. Record each status explicitly: fit accepted, placement pending, print surface accepted subject to washing. This preserves settled decisions while making the remaining work visible.
Use a QC checklist that survives washing and packing
Agree on the care procedure and acceptance criteria before testing. Review the sample before and after the agreed wash and drying conditions, retaining an unwashed reference when possible. Do not turn an informal home wash into a claim of certified performance.
- Identity: Match the garment, fabric, artwork revision, and print trial to the review record.
- Appearance: Check coverage, unwanted marks, registration, edge definition, and color against the agreed reference under consistent light.
- Feel and movement: Assess stiffness, tackiness, and behavior during the stretch expected in normal wear.
- Aftercare: Inspect cracking, lifting, color change, and distortion relative to the agreed criteria.
- Placement: Measure from the specified landmarks and check visual balance on the assembled garment.
- Packing readiness: Check for surface sticking or transfer under the agreed folding and packing conditions.
Photograph defects with a scale and identify their location. Replace “print looks wrong” with an observable finding and a requested action. Keep a physical approved reference where possible; screens and camera settings can obscure color and surface differences.
Turn placement comments into measurable acceptance criteria
For a centered chest print, specify three separate measurements: finished graphic width, the distance from the center-front neckline seam to the top of the graphic, and the graphic center’s horizontal offset from the garment center line. Lay the garment flat without stretching it and smooth out folds before measuring. State whether the neckline reference is the joining seam or the outer rib edge; switching between these points can produce different readings on an otherwise identical garment.
A buyer’s illustrative brief might request a 240 mm graphic width, a top edge 80 mm below the neckline joining seam, and a maximum 5 mm offset from center front. Proposed tolerances might be ±3 mm for graphic width and ±5 mm for the vertical position. These are negotiation examples, not StitchQuote production guarantees or universal industry limits. Ask the supplier to confirm achievable tolerances for the chosen fabric, application method, and size range before adopting them.
Decide whether the same artwork size applies to every garment size. A fixed-width print can look proportionally larger on the smallest size, while scaling artwork adds files and approval work. Check the smallest and largest ordered sizes for side-seam clearance and visual balance. Record any size-specific placement rules in a table rather than assuming the operator will infer them from the middle-size sample.
Build a sample brief that exposes material and cost tradeoffs
Consider a hypothetical order of 100 cotton jersey tees in one style and one body color, with a single front graphic. The buyer could nominate 220 GSM jersey as the starting material, then request confirmation of composition, knit structure, finishing, and available color. GSM describes mass per square meter; it does not by itself establish opacity, softness, shrinkage, or print compatibility. A replacement fabric with the same GSM still needs review if its surface or finish differs.
Separate the approval sequence into fabric confirmation, artwork release, strike-off selection, assembled sample review, and approval for production. For each step, identify the physical reference or file that becomes authoritative. If sourcing requires a substitute jersey, reopen the print trial before treating the previously approved surface and color as transferable.
Ask for a quotation breakdown that identifies garment construction, decoration setup, decoration per piece, labels, packing, and sampling where applicable. Multiple print locations introduce handling steps; additional screen-print colors can add setup requirements; larger printed areas may increase material use. A small order spreads fixed setup costs over fewer units. These drivers explain why comparing only the total garment price can conceal meaningful differences in the proposed specification.
Before packing, have the inspection record distinguish placement failures from print-surface failures. Log the measured value, garment size, and affected quantity rather than recording only “off center.” If failures cluster in one size or production batch, that information helps the supplier locate the process issue and define which pieces need further inspection.
Close the round with an approval boundary
End the review with one of three outcomes: approved, approved only for specified attributes, or revise with named actions. Identify who owns each action and what evidence closes it. A partial approval should never be mistaken for permission to reproduce an unresolved print across the order.
StitchQuote offers cut-and-sew, private label, sampling, fabric and trim sourcing, branding including prints and embroidery, and QC before packing. MOQ for most categories starts from 50 pieces per style; denim starts from 100. Confirm how the chosen decoration and material requirements affect the specific project.
A 7-day sample is available for standard styles with confirmed specifications and available materials. Complex styles, custom washes, and custom-developed fabric take longer. Selecting the print route early helps define the sample request; it does not make every print development compatible with that timing.
Questions buyers ask before approving printed samples
Can we approve fit while print trials are still open?
Yes, if the record clearly limits approval to fit and identifies the fabric used. Recheck relevant attributes if the final decoration process or a later material change affects drape, dimensions, or feel.
Does changing the print method require another full garment?
Not always for initial comparison: representative swatches can screen alternatives. Before final approval, confirm the selected method on an assembled garment when placement, seams, or garment handling could affect the result.
What if the artwork changes after the print is approved?
Assess what changed. A new color, larger solid area, or finer line may alter coverage, feel, or reproduction. Preserve approvals that remain valid, but reopen the affected checks using a newly identified artwork revision.
Related reading and project support:
- Prepare the specification behind your sample comments
- Review sampling and MOQ considerations
- Understand clothing sample timing
- Discuss your print sample requirements with StitchQuote
Request a manufacturing quote
Share your product type, quantity range, and destination. We usually reply within one business day.