Custom Streetwear, Casualwear & Denim Manufacturer•MOQ 50 pcs•Denim MOQ 100 pcs•7-Day Sample Available

How to Use Measurement Tolerance More Realistically in Apparel Development
Learn measurement tolerance apparel through a clearer factory-side view that helps brands reduce rework, align sample goals, and move toward approval with better.

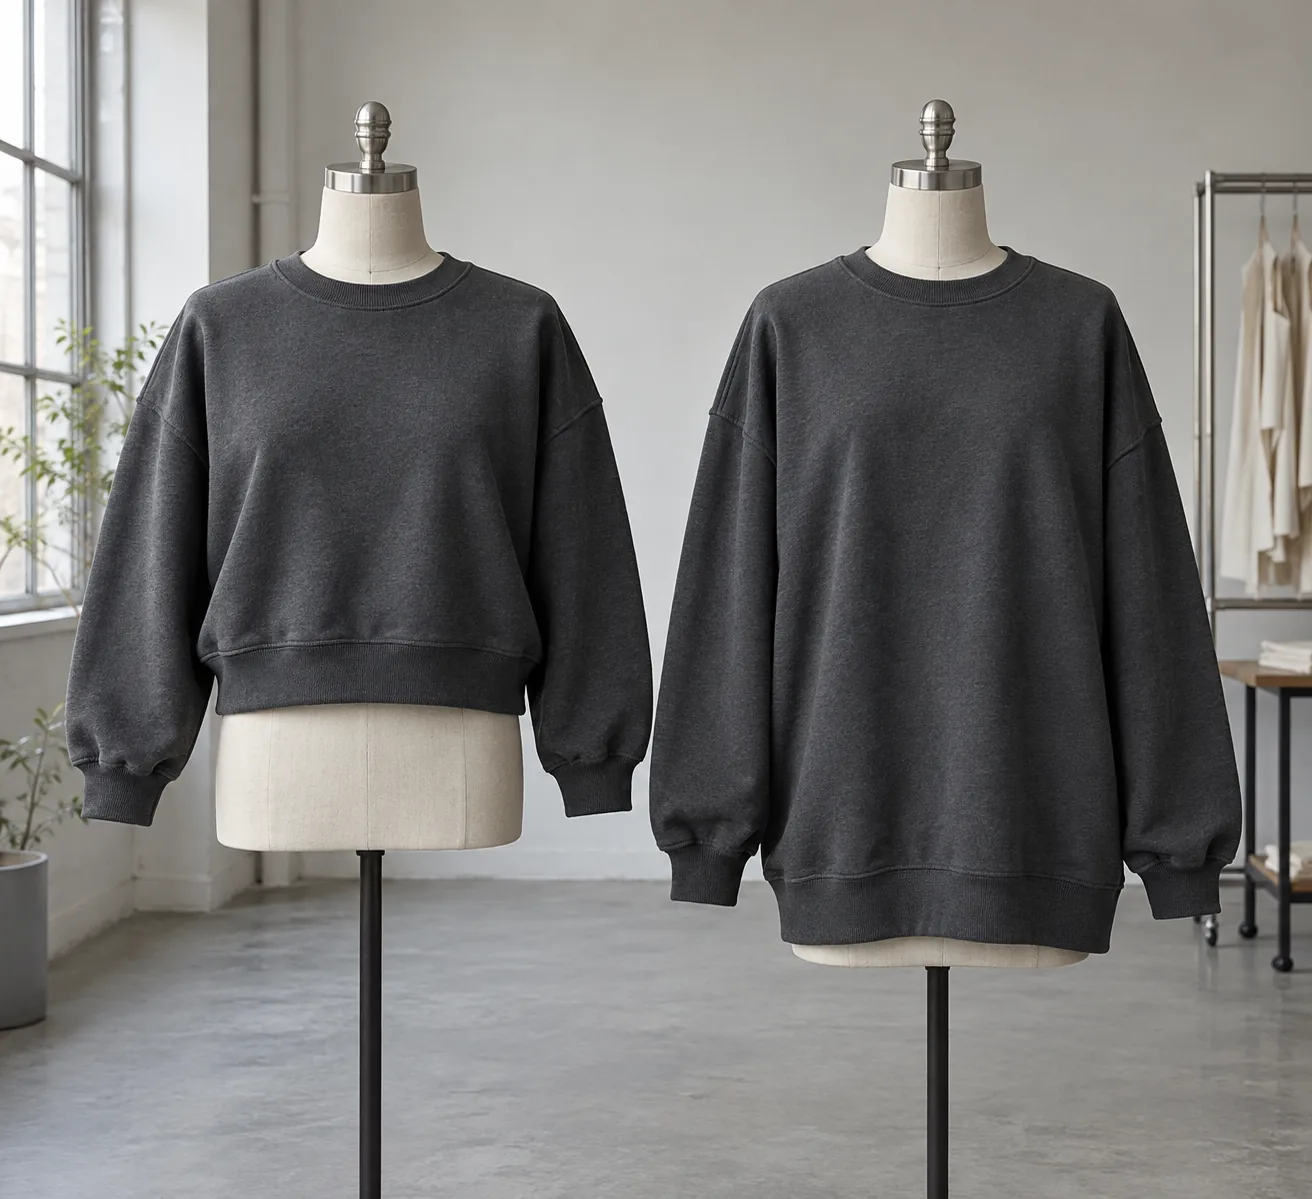
A boxy sweatshirt and an oversized sweatshirt can share the same chest width yet look completely different on the wearer. The boxy version may depend on a short body and a controlled hem, while the oversized version uses extra length, shoulder drop and sleeve volume. If both receive the same blanket allowance on every measurement, individually acceptable garments can drift into the wrong silhouette.
Using measurement tolerance realistically means deciding how much variation the intended fit can absorb before approving production. For a brand comparing boxy and oversized blocks, the useful question is which dimensions protect the shape, which can vary more freely, and how their combined movement will be judged. Make those decisions while reviewing the fit sample, before the size chart becomes a bulk inspection document.
Translate boxy and oversized into relationships you can measure
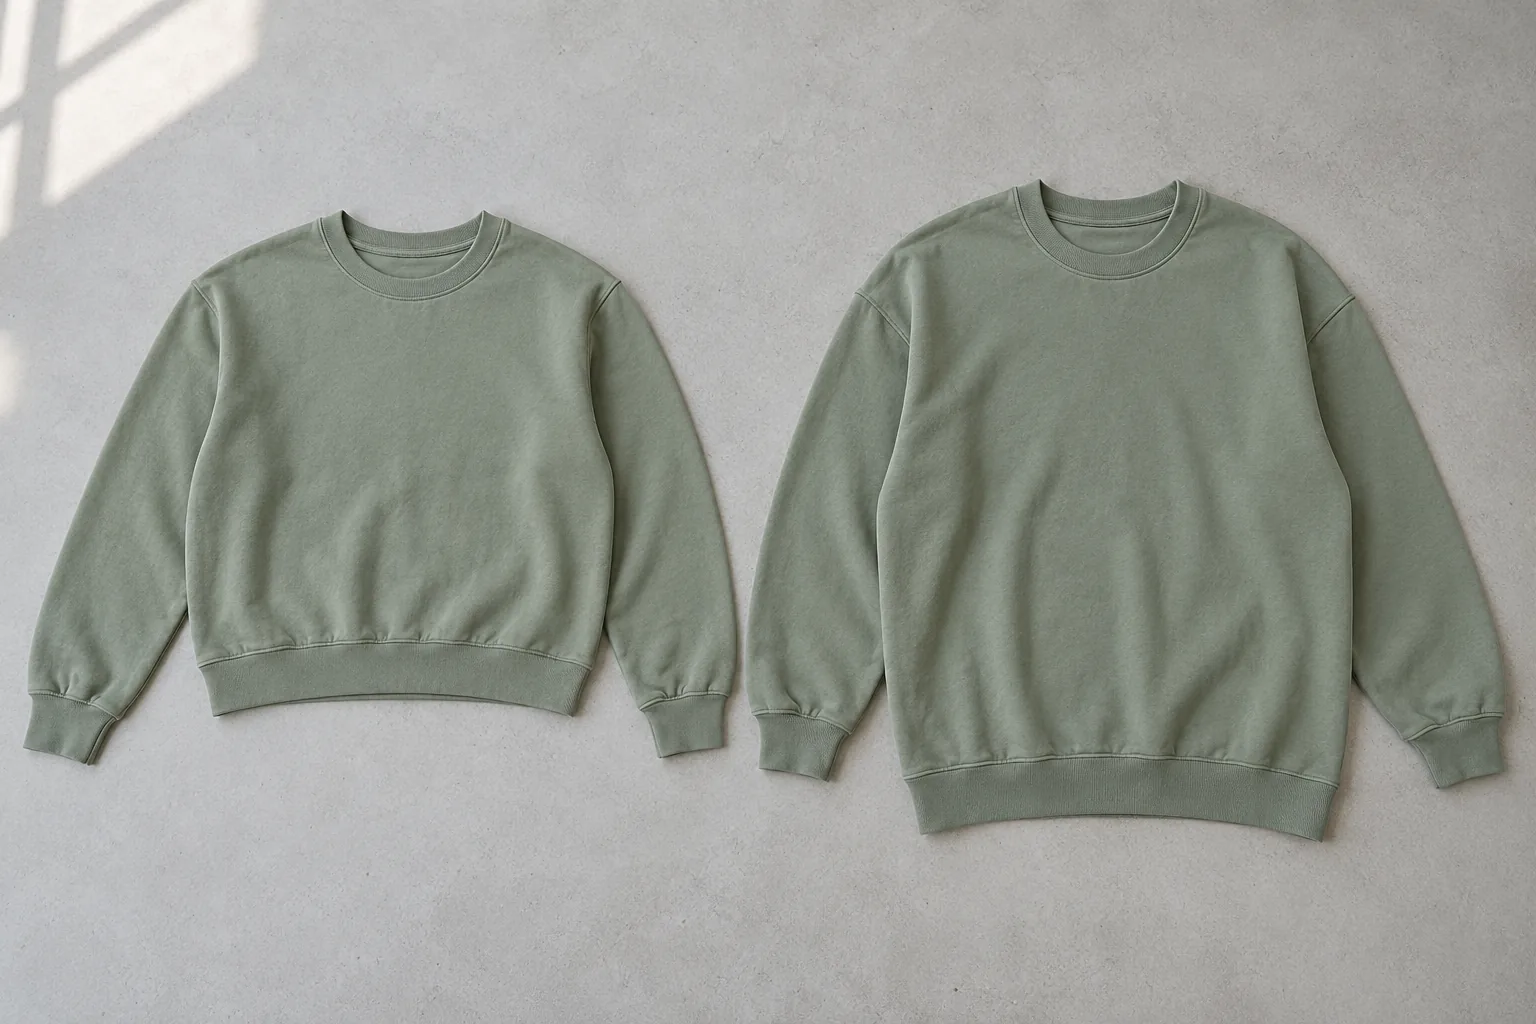
Start by describing the silhouette in observable terms. A boxy crewneck might have a broad torso, a hem near the upper hip and sleeves that stay clear of the hand. An oversized crewneck might extend below the hip, place the shoulder seam farther down the arm and carry more sleeve fullness. Neither label alone establishes an acceptance standard.
Choose one reference size and identify the relationships that make it recognizable. For the boxy style, compare body length with half-chest width and check how the hem sits when the arms lift. For the oversized style, assess shoulder width together with sleeve length and cuff position. A sleeve measured from a dropped shoulder can be shorter on paper while reaching farther down the arm.
Photograph the approved sample from the front, side and back on a fit model whose relevant measurements are recorded. Use those images as supporting evidence, alongside the measurement sheet. A photograph helps explain the design intention; it cannot replace defined measurement points or establish numerical compliance.
Give silhouette-critical dimensions their own limits
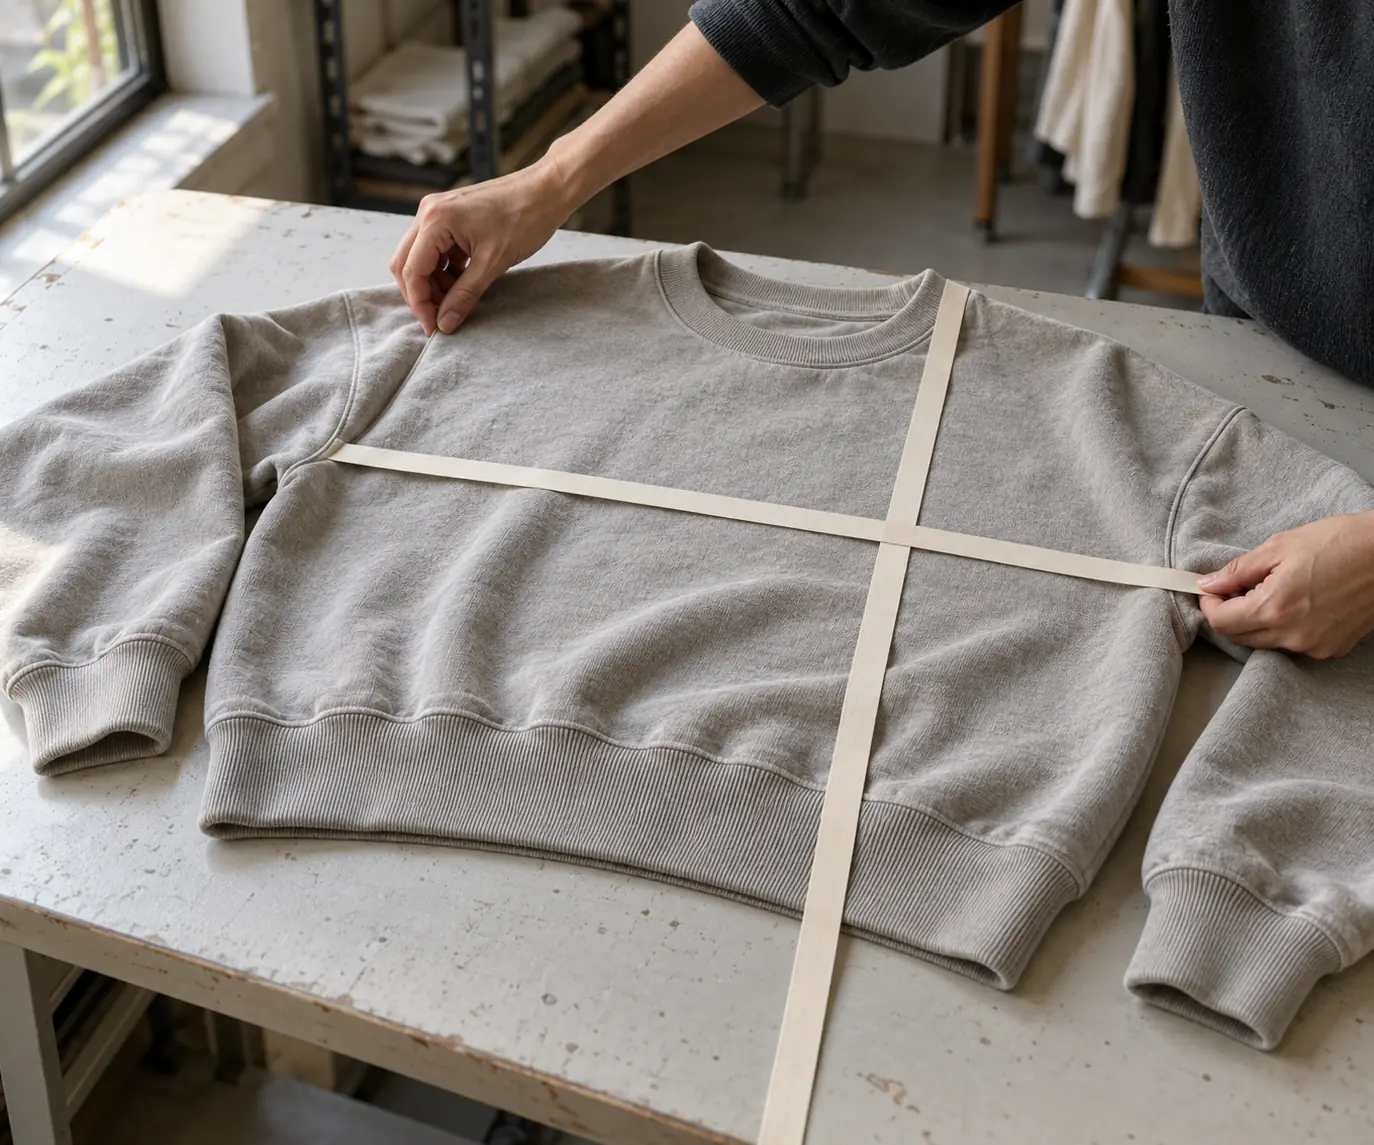
A single allowance across the whole garment is convenient to enter and difficult to defend. A small cuff opening, a long body panel and an elasticated hem behave differently during cutting, sewing and measurement. Discuss each proposed limit against the fabric, construction and repeatability shown by samples.
The following example uses two hypothetical adult crewnecks. All dimensions are centimetres, measured flat after the agreed finishing and conditioning procedure. These are illustrative development targets, not universal factory standards; confirm achievable limits per project.
| Point of measure | Boxy target and allowance | Oversized target and allowance | Fit reason to review |
|---|---|---|---|
| Half chest | 64 ± 1.0 | 64 ± 1.0 | Controls torso volume |
| Body length from high shoulder point | 61 ± 0.7 | 73 ± 1.0 | Separates cropped proportion from long coverage |
| Shoulder width | 60 ± 0.8 | 64 ± 1.0 | Changes seam placement and sleeve reach |
| Sleeve length from shoulder seam | 55 ± 0.8 | 57 ± 0.8 | Must be read with shoulder width |
Do not copy the tighter boxy length allowance simply because it looks more precise. Ask whether repeat samples and production methods can hold it. If the proposed process cannot reliably preserve the short body, change the construction or target, or reconsider the silhouette before approving an unrealistic inspection requirement.
Check the corners of the allowance, not just the centre
Consider the boxy example above. A piece measuring 63 cm across the chest and 61.7 cm long passes both individual limits. Another at 65 cm across and 60.3 cm long also passes. The first appears relatively narrow and long; the second appears relatively broad and short. Their width-to-length ratios are approximately 1.02 and 1.08, although the nominal ratio is approximately 1.05.
Use these extremes to test whether the proposed specification actually protects the design. Mark the alternative outlines on paper or compare adjusted development samples. If both remain acceptable, the limits may be practical. If one changes the product identity, revise the relevant limits before approval. Avoid adding a new ratio rejection rule after production has started.
On the oversized block, shoulder width and sleeve length deserve a combined review. In a simplified flat comparison, a 1 cm increase in total shoulder width contributes roughly 0.5 cm of extra reach per side. Combined with a sleeve 0.8 cm longer, that can add about 1.3 cm before accounting for drape. Check cuff position on the wearer rather than assuming independent passes guarantee the intended coverage.
Separate finishing changes from measurement disagreements
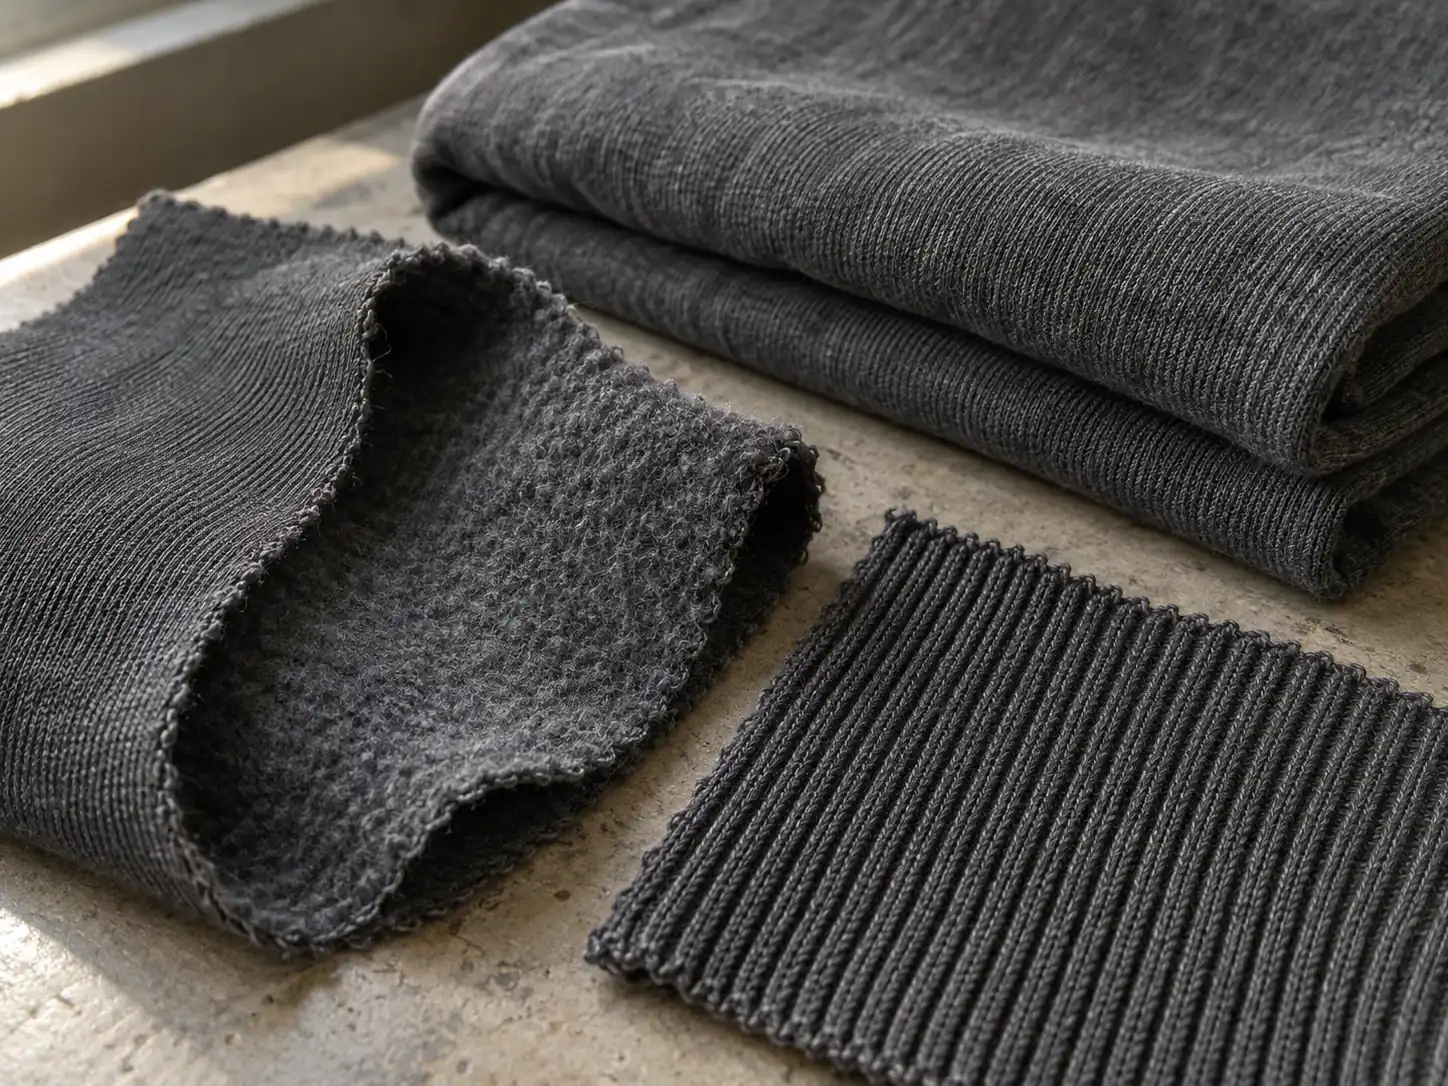
Before interpreting a difference as production variation, make sure both parties are measuring the same garment state. Record whether the specification applies before washing, after the production wash, or after a defined consumer-care test. Also agree how garments cool and relax after finishing and how long they rest before measurement. Do not compare a warm, freshly pressed sample with a relaxed reference.
Define the method beside each point. For half chest, specify the distance below the armhole and measure straight across without stretching. For body length, identify the high shoulder point and whether the hem rib is included. For shoulder width, state the endpoints and whether the tape follows a seam or runs straight. These choices can explain apparent discrepancies without any pattern change.
Fabric movement needs a separate development check. For example, an observed 3% length reduction on a 61 cm body is about 1.8 cm, already larger than the illustrative finished-length allowance. That hypothetical result calls for investigating fabric stability, finishing and pattern compensation. It should not be absorbed by quietly widening the finished-garment limit.
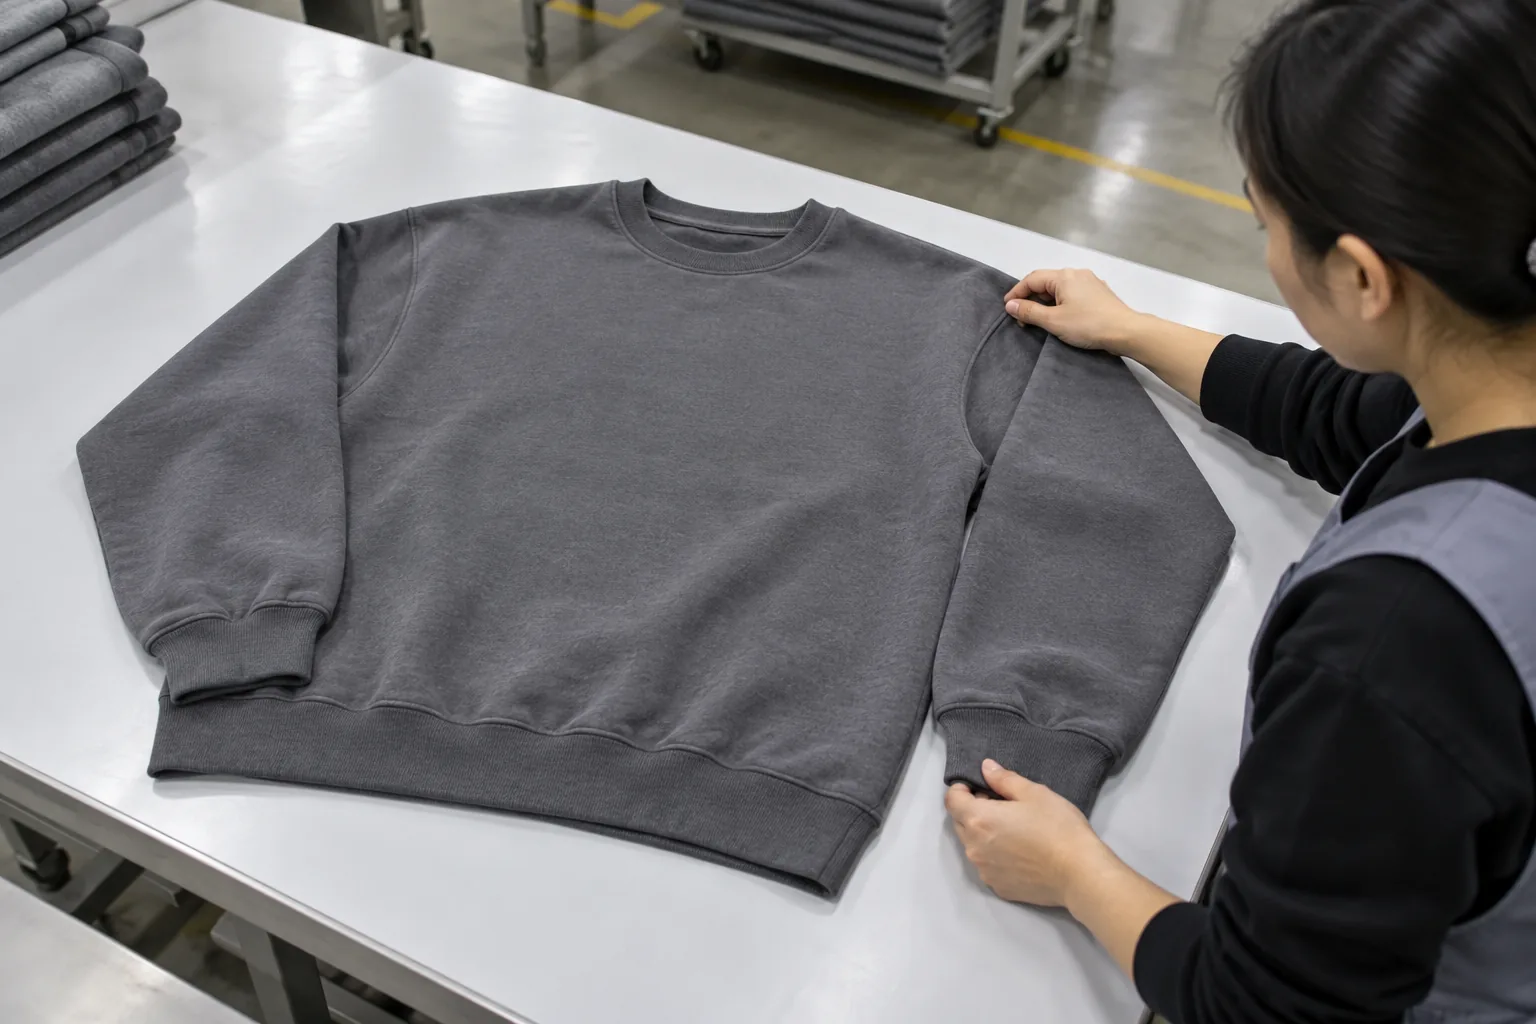
For a disputed sample, have two people measure the same points independently using the agreed method. Repeat any inconsistent readings before changing the specification. Rib recovery, curled edges and excessive tape tension can otherwise turn a measuring problem into an unnecessary fit revision.
Build a QC checklist around the ways each fit can fail
Before bulk release, turn the approved fit decisions into a short inspection checklist. Keep nominal dimensions, permitted deviations and actual readings in separate fields. The checklist should also identify the specification revision and approved reference sample so that an older, longer boxy prototype cannot become the accidental comparison standard.
- Confirm garment state: check the agreed finishing, relaxation and measurement conditions before recording results.
- Protect boxy proportions: inspect body length, half chest and hem width together; check whether the hem hangs straight or pulls the body inward.
- Protect oversized balance: review shoulder width, sleeve length and cuff opening together; verify that extra reach does not create unintended hand coverage.
- Compare both sides: record left and right sleeves where relevant. Agree a separate symmetry limit because opposite deviations can each pass yet look uneven.
- Review size coverage: include sizes beyond the reference size under the agreed inspection plan. A successful middle size does not prove the smallest and largest proportions.
- Record disposition: identify pieces requiring remeasurement, segregation or buyer review, with photographs and actual values rather than a vague “fit issue” note.
Agree inspection coverage and escalation rules before packing. If early checks show repeated movement toward one edge of an allowance, investigate the process while it is still adjustable. Passing readings clustered near a boundary can signal drift, even though those individual pieces have not failed.
Resolve tolerance questions before locking the production size set
The fit sample establishes the desired shape; the size set checks how that shape progresses across sizes. Keep grading increments separate from production allowances. Adding 2 cm to a nominal measurement between sizes is a design decision, while allowing variation around each nominal value is an acceptance decision. One should not silently substitute for the other.
For a boxy range, review whether larger sizes gain enough width without becoming unintentionally long. For an oversized range, check whether smaller sizes retain usable sleeve reach and neckline placement. Record any changed targets in a new specification revision, then align the approved sample comments and inspection sheet with it.
StitchQuote provides cut-and-sew, private label, sampling, fabric/trim sourcing, branding and QC before packing. MOQ for most categories starts from 50 pieces per style; denim starts from 100. A 7-day sample is available for standard styles with confirmed specs and available materials; complex styles, custom washes and custom-developed fabric take longer. Submit the silhouette references and proposed limits together so sampling can address the actual fit decision.
FAQ: approving variation without losing the silhouette
Can I use my oversized block’s allowances for a boxy version?
Use them as a discussion starting point only. Shortening the body can make the same absolute deviation more noticeable. Reassess length, hem behaviour and sleeve balance on the new sample, then confirm the limits against the construction and material.
Should a boxy body have a zero positive length allowance?
Only consider an asymmetric allowance when there is a clear fit reason and the supplier agrees it is achievable. If your listed target is actually the maximum acceptable length, say so explicitly. Otherwise the pattern maker and inspector may interpret the same number differently.
What if every dimension passes but the sweatshirt looks wrong?
Check the measurement method, material behaviour and combined proportions against the approved reference. During development, revise the specification to capture the missing requirement. During production, document the discrepancy and seek a disposition decision; do not retrospectively invent numerical rejection limits.
Does wash performance belong inside the production allowance?
Define it separately. Finished dimensions and dimensional change after a specified care test answer different questions. State the wash and drying procedure, number of cycles and acceptance criteria, then evaluate whether the tested garment still delivers the approved boxy or oversized fit.
Related reading and project support
- Document measurement points in your tech pack
- Review sampling and MOQ planning
- Explore hoodie fit for streetwear brands
- Discuss your fit specification with StitchQuote
Request a manufacturing quote
Share your product type, quantity range, and destination. We usually reply within one business day.