Custom Streetwear, Casualwear & Denim Manufacturer•MOQ 50 pcs•Denim MOQ 100 pcs•7-Day Sample Available

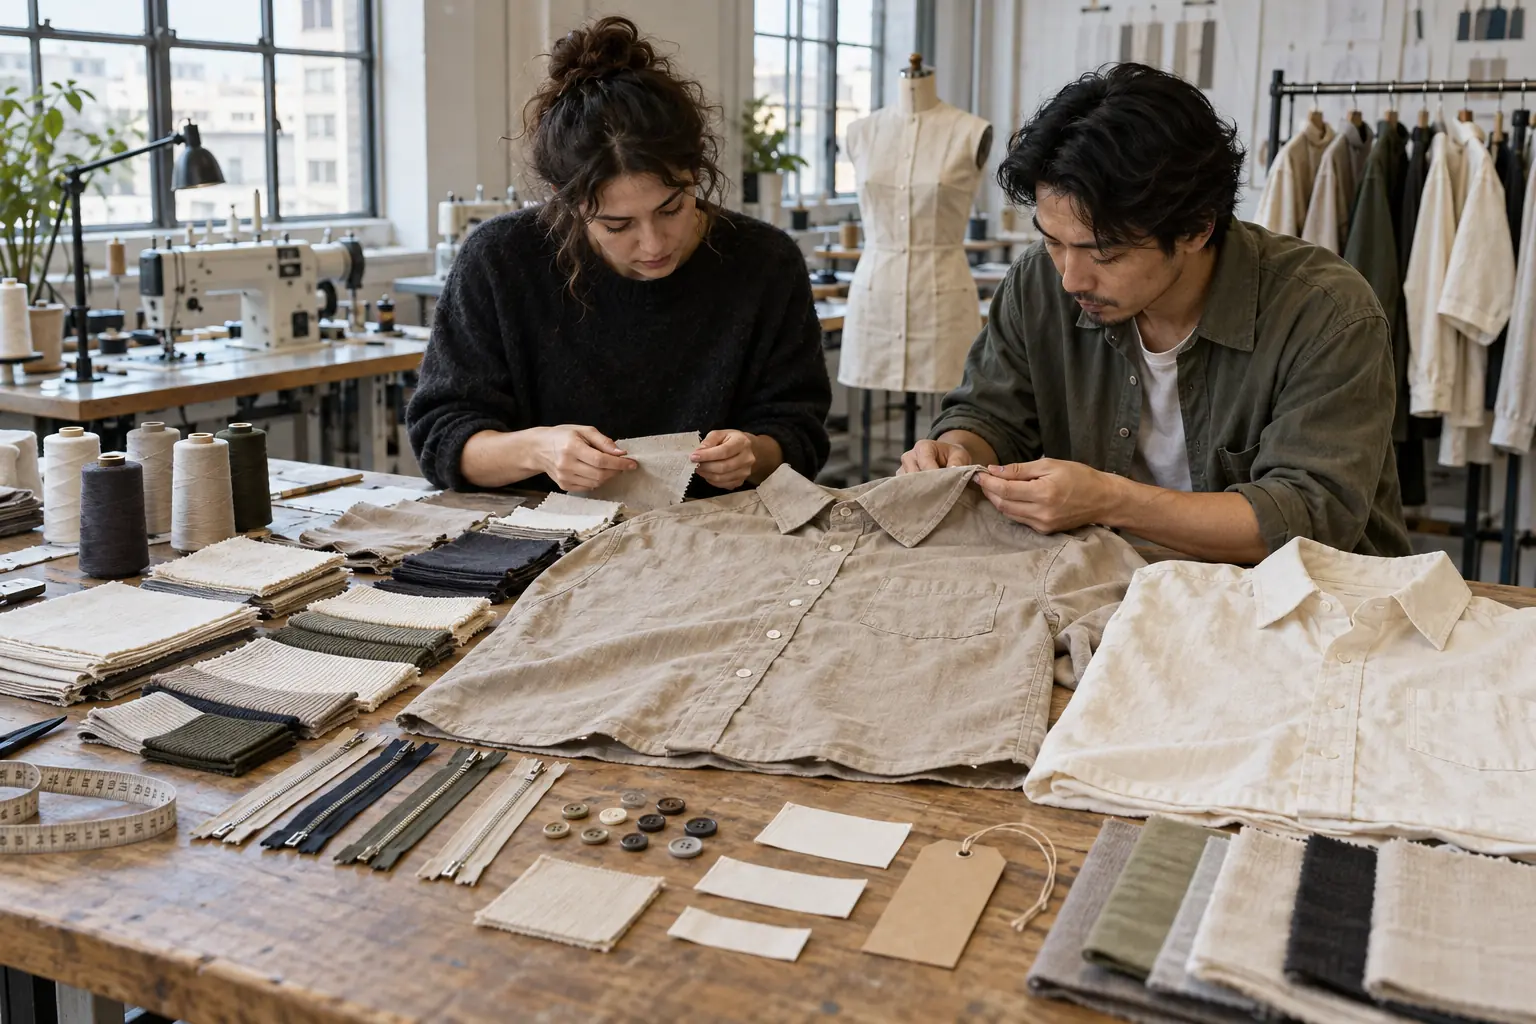
What Private Label Details Buyers Should Decide Before Sampling
Learn which private label details should be decided before apparel sampling so fit reviews, trims, branding, and packaging stay in the right order.

Before a sample is cut, a buyer needs more than a logo file and a preferred silhouette. The team needs a reliable way to record which private label details are fixed, which are provisional, and what the sample must demonstrate. Otherwise, a request to move a neck label can arrive after the neckline has been approved, or a packaging preference can quietly become a garment construction change.
A comment sheet can prevent that drift if it starts before sampling, rather than after the first parcel arrives. Use it as a decision record tied to the technical specification: each unresolved detail gets an owner, an instruction, and an acceptance method. The aim is to make the first sample answer specific questions while preserving decisions the brand has already made.
Open the comment sheet before opening the sample request
Create one sheet per style and give it a revision identifier. Record the style code, sample size, colorway, specification revision, artwork revision, and intended sample purpose at the top. A heavyweight pocket tee being checked for label comfort needs a different review from a denim overshirt being checked for embroidery after washing. State that purpose in one sentence.
Assign permanent comment IDs so that a discussion can survive several rounds without losing its history. Useful columns include component, current specification, requested action, evidence required, buyer owner, supplier response, and status. Keep the original request visible when a response arrives; overwriting it makes it difficult to tell whether the instruction was completed or merely reinterpreted.

Before release, use statuses such as confirmed, awaiting buyer decision, and supplier feasibility check. After review, use accepted, revise, or deferred with a named destination round. Avoid an unexplained “OK”: it could mean the supplier understood the request, the buyer liked the appearance, or the component is approved for bulk.
Give every branding decision a measurable address
Choose the branding hierarchy before sampling: main identity label, size identification, care and fiber information, external decoration, and hangtag attachment. Decide which elements are sewn into construction and which can be added later. The buyer should supply and approve required product information for the intended market; a layout approval alone does not verify its accuracy.
Define placement from a stable garment landmark, describe whether dimensions refer to the finished or cut component, and identify the viewing side. The examples below are proposed instructions for discussion, not universal manufacturing tolerances.
| Detail | Instruction to record | Review evidence |
|---|---|---|
| Main neck label | Finished folded size 45 × 20 mm; centered on inside back neck; approve stitch attachment separately | Interior close-up and finished label measurement |
| Side-seam care label | Wearer’s left seam; top edge 80 mm above finished hem; text faces wearer when opened | Open-garment photo with ruler |
| Pocket embroidery | Artwork width 30 mm; centered on pocket panel before pocket attachment | Front and reverse views of decorated panel |
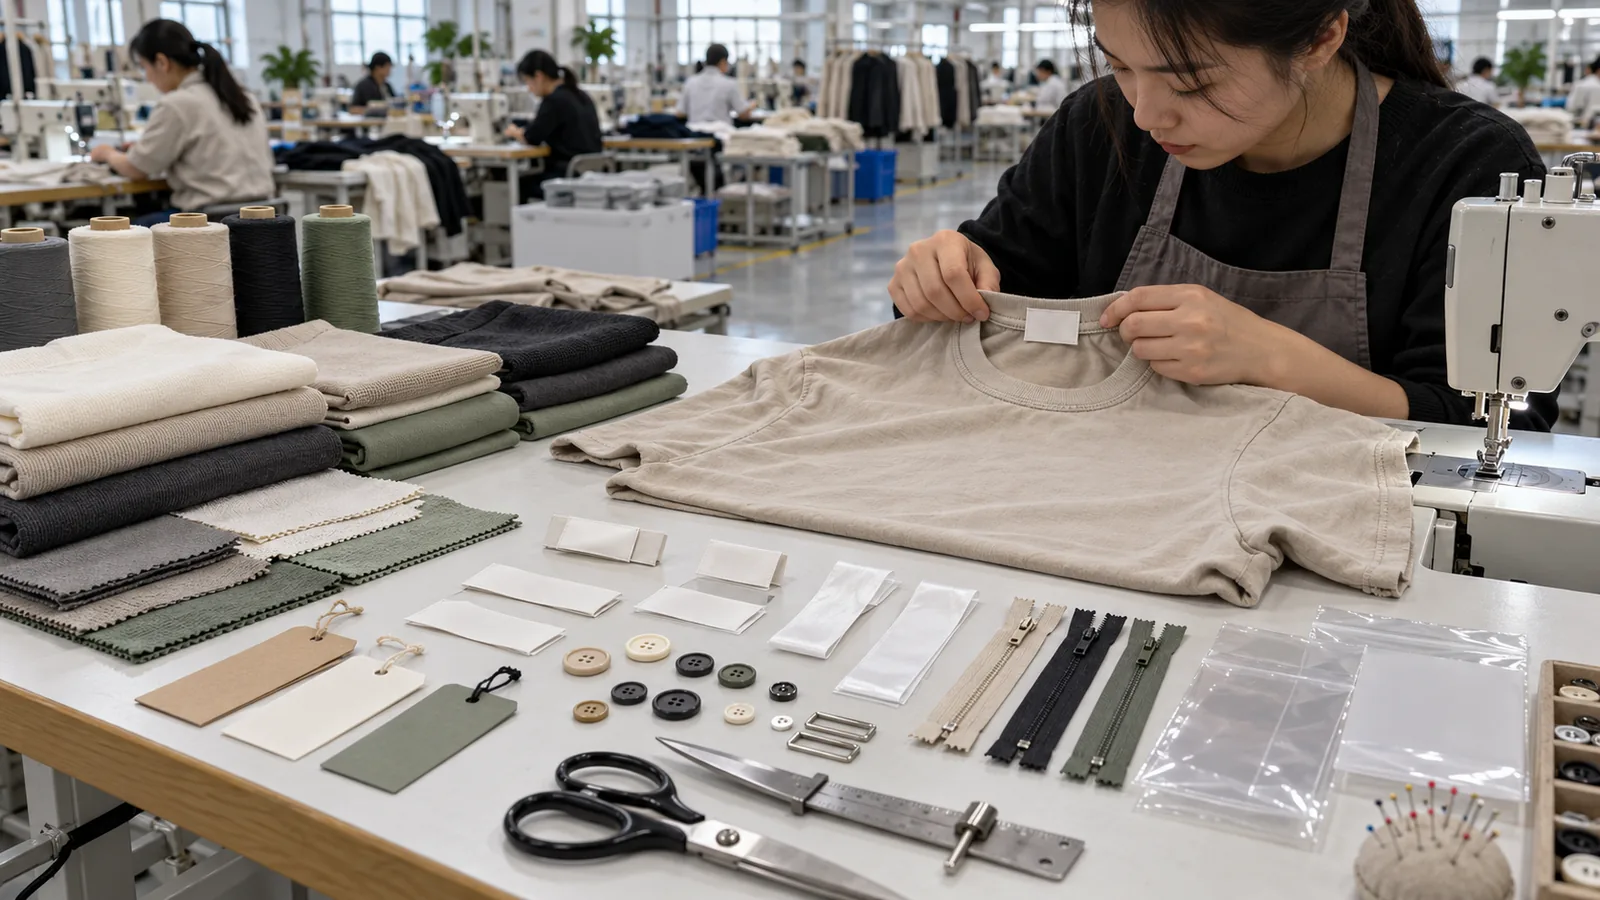
Agree tolerances with the supplier after considering material and construction. For instance, a proposed ±3 mm placement tolerance needs a defined reference edge and measurement condition. A soft curved neckline can make a casual ruler photograph misleading. Ask whether the method is repeatable before treating the number as a pass criterion.
Separate locked choices from deliberate placeholders
A sample can contain temporary components, but the sheet must identify them. If the correct woven label is unavailable, specify whether a blank substitute may prove attachment and comfort. Mark color, artwork, weave quality, and final dimensions as unapproved where applicable. Acceptance of that garment must not automatically approve the substitute for production.
Lock decisions that affect sewing sequence first. A label caught into a neck seam, embroidery behind a lined pocket, or a reinforcement patch underneath a badge can require access that disappears once assembly is complete. In contrast, a detachable hangtag may be reviewed separately if its attachment does not alter the garment.
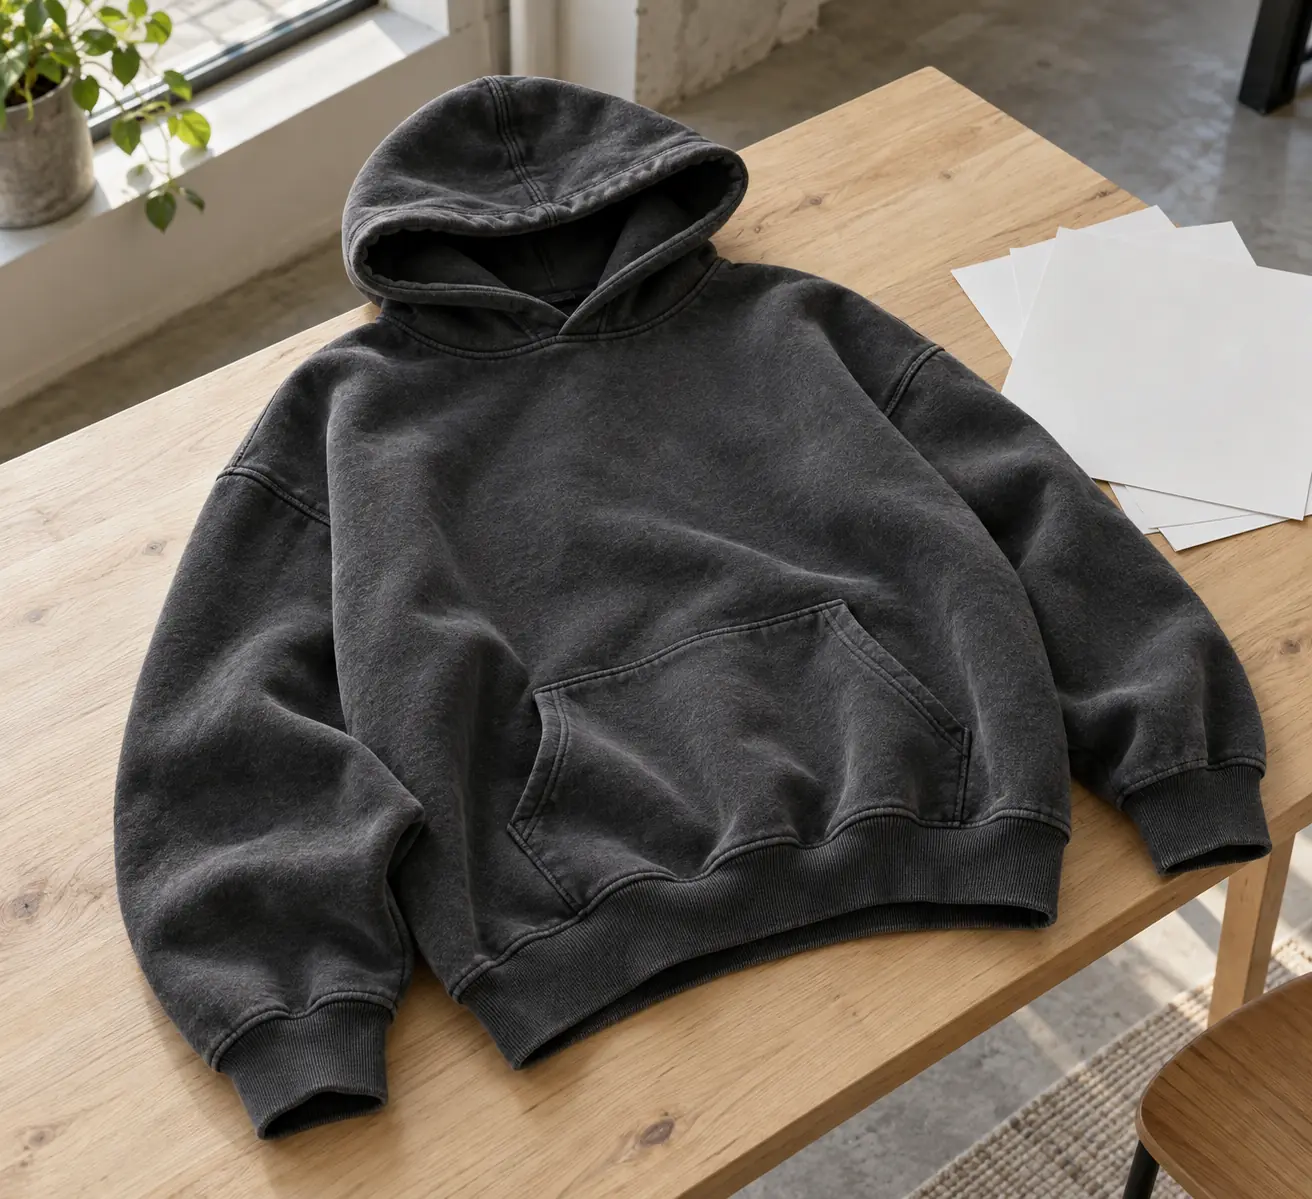
Record dependencies explicitly: “Approve label fold before confirming neck seam construction” is more useful than two disconnected open items. If the sample uses substitute fabric, identify which findings remain provisional. A print’s hand feel, embroidery puckering, or label show-through on the substitute may not predict the result on the final fabric.
Write revisions as instructions that can be closed
After the first review, write each comment as observation, action, and acceptance evidence. “Neck branding feels cheap” gives no executable direction. A stronger comment says: “The folded corners scratch during wear; propose a softer construction, retain the approved visible dimensions, and provide a physical label swatch before attaching the replacement.” This identifies the problem without prescribing an untested solution.
Keep one requested change per row. If a sweatshirt chest graphic is both oversized and misplaced, create separate rows for artwork scale and placement. Otherwise, the supplier may correct one condition and close the combined comment. Attach an annotated photograph with the relevant ID, but also write the measurement in the sheet so the image is not the only source.
Name a single buyer-side person to issue the consolidated revision. Design, merchandising, and quality teams can contribute internally, but contradictory messages should be reconciled before release. Ask the supplier to respond with accepted instruction, clarification needed, or proposed alternative. An alternative requires buyer acceptance; acknowledgement of receipt is not technical agreement.
Close a row only against the requested evidence. If the instruction requires a physical swatch, a photograph may confirm receipt or rough layout but cannot establish softness. Retain rejected versions with their revision references so a later sample does not accidentally revive an old artwork file.
Inspect the private label package as part of the garment
Use the comment sheet to build a focused QC checklist before packing approval. Inspect the sample in the condition specified for the review, including any agreed wash or finishing process. Distinguish an isolated workmanship defect from a specification problem: a crooked label needs correction, while a consistently uncomfortable label may need redesign.
- Identity and version: Match the style, sample size, label artwork, decoration file, and approved component references. Check that temporary parts remain visibly recorded as temporary in the documentation.
- Attachment: Inspect exposed label edges, skipped stitches, loose threads, and reverse-side stitching. Check whether attachment distorts the neckline or catches an unintended fabric layer.
- Position: Measure from the agreed landmarks with the garment laid in the specified condition. Compare paired or repeated details using the same method.
- Wear and finish: Review skin contact, show-through, puckering, and changes after the agreed care trial. Record the trial conditions rather than reporting only “wash passed.”
- Presentation: Check hangtag attachment for snagging or holes and confirm that folding does not crease a raised decoration. Separate garment approval from packaging approval.
Photograph failures with a scale and a wider orientation view. Record measured results beside the target, then reference the corrective comment ID. This creates a usable inspection trail instead of a folder of unexplained close-ups.
Release the next round with a defined decision boundary
Before requesting another sample, count open decisions and identify which require a complete garment. A label swatch or embroidery panel may resolve a component question, subject to agreement, while a neckline change needs garment-level assessment. State what remains approved and what the next round is allowed to change.
StitchQuote provides cut-and-sew, private label, sampling, fabric and trim sourcing, branding through woven labels, prints and embroidery, and QC before packing. MOQ for most categories starts from 50 pieces per style; denim starts from 100 pieces per style. Confirm how the intended component choices and order breakdown apply to the project.
A 7-day sample is available for standard styles with confirmed specifications and available materials. Complex styles, custom washes, and custom-developed fabric take longer. Send the consolidated sheet with the current technical files when discussing timing, and flag unresolved items that could prevent the sample from starting.
Questions buyers ask when controlling sample comments
Should a comment sheet replace the tech pack?
No. The tech pack defines the garment; the sheet records questions and controlled changes. Once a change is accepted, update the relevant technical page and reference its revision. Otherwise, production receives two conflicting descriptions of the same detail.
Can one approved label placement cover every size?
Only if the placement rule works across the intended size range. Decide whether the offset stays constant or changes with garment proportions. Request a size-specific check where neck openings, pocket dimensions, or decoration clearance make the base-size approval insufficient.
What happens when reviewers disagree about label comfort?
Keep the item open and identify the contact point causing concern. Compare physical alternatives under the same wear conditions, then let the named buyer owner select the standard. Record the selected component reference instead of averaging subjective comments into an unclear instruction.
How should a late artwork change be recorded?
Issue a new artwork revision and a new comment linked to the previous approval. Ask which completed components and sample findings it affects. A small visual edit may change stitch density or print coverage, so confirm whether fresh component evidence is needed.
Related reading
- Prepare the technical files behind your comment sheet
- Review sampling and MOQ considerations
- Understand clothing sample timing
- Discuss your sample specifications with StitchQuote
Request a manufacturing quote
Share your product type, quantity range, and destination. We usually reply within one business day.