Custom Streetwear, Casualwear & Denim Manufacturer•MOQ 50 pcs•Denim MOQ 100 pcs•7-Day Sample Available

How to Keep Sample Notes Organized Across Multiple Styles
Learn organize sample notes apparel through a clearer factory-side view that helps brands reduce rework, align sample goals, and move toward approval with better.

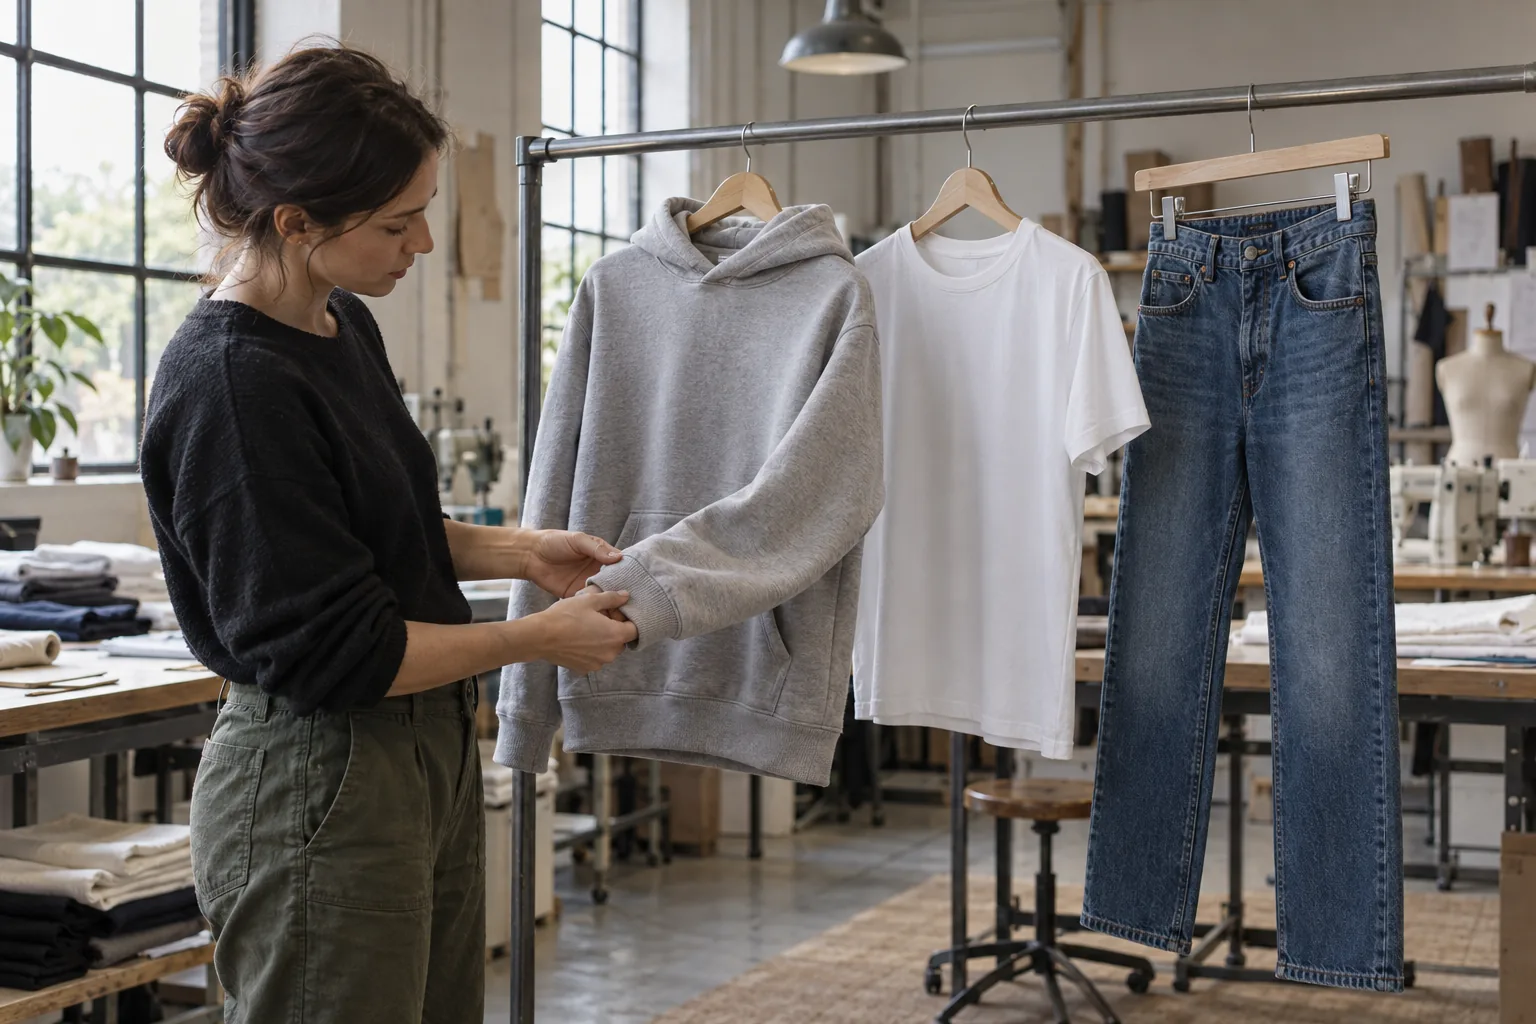
A hoodie sleeve correction, a denim pocket adjustment, and a T-shirt neckline decision can disappear into the same message thread within an afternoon. When several styles move through sampling together, the problem is rarely a shortage of feedback. It is knowing which instruction belongs to which physical sample, who authorized it, and whether the next version actually resolved it.
To keep sample notes organized across multiple styles, treat each comment sheet as a controlled instruction record. Build it around identifiable samples, measurable changes, and documented closure. The aim is to give the pattern maker, sample machinist, and buyer the same answer when they ask what changes next.
Give every physical sample its own record
Start with a permanent style code, then identify the sample round, size, color, and relevant material or wash version. A useful reference might be HD214-R02-M-NAVY-F01: hoodie HD214, second round, medium, navy, first fabric option. Keep the meaning of each field in a shared key. Avoid filenames such as “latest hoodie” that become misleading as soon as another parcel arrives.
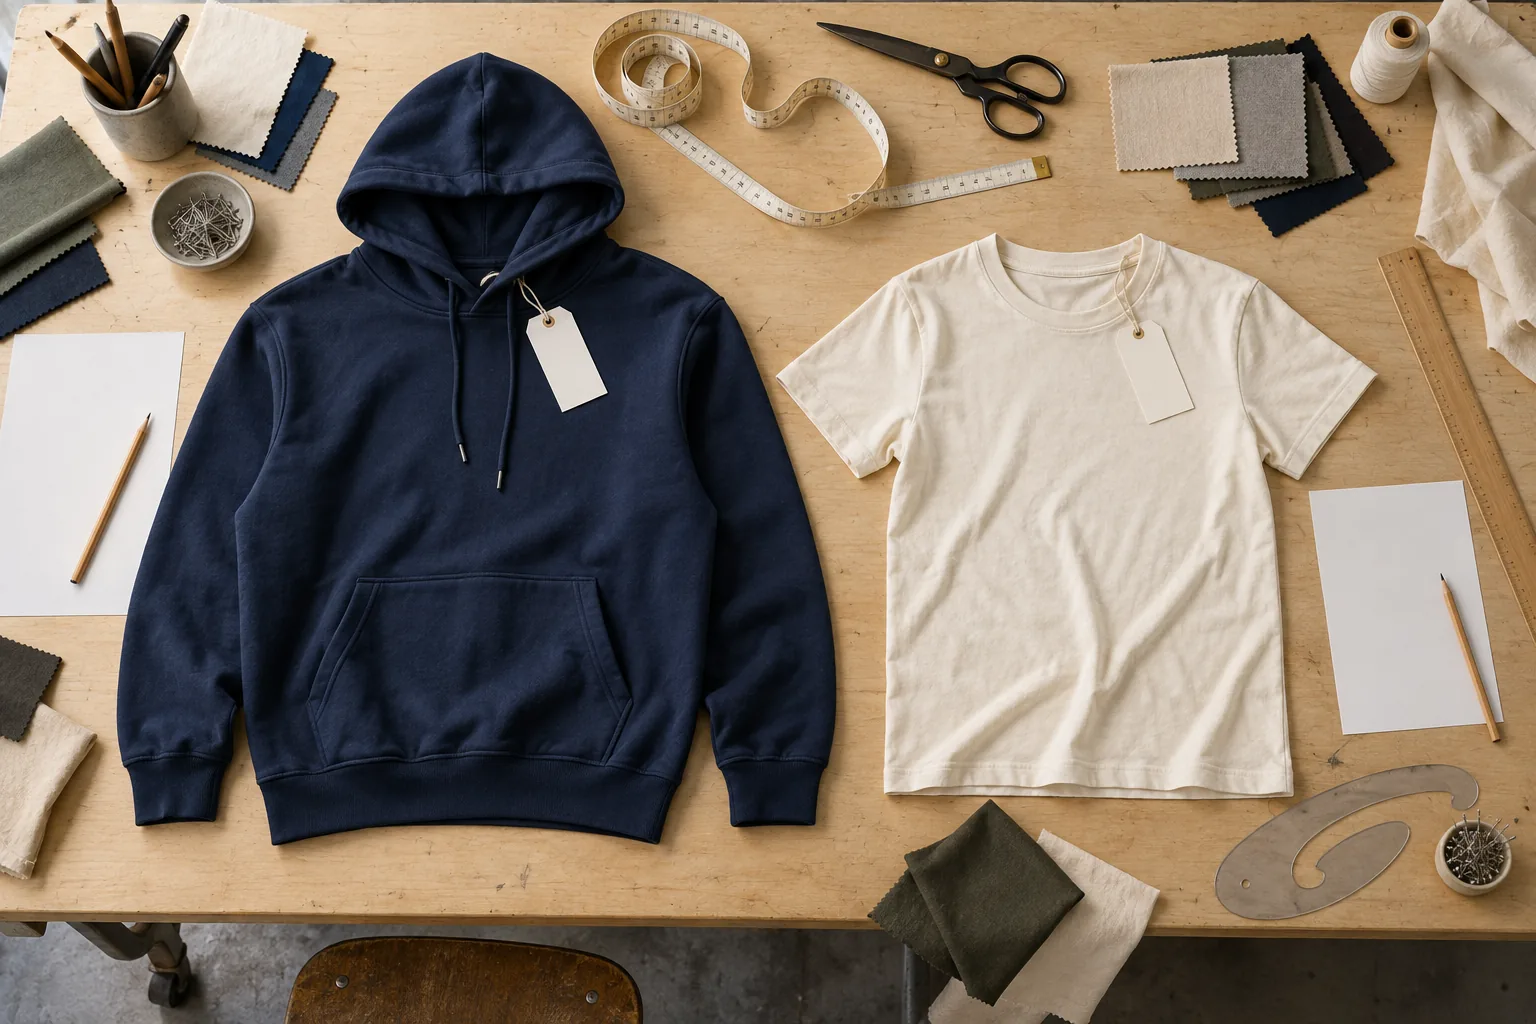
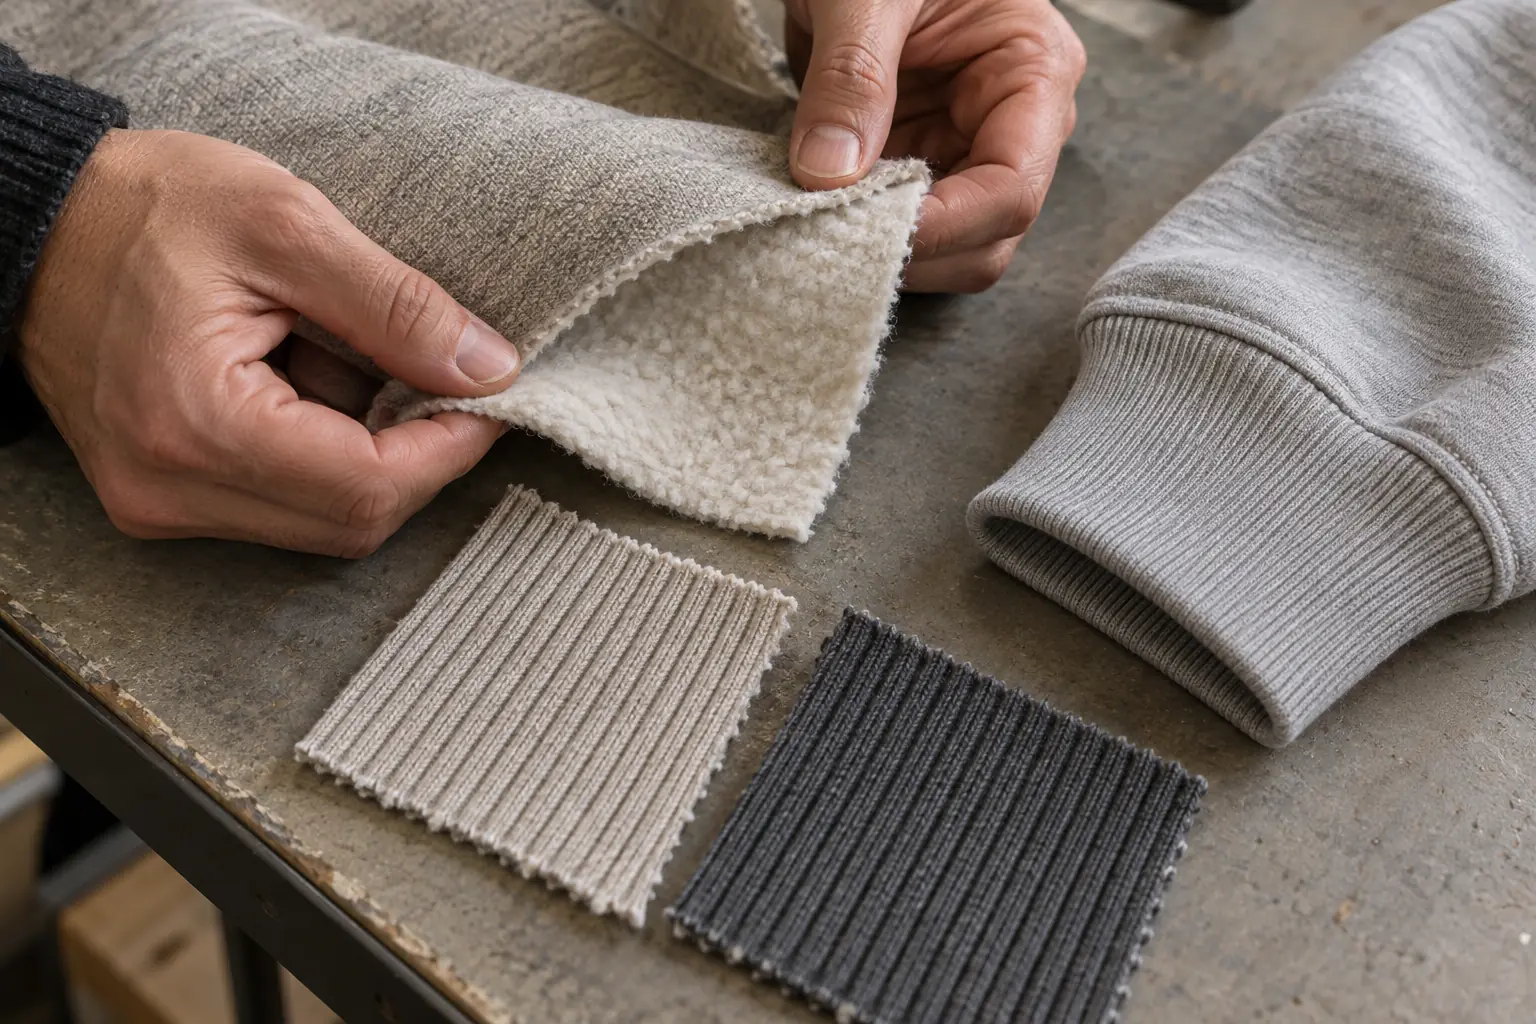
Put the reference on a removable sample tag and in the comment sheet header. Record the date received, reviewer, sample purpose, and the tech pack revision used to make it. If two samples share a style code but use different rib qualities, give them separate sample references. Otherwise, an approval of the neckline shape can accidentally be read as approval of both materials.
Maintain a collection index containing one row per active sample, its current comment-sheet revision, owner, and next action. The index locates records; it should not contain abbreviated instructions that compete with the detailed sheet.
Make each row describe one executable change
A strong comment separates what the reviewer observed from what the factory should do. “Sleeve feels wrong” is an observation without an instruction. “Reduce sleeve length from 64 cm to 62 cm, measured shoulder seam to cuff edge; retain cuff depth” identifies both the change and a feature that must stay fixed.
Use stable issue IDs such as HD214-007. Keep that ID through later rounds, even if its row position changes. Split unrelated corrections into separate rows: sleeve length and cuff elasticity require different evidence and may close at different times. The following fields are enough for a compact working sheet.
| Field | What belongs there |
|---|---|
| Issue and location | HD214-007; left and right sleeves |
| Observed result | Both sleeves measure 64 cm using the agreed method |
| Requested action | Target 62 cm; retain the approved cuff depth |
| Evidence reference | Photo 03 and sleeve measurement diagram |
| Owner and disposition | Pattern team; awaiting feasibility response |
| Verification | Measure replacement sample before closing |
Mark every row as a correction, a new design request, or a question. That distinction matters commercially: fixing a sample against an existing specification differs from changing the specification after seeing it. Ask the supplier to flag effects on materials, construction, or sample timing before treating a new request as accepted.
Attach evidence that survives a handoff
Photograph the whole garment first, then the affected area, then a close view with a ruler when dimensions matter. Name the files with the sample reference and issue ID. Place arrows outside the feature being judged so they do not obscure a seam, stitch line, or pocket edge. A tight photograph without orientation can make the left and right sides indistinguishable.
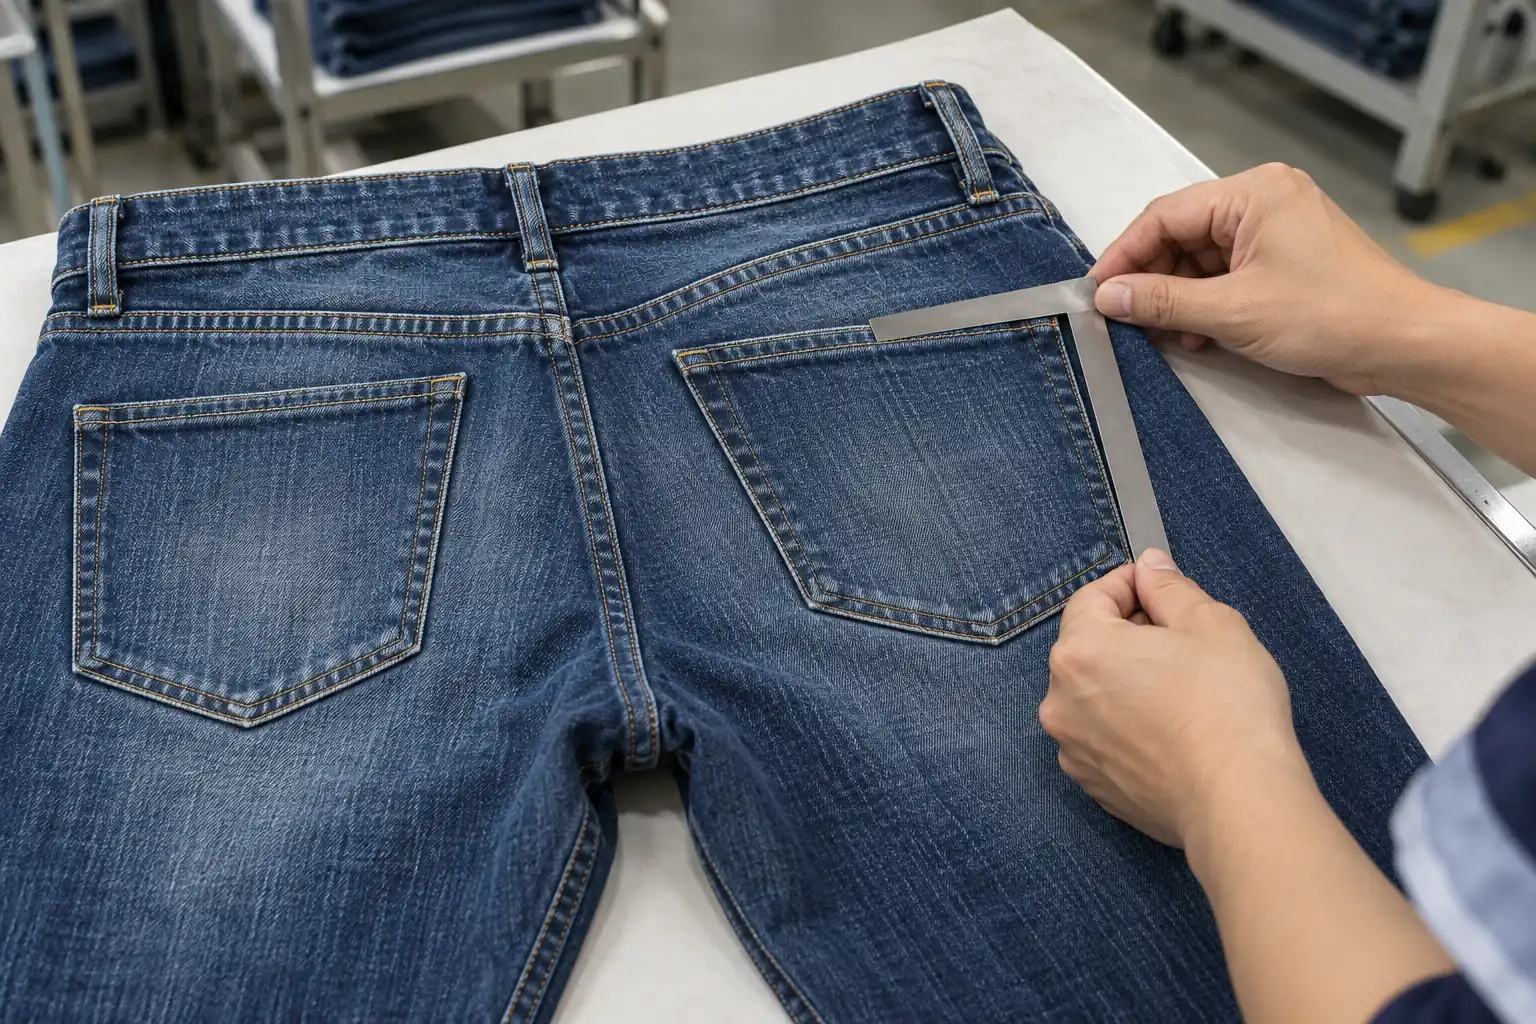
For a denim back-pocket adjustment, state whether the measurement starts at the waistband joining seam, pocket opening, or another defined point. “Move pocket down 1 cm” needs a reference drawing and confirmation of whether both pockets move together. If the request changes pocket angle, record that separately from vertical position.
Describe measurement conditions where they affect interpretation. State whether a knit garment was relaxed flat, whether an elastic waistband was measured relaxed or stretched, and whether denim was assessed before or after the specified wash. For color or hand feel, identify the physical swatch reference; ordinary photographs are supporting evidence, not reliable substitutes for an agreed physical standard.
Consolidate reviewer opinions before releasing instructions
Assign one person to release the sheet, even when design, merchandising, and technical reviewers all contribute. Give contributors a review deadline and keep their initial suggestions in a draft area. The release owner resolves contradictions before the factory receives instructions. A designer asking for a wider body and a merchandiser asking for a closer fit cannot both define the next sample.
At release, save an immutable copy with a revision identifier and date. Keep an editable working version for the next review, but do not silently replace the released file. The accompanying message should identify the style, sample reference, sheet revision, and requested response. Ask the factory to mark rows accepted, needing clarification, or requiring an alternative.
If a decision happens by call or chat, transfer it into the sheet before work proceeds. When a released instruction changes, issue a new revision and summarize the changed issue IDs. Ask whether affected work has already started; a revised sleeve instruction may arrive after cutting, which changes the practical options.
For linked styles, record dependencies explicitly. Two sweatshirts may share rib, but approving its color on one does not approve its stretch recovery on the other. Cross-reference the shared material decision while retaining separate garment-fit decisions.
Use the next review as a closure checklist
Begin the next fitting with the previous open issues, then add new observations. Give each row a status such as open, awaiting clarification, implemented pending review, or closed. A supplier reporting “done” means the requested work was performed; closure requires the agreed verification. Keep unresolved rows visible instead of deleting them when a new sample arrives.
- Identity: Confirm the sample reference, material version, size, and wash match the sheet being reviewed.
- Measurement: Record the actual result beside the target, using the same measurement method as the previous round.
- Tolerance: Check the agreed allowance for that point of measure. For example, a 62 cm sleeve target with an agreed ±0.5 cm tolerance accepts 61.5–62.5 cm; this is an illustrative project specification, not a universal standard.
- Construction: Inspect whether the correction introduced twisting, puckering, uneven seams, or a changed silhouette.
- Evidence: Attach the confirming photo or measurement and record who closed the issue and when.
- Scope: Separate fit approval from pending fabric, wash, trim, or branding decisions.
Reopen an issue under its existing ID if it returns. Preserve the earlier closure date and explain what failed in the new sample. This history helps distinguish an unclear instruction from a correction that was not carried into the next version.
Carry approved decisions into the production reference
A completed comment sheet is not enough if the tech pack still contains superseded measurements. After approval, update the specification, construction drawings, and material references. List the closed issue IDs incorporated into that revision. Keep the approved sample reference alongside the approved documents so a later reviewer can reconcile the physical garment with the written standard.
StitchQuote offers sampling, cut-and-sew, private label, fabric and trim sourcing, branding through woven labels, prints and embroidery, and QC before packing. A clear approval record gives those activities a consistent reference. MOQ for most categories starts from 50 pieces per style; denim starts from 100 pieces per style. Track approval separately for each style rather than assuming a collection-wide decision.
A 7-day sample is available for standard styles with confirmed specifications and available materials. Complex styles, custom washes, and custom-developed fabric take longer. Keep unresolved choices visible when discussing timing so the schedule reflects the actual work remaining.
Questions that arise during multi-style reviews
Can several styles share one spreadsheet?
Yes. Use an index and separate style sheets with stable issue IDs. Release only clearly identified revisions, and avoid collection-level comments such as “shorten all sleeves” unless every affected style and target is listed.
What if a replacement sample fixes only some issues?
Close only the verified rows. Carry the remaining IDs forward with their original requests and the latest evidence. Record why they remain open, whether that is unavailable trim, an unsuccessful correction, or a decision still owed by the buyer.
Should minor cosmetic issues block fit approval?
Record fit approval and cosmetic approval separately. A provisional fit decision can coexist with an open embroidery-placement issue, but the sheet must specify which subsequent work is authorized and which decisions remain pending.
How should contradictory measurements be resolved?
Compare the measurement method and garment condition before changing the target. Exchange photographs showing ruler placement, then remeasure the same identified sample if possible. Record the agreed result and method so the disagreement does not repeat.
Related reading and project support:
- Preparing the tech pack behind your comment sheet
- Sampling and MOQ planning
- Understanding clothing sampling timelines
- Contact StitchQuote about your sample requirements
Request a manufacturing quote
Share your product type, quantity range, and destination. We usually reply within one business day.