Custom Streetwear, Casualwear & Denim Manufacturer•MOQ 50 pcs•Denim MOQ 100 pcs•7-Day Sample Available

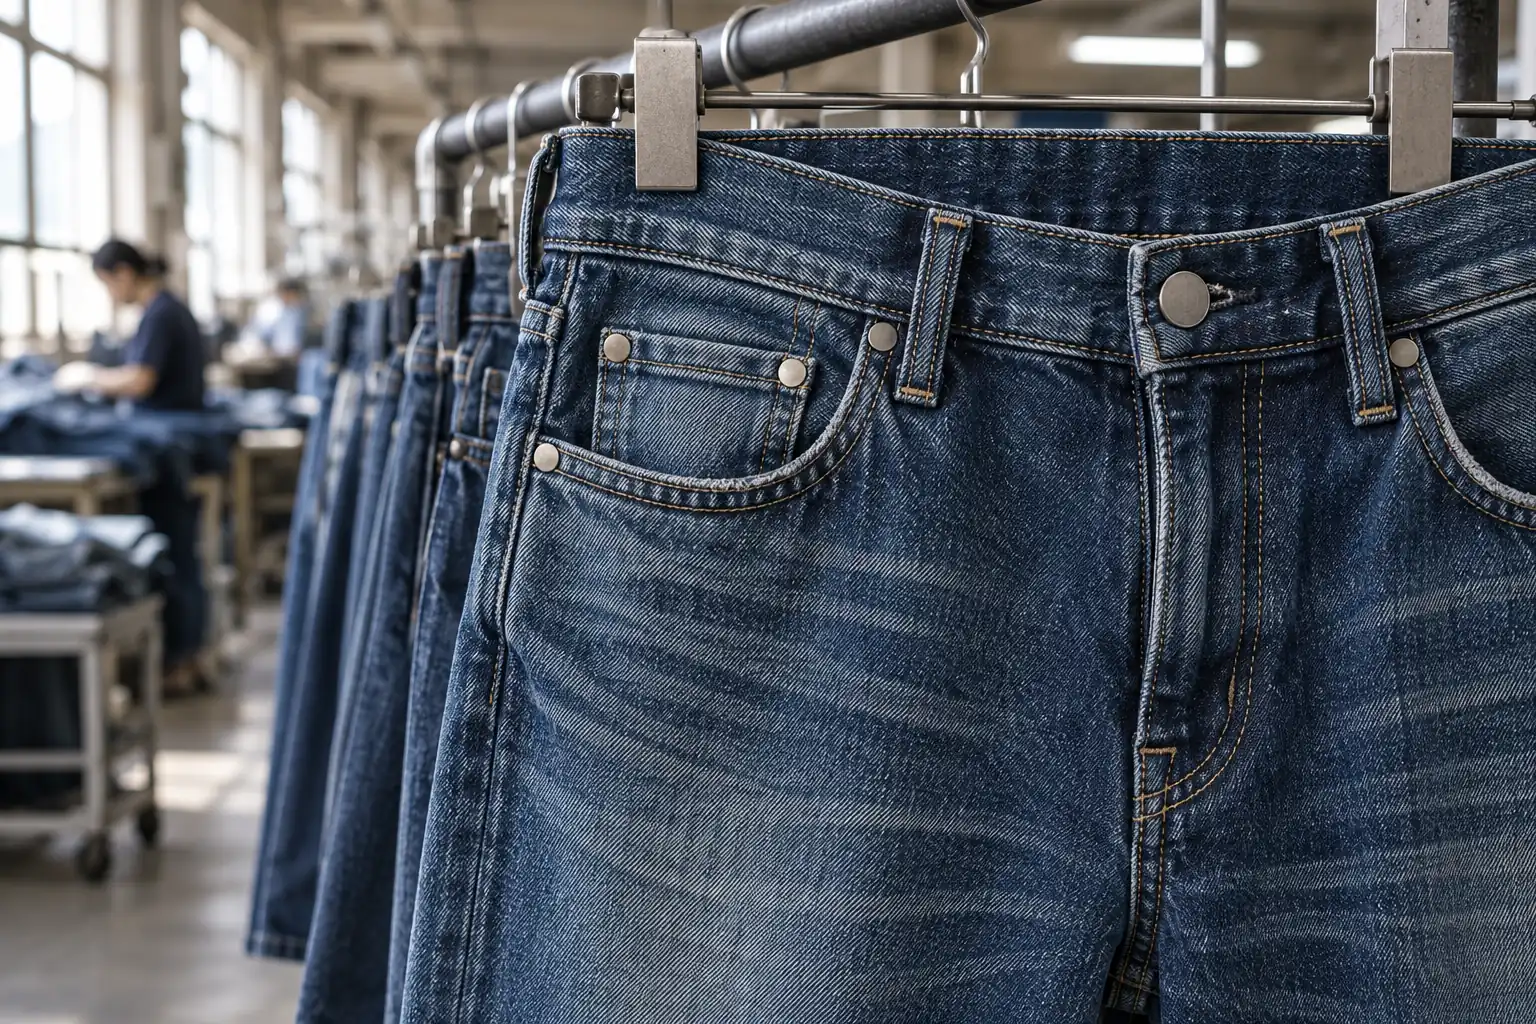
How to Handle Hardware Changes During Denim Sampling
Learn hardware changes during denim sampling through a clearer factory-side view that helps brands reduce rework, align sample goals, and move toward approval with.

A waistband button can look right on an unwashed denim sample and become the wrong choice after finishing. Its coating may lose color, its shank may sit differently against softened fabric, or the wash may leave a pale ring that a replacement button cannot cover. Changing the trim therefore changes more than the garment’s appearance.
For buyers handling hardware changes during denim sampling, the useful approval unit is the hardware, its attachment, and the wash route together. This guide focuses on deciding what must be retested when a button, rivet, snap, or zipper changes after wash development has begun. The aim is to preserve the intended denim finish while proving that the final closure still works.
Start with the moment the metal enters the wash
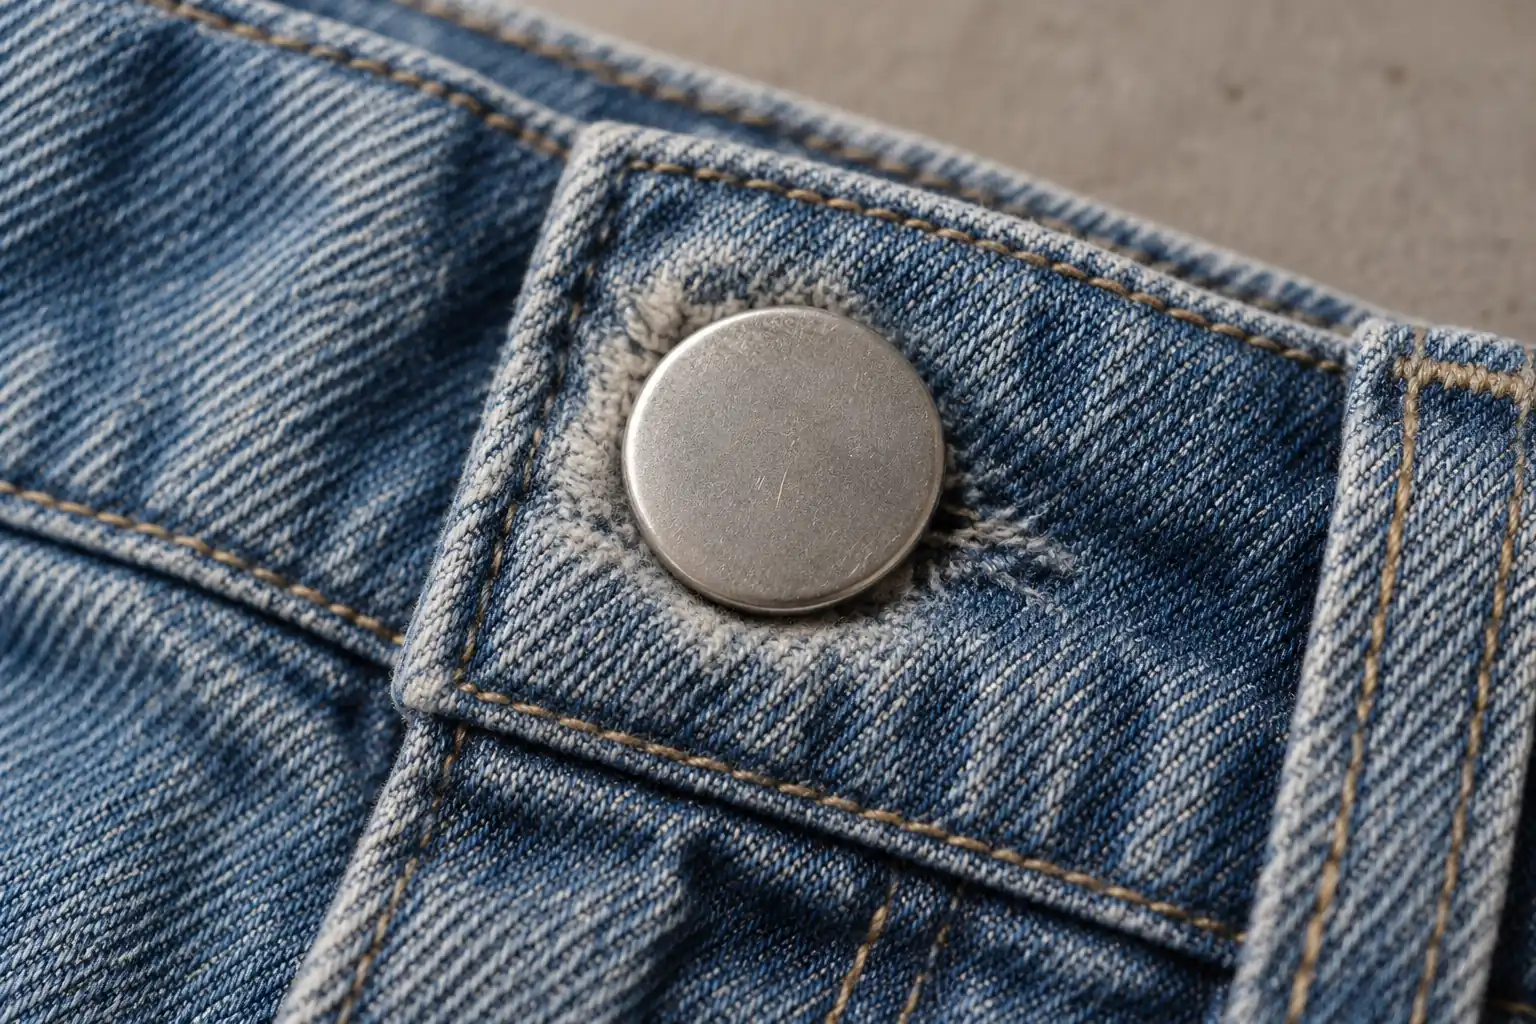
Before selecting a replacement, establish whether each component is attached before washing, after washing, or through a mixed sequence. A waistband button might be fitted after finishing while pocket rivets travel through the wash. Do not assume that all metal on one garment follows the same route. Record the actual sequence used for the sample under review.
Prewash attachment exposes metal and surrounding cloth to the finishing process together. Depending on the materials and process, this can produce coating wear, discoloration, abrasion, or a protected patch beneath the hardware. Postwash attachment avoids that exposure but requires access for setting tools and suitable support behind the finished fabric. Neither route is automatically preferable.
Ask the factory to mark the installation stage beside every hardware reference. Include drying and any subsequent treatment that could expose the component to heat or moisture. If a supplier proposes moving installation until after washing, treat that as a process revision: it can change local appearance, attachment access, and the order of operations.
Turn a visual substitution into a measurable specification
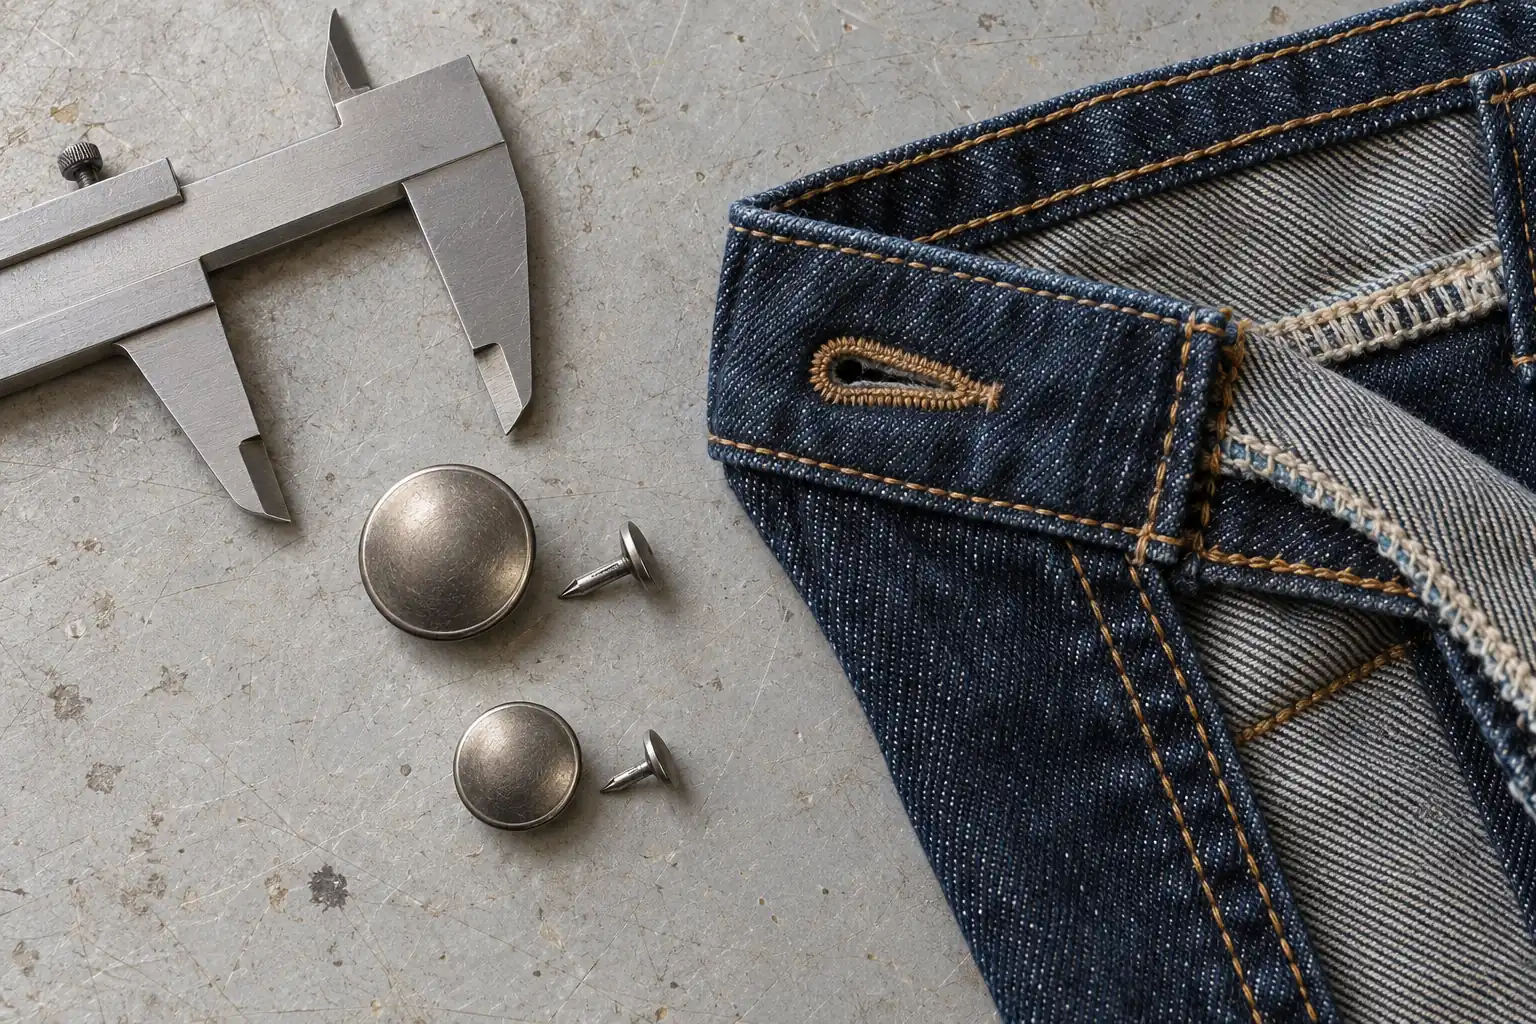
“Use a darker antique button” does not describe a repeatable substitution. Assign a revision code and specify the component type, supplier reference, base material, finish reference, visible dimensions, and mating parts. For a tack button, include the cap and tack combination. For a snap, identify the full assembly rather than approving only its visible face.
Imagine replacing a nominal 17 mm waistband button with a 20 mm cap. Even if the new cap covers the original attachment point, it may interfere with the buttonhole, crowd a nearby belt loop, or leave insufficient clearance at the waistband edge. The dimensions are an example, not a recommended standard. Check the replacement against the actual pattern and sewn construction.
Likewise, a longer rivet post is not a universal fix for loose setting. Post length must suit the compressed material stack and the intended setting system. Record whether the location contains two denim layers, folded pocket corners, reinforcement, or another combination. Ask the trim supplier and factory to confirm compatible tooling and setting conditions.
Separate appearance approval from engineering acceptance in the revision sheet. A finish swatch can establish color direction; it cannot establish holding strength or wash durability. Keep the original component reference visible so that the sample room can identify exactly what has been superseded.
Choose a test that isolates the changed variable
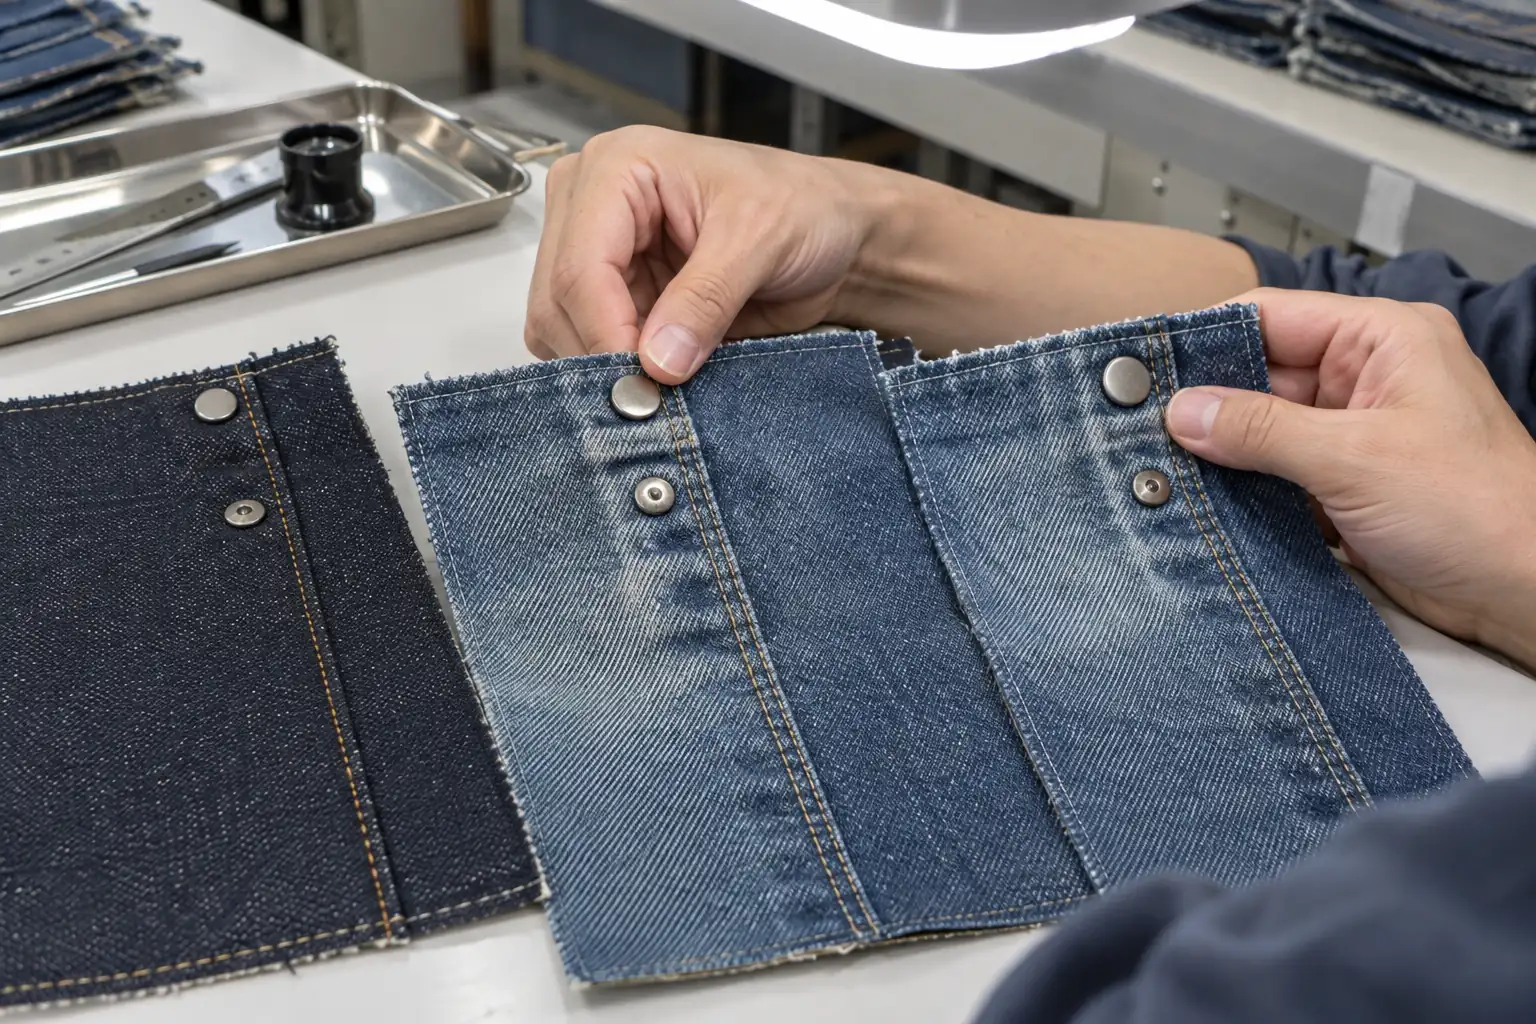
When both the wash and hardware are revised at once, a failed result becomes difficult to diagnose. Where practical, compare original and replacement hardware on matched panels made from the approved denim and construction layers. Send them through the intended wash route under comparable conditions. Keep an unwashed reference to distinguish the original finish from wash-induced change.
| Proposed change | First useful check | Garment evidence still needed |
|---|---|---|
| New coating, same geometry | Matched washed panels for color and surface condition | Local staining and wear at actual attachment positions |
| Larger cap or different post | Construction mock-up with compatible tooling | Clearance, distortion, and closure operation |
| Different zipper assembly | Fly mock-up using the intended wash sequence | Full fly alignment and repeated opening after finishing |
Panels are screening tools, not substitutes for every garment check. A flat panel cannot reproduce a bulky waistband intersection or the way a zipper sits inside a fly. Advance the promising option to a garment sample when placement, access, or garment movement could affect the result.
Document the wash reference, fabric lot, installation stage, and component references for every comparison. If the replacement only passes after a different wash treatment, the result does not approve it for the original treatment. It creates a new combination requiring its own review.
Recognize when replacing hardware means rebuilding the sample
Removing a set rivet or button can enlarge the hole, crush yarns, or leave a visible impression. Refitting hardware into that location may help a designer assess color, but the damaged site is a poor basis for validating attachment performance. Label a reworked sample clearly and state which decisions it can support.
Wash marks also survive removal. A smaller button can reveal an unworn circle; a new rivet may sit beside abrasion shaped by the previous cap. If that appearance would not occur when manufacturing with the replacement from the start, judging the reworked garment alone can lead to the wrong decision.
Use a newly sewn waistband, pocket assembly, or complete garment when the original attachment site no longer represents production. The smallest valid rebuild depends on the decision: a pocket assembly may demonstrate rivet setting, while a full jean is needed to assess overall wash appearance and fly behavior together.
StitchQuote’s denim MOQ starts from 100 pieces per style. Component sourcing requirements should be confirmed separately when selecting a special finish or assembly. A 7-day sample is available for standard styles with confirmed specifications and available materials; custom washes, complex styles, and custom-developed fabric take longer. Confirm the revised schedule against the testing and reconstruction actually required.
Inspect the washed assembly before releasing the revision
Evaluate the sample after it has completed the agreed finishing and drying sequence. Compare it with the retained reference under consistent lighting. Record visible defects separately from functional failures: a closure can work while its plating is unacceptable, and an attractive button can still rotate or loosen.
- Surface condition: Check exposed faces, edges, and recesses for peeling, pitting, unexpected color loss, or sharp burrs. Photograph findings with the component reference visible in the inspection record.
- Surrounding denim: Inspect both sides for staining, broken yarns, enlarged holes, puckering, and unwanted halos. Compare equivalent positions on the garment.
- Attachment security: Check for rocking or rotation and use the agreed mechanical test method where required. Define the test force, duration, equipment, and acceptance criteria with the factory; a hand tug is not a quantified test.
- Closure function: Button and unbutton the waistband, operate snaps, and run the zipper through its usable travel using a documented cycle count agreed for the project. Note snagging, separation, or fabric trapped by the mechanism.
- Placement and comfort: Measure from defined seams or edges and inspect skin-facing parts. As an illustrative project tolerance, a buyer might propose ±2 mm for button-center placement; confirm feasibility and required clearance before adopting it.
If the garment requires durability evaluation through consumer laundering, agree that protocol separately from the factory wash. A successful production finish does not demonstrate performance through repeated home care. StitchQuote includes QC before packing; the approved revision should define the hardware checks to carry into that inspection.
Questions buyers ask when the wash is already approved
Can we approve the new metal color from a photograph?
A photograph can narrow the choice, but reflections and lighting can conceal finish differences. Approve a physical reference when appearance matters, then inspect the replacement after the intended wash. Keep a dated reference sample so later batches have a stable comparison.
Does installing the button after washing avoid another sample?
It may remove direct wash exposure for that button, but it does not resolve clearance, setting, or finished-fabric damage. At minimum, validate installation on representative washed construction. Use a garment sample if the change affects the waistband or closure relationship.
Must a new zipper trigger another fit review?
Review the fly when zipper dimensions, tape behavior, or installation changes. Different bulk or shrinkage can alter its lay even if the pattern is unchanged. A nominally matching zipper still needs confirmation in the finished assembly before its substitution is released.
Close the change with one traceable approval package
Release the revision only when the component reference, installation sequence, wash reference, and accepted sample agree. State whether earlier samples remain valid for fit only, appearance only, or neither. Remove obsolete hardware instructions from the active production specification while retaining their revision history.
Send the factory annotated photographs, inspection results, and a clear disposition for each open issue. An approval such as “replacement rivet accepted on wash revision C, installed before washing” is more actionable than “new trim looks good.” These references help keep the tested combination intact from sampling through production.
- Prepare the revised technical specification
- Review sampling and minimum quantities
- Coordinate denim wash approval
- Discuss your hardware revision with StitchQuote
Request a manufacturing quote
Share your product type, quantity range, and destination. We usually reply within one business day.