Custom Streetwear, Casualwear & Denim Manufacturer•MOQ 50 pcs•Denim MOQ 100 pcs•7-Day Sample Available

How to Plan a Vintage Wash Tee Program for Better Consistency
Understand vintage wash tee program with more practical factory-side context around material behavior, product feel, stability, and how the decision affects sample.

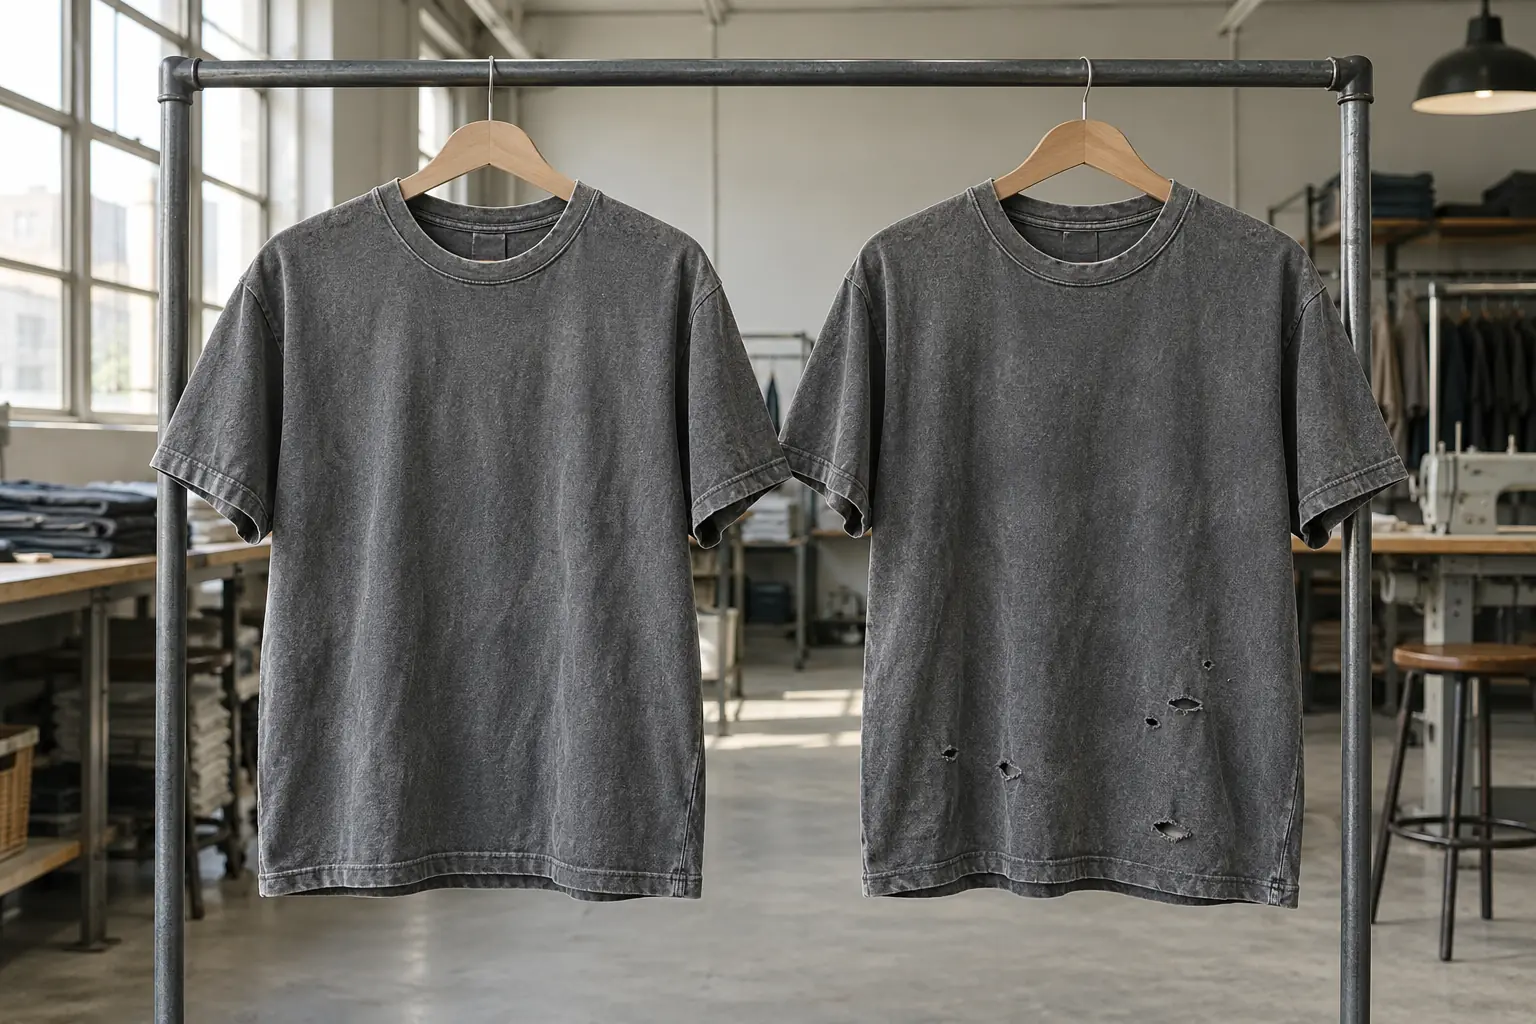
A faded tee can look old without being damaged. That distinction should lead a vintage wash tee program: decide whether the customer is buying softened color and intact construction, or visible wear with deliberately controlled openings. If those two intentions share one vague reference image, sampling can drift between attractive fading, excessive abrasion, and accidental damage.
For buyers preparing a first production release, the useful deliverable is a pair of clear acceptance standards: one for appearance and one for garment integrity. Build them around clean and distressed versions of the same base tee, then approve where their requirements diverge. This keeps the worn aesthetic deliberate while giving production and inspection teams something more precise than “make it look vintage.”
Choose the wear level before choosing the wash effect
Start with the product promise. A clean faded tee should retain continuous fabric, intact stitching, and a collar that sits as intended. Its age comes from color loss, surface character, and softness. A distressed tee adds selected physical wear: a roughened hem edge, small collar nicks, or openings in specified areas. These are separate design decisions, even when the finished colors look similar.
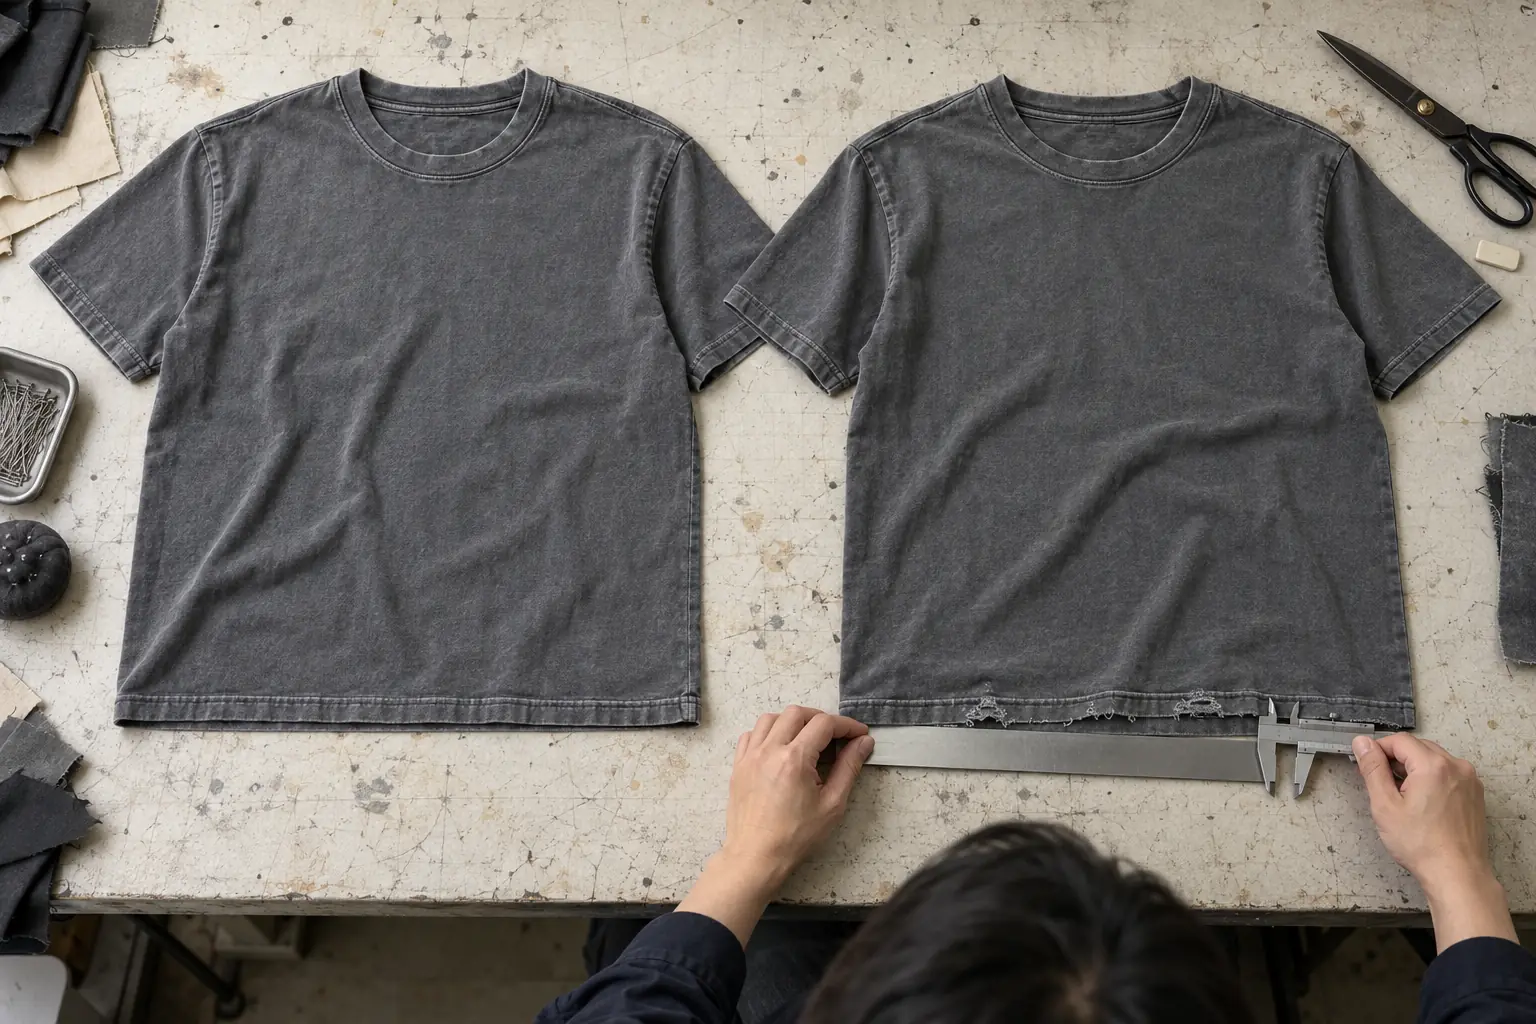
For example, a slate-colored everyday tee might permit lighter seam ridges but no broken yarns. A stage-inspired version might allow two small openings along the lower front while keeping the shoulder seams intact. Avoid asking the factory to infer damage placement from an editorial photograph, where folds, shadows, and styling can conceal the actual construction.
| Approval attribute | Clean faded version | Distressed version |
|---|---|---|
| Surface | Fading and softness; no holes | Fading plus mapped abrasion or openings |
| Edges | Continuous collar and hem | Wear only within approved zones |
| Construction | Intact seams and stitches | Protected structural seams despite visible wear |
| Variation | Approved shade limits | Approved shade and damage limits |
Keep distinct version identifiers on samples and comments. An approval for a distressed hem must never become permission to accept holes on the clean style.
Find a jersey that survives both appearance targets
A fabric that gives a beautiful fade may not tolerate abrasion well. Evaluate the actual jersey composition, knitting structure, dye route, and finishing history before specifying damage. Cotton jersey and cotton blends can respond differently to washing; rib may also change shade or recover differently from the body. A fabric name alone does not predict the finished result.
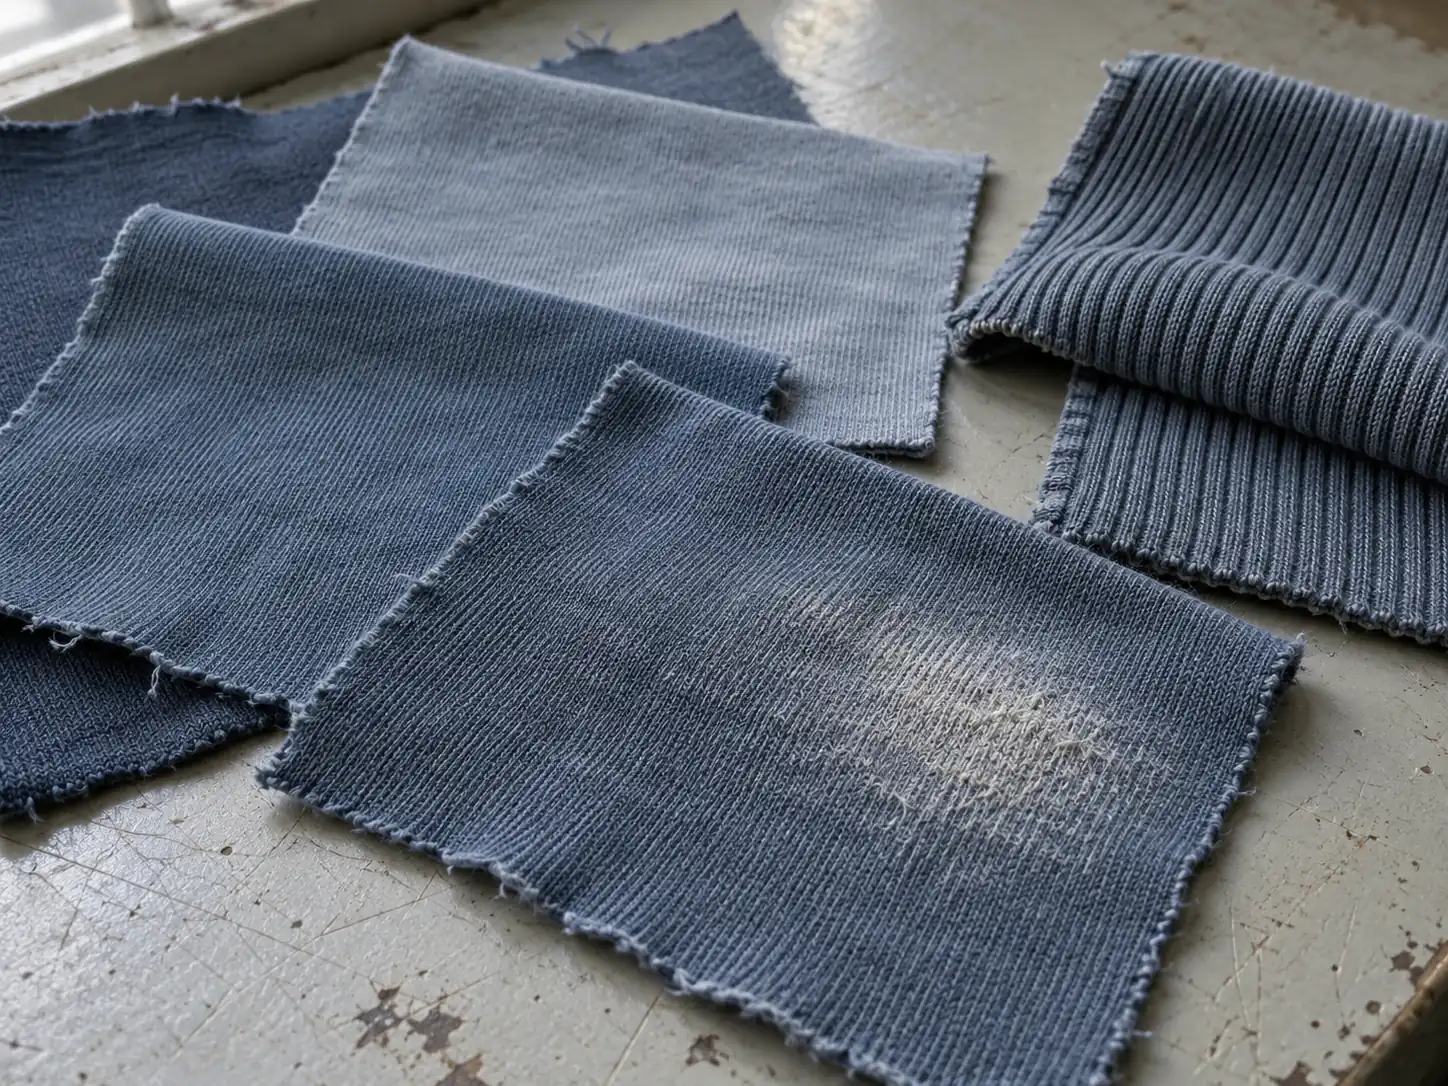
As an illustrative development brief, compare a 200 GSM and a 240 GSM jersey in the same intended silhouette. Those weights are options to test, not universal recommendations. Record whether the stated weight describes incoming fabric or fabric after finishing, and compare samples after equivalent conditioning. A heavier jersey can still weaken locally if the distress treatment cuts too many yarns.
Assess the clean wash first as a baseline, then compare the distressed route against it. Photograph both under the same lighting and measure body length, chest width, and collar opening. If distressing changes drape or stretch enough to alter the fit, the two versions may need separate specifications even when they began with the same pattern.
Do not transfer a denim abrasion recipe directly to a knit tee. Jersey openings can grow or curl differently from wear marks on woven denim. Borrow the discipline of physical wash standards, but develop the treatment on the intended tee material.
Draw the damage boundary on the garment
Replace “light distress” with a front-and-back placement drawing. Give each treatment zone an identifier, an allowed treatment type, and an explicit limit. Separate surface fuzzing from broken yarns and through-holes; these effects are not interchangeable. Also mark protected areas around the shoulder join, armhole, neck attachment, and any decoration that must remain intact.
An example brief could allow two to four openings, each 3–6 mm across, within a lower-front band while prohibiting holes elsewhere. These are proposed development limits to confirm per project, not an industry standard or a StitchQuote tolerance. Define how the opening is measured: garment relaxed, laid flat, and without stretching the damaged area. Otherwise two inspectors can report different sizes for the same hole.
Position zones from stable garment landmarks, such as the hem seam or center front. Explain whether placement scales across sizes or stays at a fixed distance. A nick that looks subtle on a large tee may dominate a smaller garment, particularly near the neck.
Retain a physical example of the maximum acceptable wear as well as the preferred sample. For the clean version, write “no through-holes, no cut stitches, no broken seam yarns” instead of relying on the absence of distress marks in the drawing.
Approve decoration in the sequence it will actually face
The order of dyeing, washing, distressing, and decoration affects the result. Printing before a wash can change ink appearance or adhesion; printing afterward may leave a crisp graphic against faded fabric. Neither is automatically right. Choose the visual relationship intentionally, then ask the supplier to propose a compatible sequence for the selected fabric and decoration.
A clean faded tee with a small chest print might require uniform ink coverage and an undamaged print edge. A distressed graphic tee could permit a worn print surface but still prohibit peeling. Specify whether apparent cracking belongs to the artwork or is an accepted process effect. A visual reference cannot by itself establish durability.
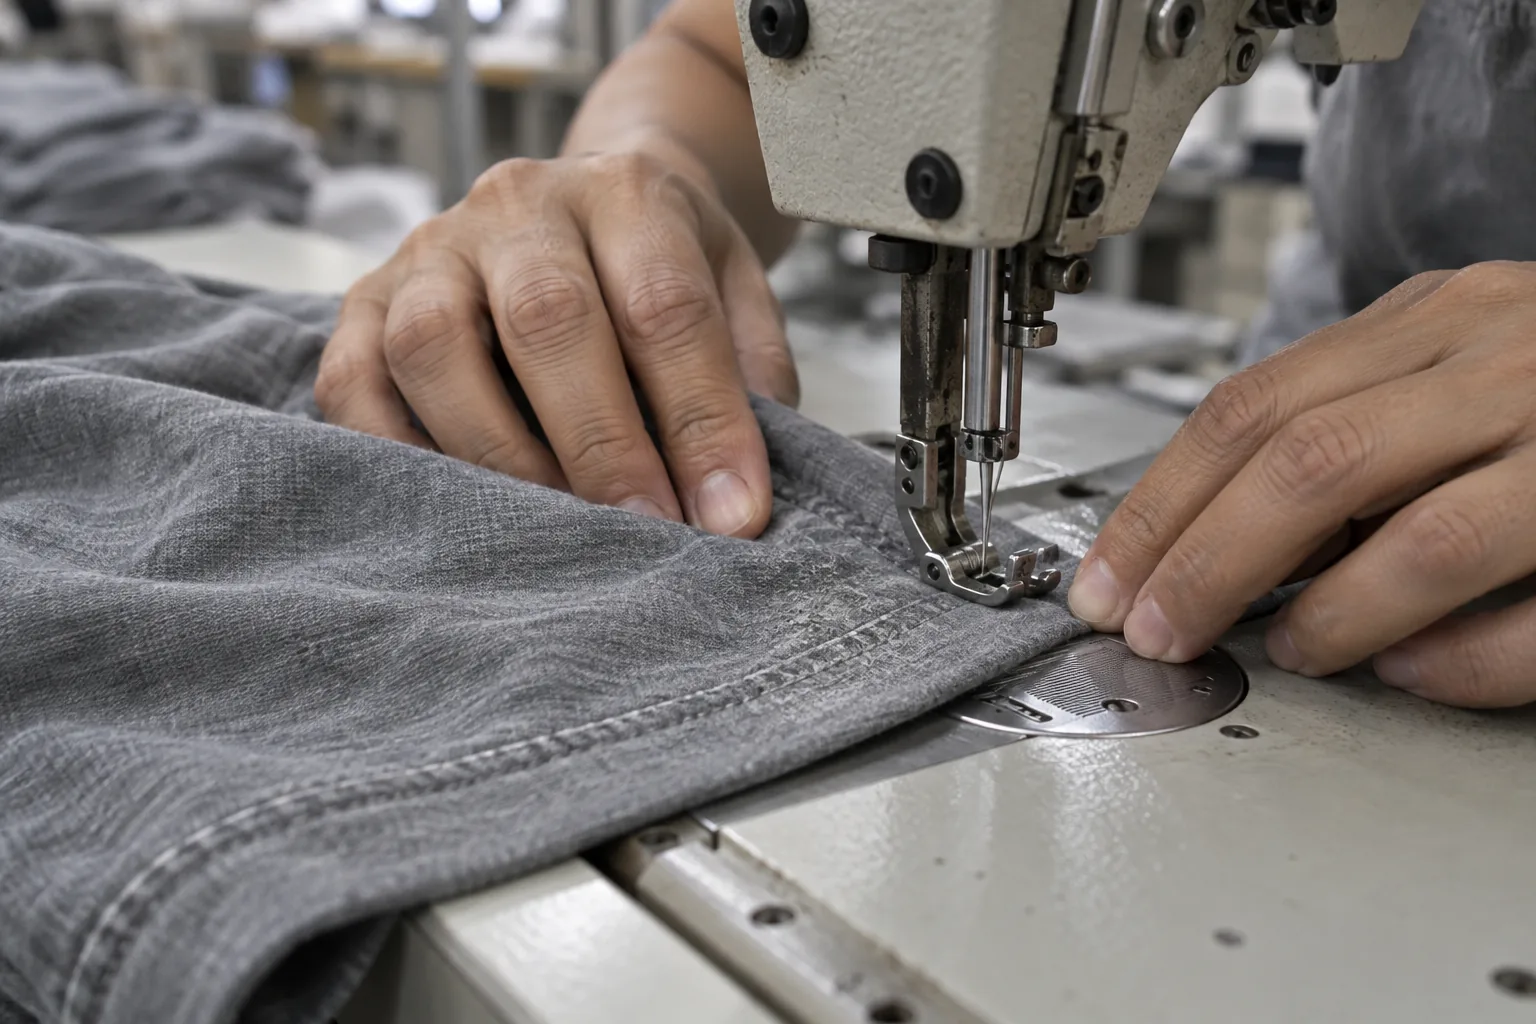
Test the assembled combination, including neck rib, sewing thread, labels, and embroidery where applicable. Differential shrinkage can create puckering, and abrasion can expose or cut embroidery threads. Keep distress zones away from decoration unless their interaction has been deliberately sampled and accepted.
When reviewing revisions, identify what changed: fabric, treatment intensity, sequence, or decoration method. Changing several inputs at once makes it difficult to explain why the sample improved and harder to reproduce the approved result.
Release a range of acceptable garments, not one lucky sample
A single attractive sample establishes direction but says little about variation. Request several development pieces where feasible and compare the lightest, darkest, least worn, and most worn results. Agree which boundaries are acceptable before bulk release. Random placement can remain part of the design, but random severity should not become the acceptance rule.
Keep a retained reference set with version identifiers and approval dates. Capture consistent photographs for communication, while using physical samples to judge shade and hand feel. Ask the supplier to document the approved process sufficiently to repeat it, including the material lot and relevant treatment controls. Photos taken under different lighting should not overturn a physical shade agreement.
Confirm whether the clean and distressed versions count as separate styles, how quantities split by color and size, and whether treatment differences affect sampling or production scheduling. StitchQuote’s MOQ for most categories starts from 50 pieces per style; denim starts from 100 pieces per style. Confirm the applicable minimum for the proposed tee variants.
A 7-day sample is available for standard styles with confirmed specifications and available materials. Custom washes, complex styles, and custom-developed fabric take longer. Build the schedule around the actual approval work rather than assuming a custom distressed finish fits the standard sample window.
Inspect for wear that stays inside the agreement
QC should distinguish an intentional effect from a construction failure. Review finished garments after all treatments, and agree inspection coverage and acceptance criteria before production. StitchQuote provides QC before packing; the project brief should make the clean and distressed standards explicit.
- Shade and surface: Compare garments with the approved physical range under consistent lighting. Check panels and rib for unapproved contrast.
- Damage map: Count openings, measure their size, and check placement. Reject unintended holes on the clean version and damage outside approved zones on the distressed version.
- Structural integrity: Examine shoulder, armhole, side, and neck seams for cut threads or separation. Decorative wear does not excuse a failing seam.
- Fit after treatment: Measure agreed points against finished-garment tolerances, including body length, chest, and collar opening. Check twisting and uneven hems.
- Care performance: Wash representative samples using the agreed care method. Recheck hole growth, shape, shade, and decoration, documenting the number of cycles and acceptance limits.
If openings grow beyond the approved limit during care testing, revise their construction or treatment before release. Record whether the fix changes appearance, then approve the revised garment again.
Questions buyers ask when splitting clean and distressed tees
Can both versions use one shade approval?
Only if finished samples demonstrate that the processes remain within the same accepted range. Extra abrasion may expose lighter fibers locally. Approve that contrast separately, even when the overall shade target is shared.
Does every distressed opening need an identical position?
No. A controlled zone can allow variation without demanding identical garments. Specify permitted counts, sizes, and boundaries, then approve representative examples. Use exact positions when the design depends on alignment with a graphic or seam.
Should the clean version feel less soft?
Not necessarily. Softness and visible damage are different attributes. Establish a hand-feel reference for each version and ask for a treatment route that achieves it while preserving the required surface and strength.
What should accompany the first sampling request?
Send the base garment measurements, fabric target, separate appearance references, damage map, decoration details, and intended care method. StitchQuote offers cut-and-sew, private label, sampling, fabric and trim sourcing, and branding including woven labels, prints, and embroidery. Identify which elements need development so the request can be assessed together.
Related reading and project planning
- Prepare the garment specifications and placement drawings
- Review sampling and minimum quantities
- Explore physical wash approvals for denim
- Discuss your clean and distressed tee variants
Request a manufacturing quote
Share your product type, quantity range, and destination. We usually reply within one business day.