Custom Streetwear, Casualwear & Denim Manufacturer•MOQ 50 pcs•Denim MOQ 100 pcs•7-Day Sample Available

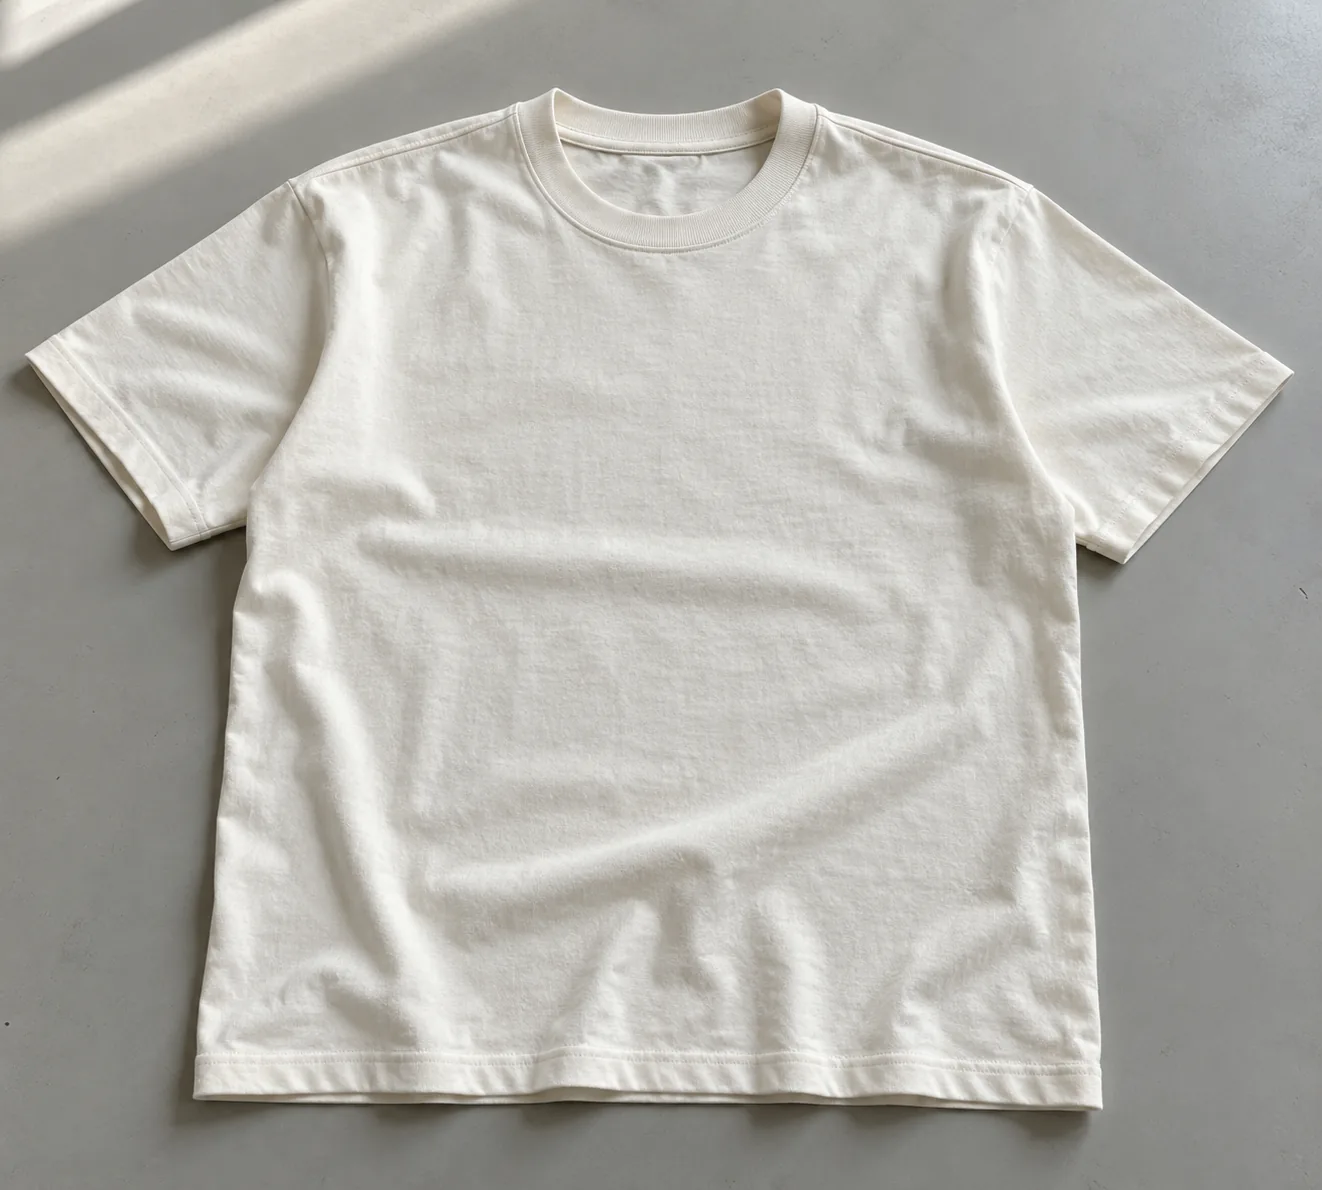
How to Choose a Cleaner Neckline for Premium T-Shirts
Understand premium t shirt neckline construction through fit, fabric, decoration, and production logic so streetwear and premium basics buyers can make cleaner.

A T-shirt collar can look precise on a display form and still spread after dressing, ripple after washing, or pull the shoulder line inward. For a buyer approving premium basics, the useful question is whether that neckline returns to its intended shape after ordinary handling. A neat photograph alone cannot establish that.
Use neckboard recovery as a practical development checkpoint: compare the relaxed neckline with an agreed, size-specific outline before and after controlled stretching and laundering. Here, “neckboard” means a comparison template, not a universal industry test or a device used to force the collar into shape. This approach helps you separate a resilient neckband from one that simply looks tidy immediately after pressing.
Build a neckboard reference before judging recovery
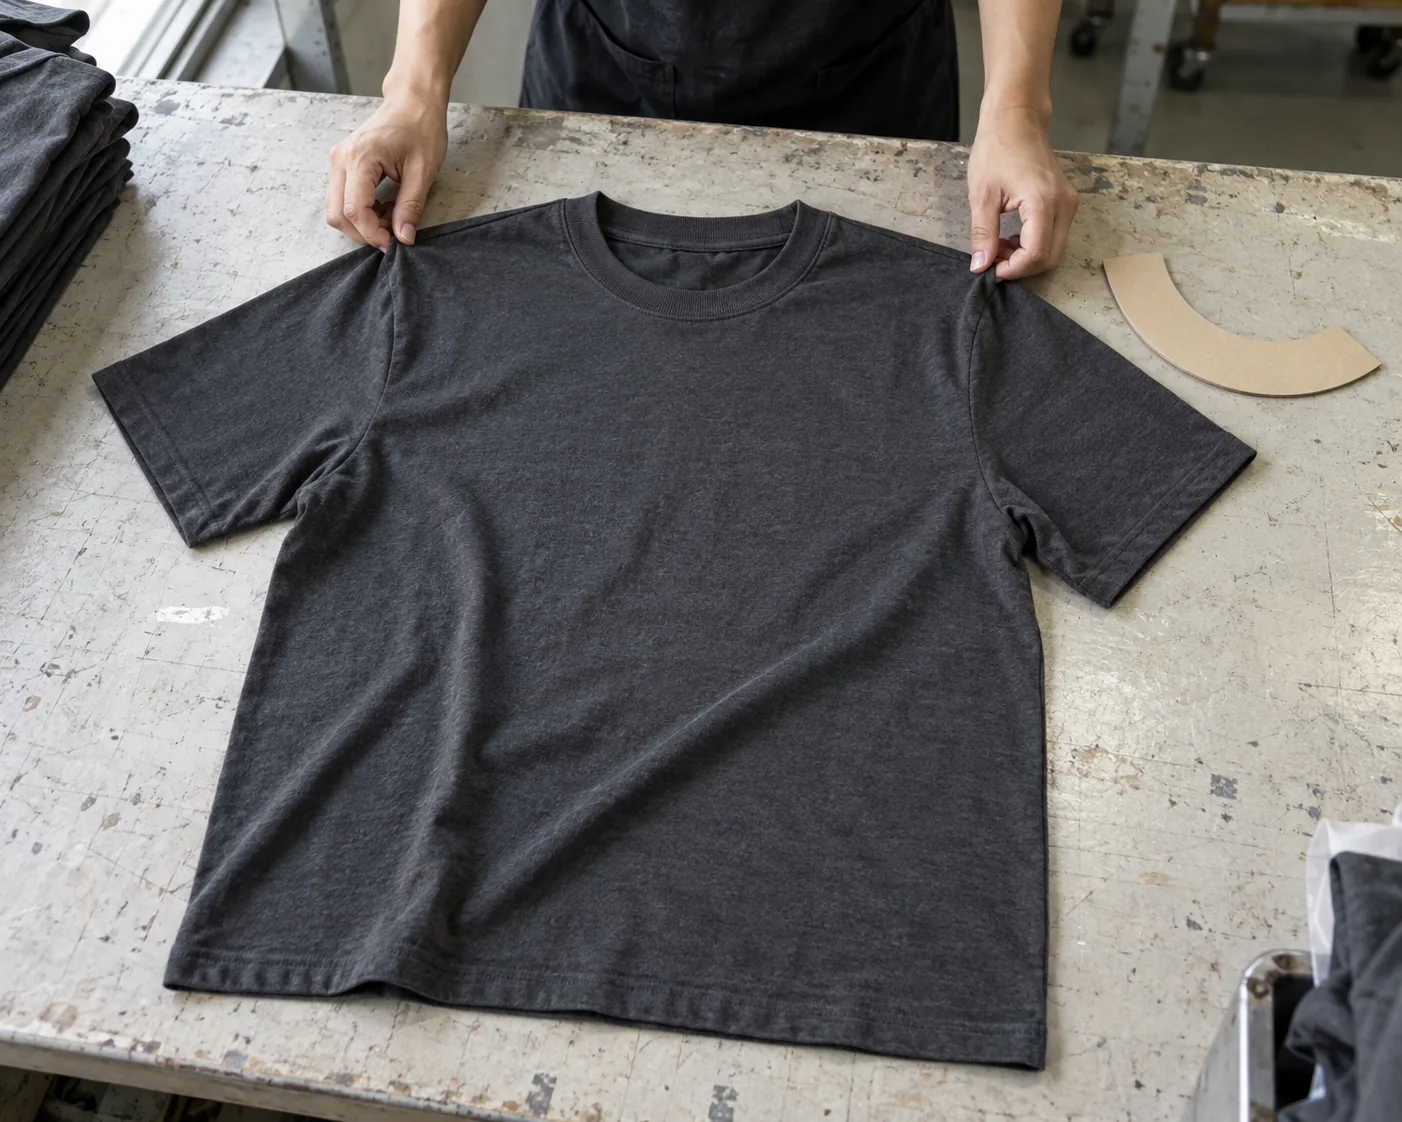
Start with the approved pattern and a physical sample that represents your intended fit. Trace the finished opening onto a flat reference sheet or rigid board, recording the sample size, revision, and measurement method separately. Position the shirt flat with shoulders balanced and the back neck visible. Do not pull the collar until it matches the outline.
Define exactly where measurements begin and end. Finished neck width might be measured straight across between the inner neckband edges, while front drop runs vertically from an agreed high-shoulder reference line to the center-front inner edge. Neither dimension should silently switch to the attachment seam during later inspections.
The outline exposes asymmetry that two measurements can miss. A collar may retain its width while becoming pointed at center front or flattened near one shoulder. Photograph each comparison from directly above, using the same garment placement. Keep the board as a reference rather than putting it inside the collar during storage, which could stretch the opening you are trying to evaluate.
Specify the neckband as a recovery component
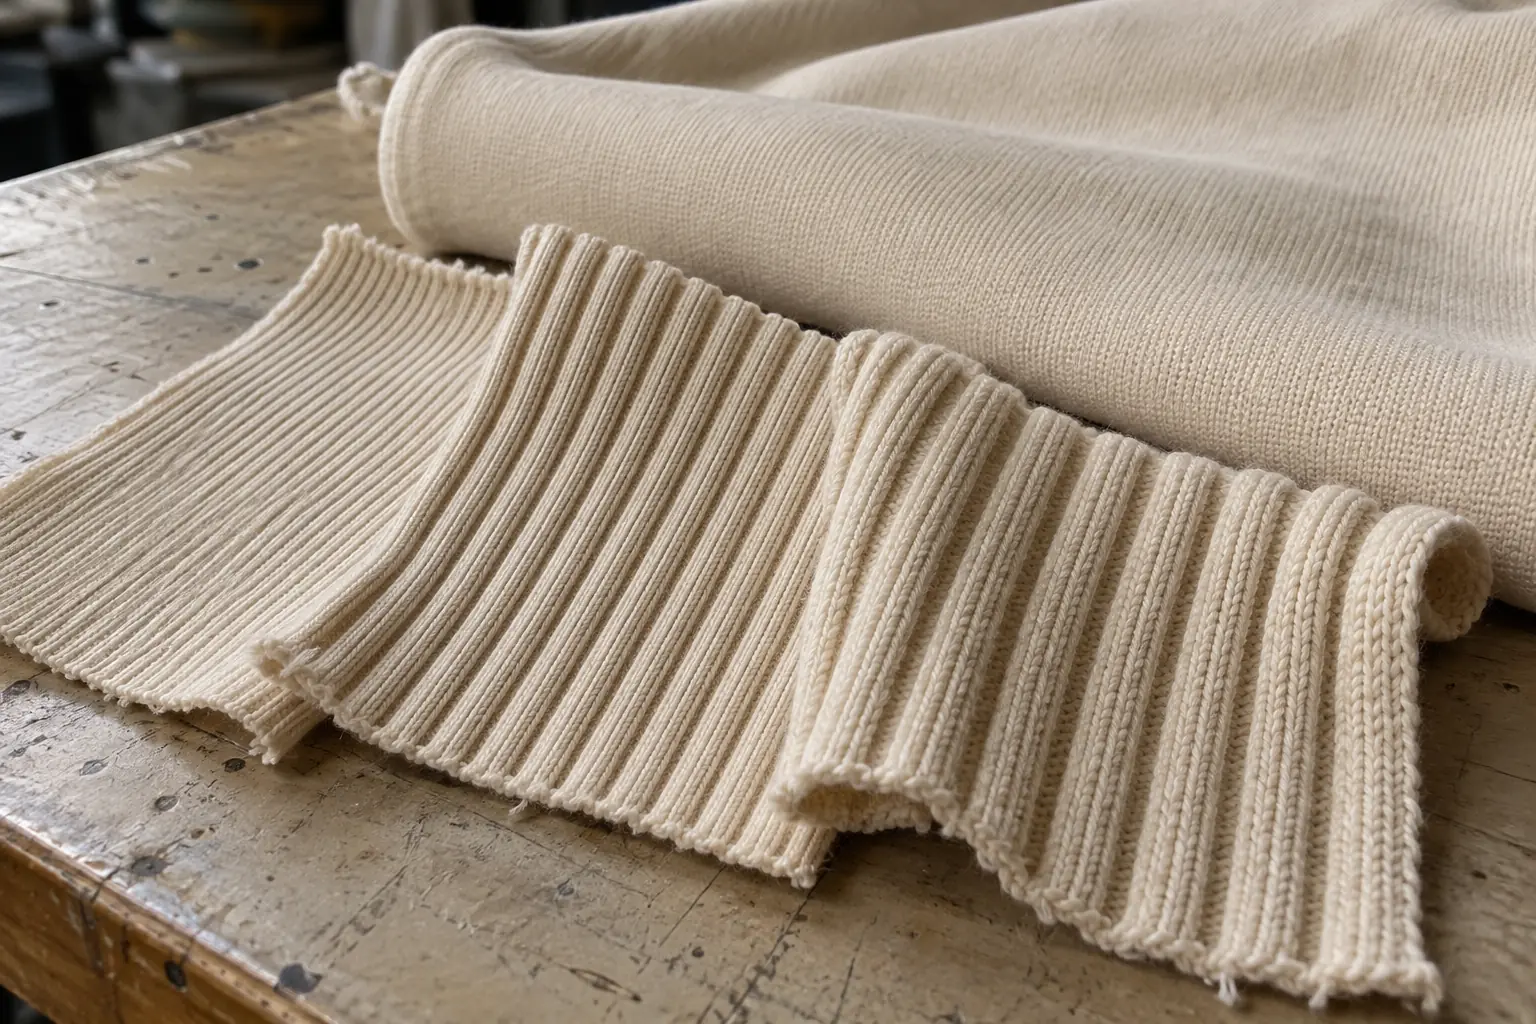
A heavier rib is not automatically a better collar. Ask for the rib structure, fiber composition, finished weight, usable width, and finishing route. A cotton rib and a cotton-elastane rib can produce different handfeel and recovery, but composition alone does not predict the result. Yarn, knitting tension, dyeing, and finishing also influence how the band behaves.
Evaluate candidates against the actual body fabric. For example, a compact jersey body can support a visibly substantial band, while a softer jersey may buckle beneath the same band’s contraction. Compare two rib options on identical garment bodies, keeping the pattern, seam, and finished band width fixed. Otherwise, an apparent material improvement may actually come from a changed opening.
Check that the rib’s principal stretch direction runs around the neck. Request relaxed swatches from the intended production material and compare their dimensions after the proposed wash. If the shirt will receive a garment wash, evaluate the collar through that route as well. An untreated swatch cannot demonstrate the behavior of a finished washed product.
Balance band length against the opening it must control
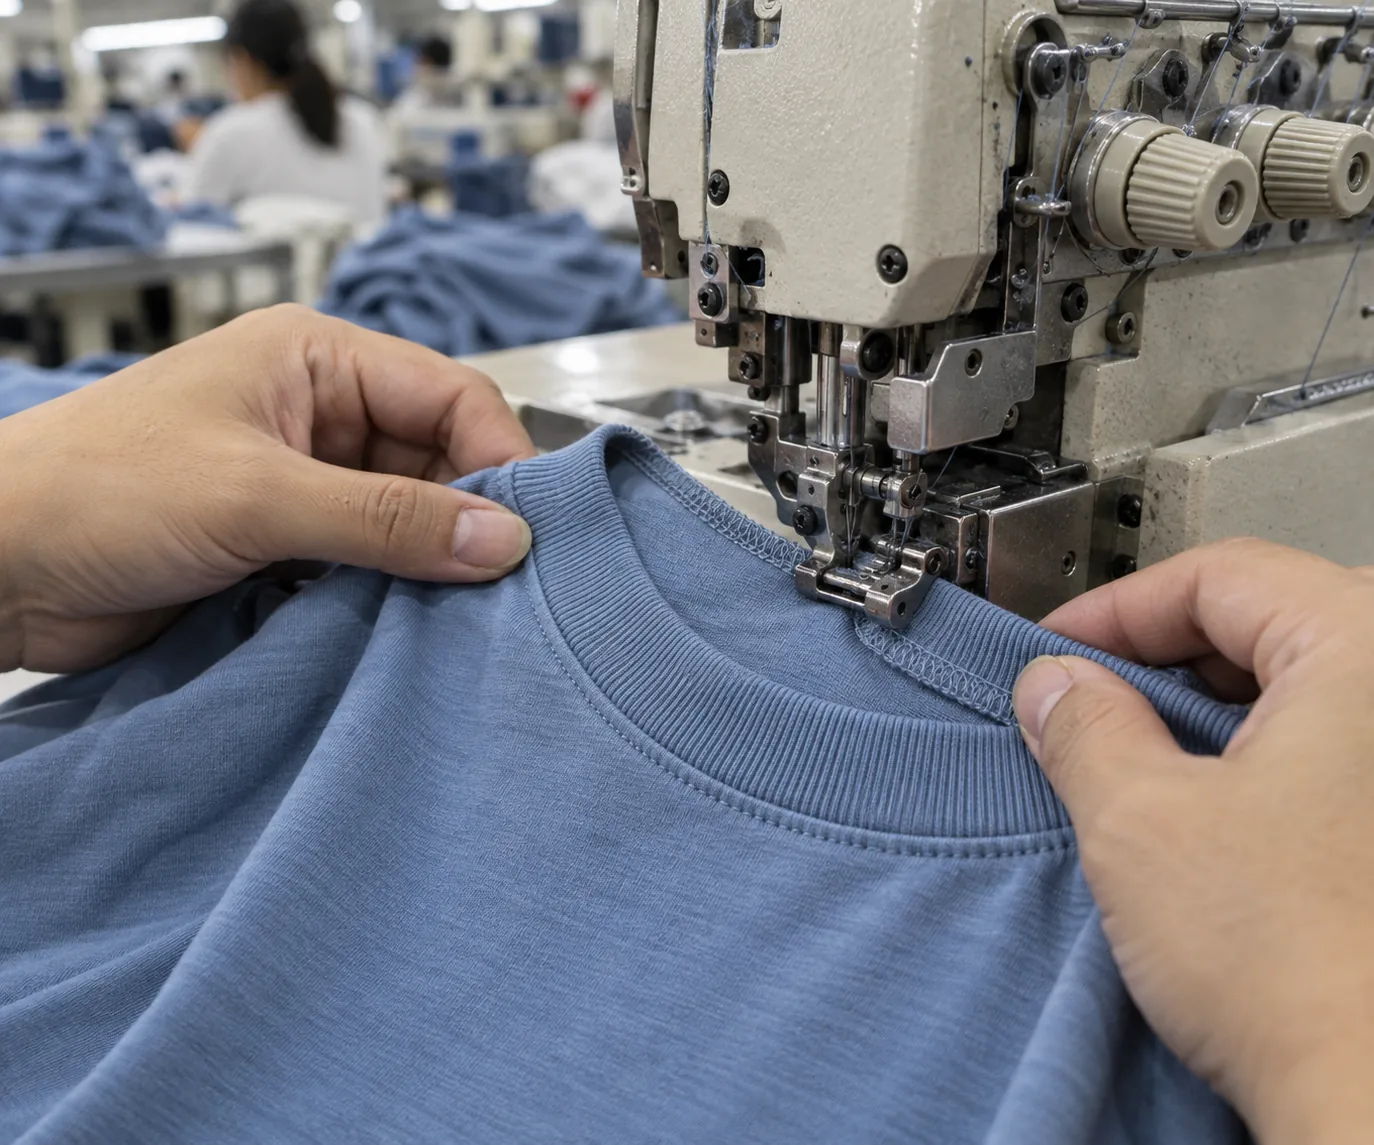
The band is commonly shorter than the seam line it joins, allowing it to draw the opening inward. There is no reliable universal percentage for every rib and neckline. Treat the ratio as a sampling variable: measure the body neckline along its stitching line and the closed band’s attachment edge, excluding joining allowances from the comparison.
Suppose a development neckline measures 60 cm along that seam line. Trial closed bands of 51 cm and 53 cm would represent ratios of 85% and about 88%. These are illustrative trial values, not recommended specifications. The shorter option may grip better, but it may also gather the jersey or become uncomfortable when pulled over the head.
Mark matching positions on both components so the intended stretch is distributed consistently. Inspect the front curve, shoulder junctions, and back-neck seam join separately. A localized peak beside a shoulder can indicate uneven feeding rather than poor rib recovery. Resolve that assembly issue before shortening the whole band.
Keep the seam construction constant during comparison. Record overlock setup, seam allowance, needle and thread choices, and any topstitching or back-neck tape. These can restrict extension or introduce waviness. A rib that rebounds well as a swatch may still perform badly when a rigid seam prevents comfortable head passage.
Run a repeatable stretch, rest, and wash comparison
Agree on an internal comparison protocol before making the samples. It should describe what happens to the garment, how long it rests, and when measurements are taken. The following sequence is a development example, not a certified test method or a StitchQuote performance guarantee. Use the same conditions for every candidate.
- Establish the baseline. Let samples rest flat in the same room for an agreed period, such as 24 hours after finishing. Record width, front drop, outline shape, and band appearance without pressing them again.
- Simulate head passage. Use a smooth fixture with an agreed shape and circumference appropriate to the fit brief. Pass it through the opening five times using the same movement and operator. Stop if the seam is damaged; do not stretch arbitrarily by hand.
- Measure recovery. Remove the fixture and record the opening immediately, after 30 minutes, and after 24 hours. Photograph the relaxed collar against its reference at each checkpoint.
- Check laundering. Wash and dry according to the proposed care instructions. Compare after one cycle and again after an agreed repeated-cycle check, such as three cycles, allowing the same rest period before measurement.
- Repeat the handling check. Evaluate head passage and recovery on the washed sample. Record broken stitches, twisting, puckering, and discomfort alongside dimensional change.
Calculate residual width growth as the recovered width minus baseline width, divided by baseline width, multiplied by 100. A change from 18.0 cm to 18.6 cm is approximately 3.3% growth. That describes one measurement, not total neckline performance. Set acceptance limits from the fit requirement and sample evidence; do not treat this example as an industry pass threshold.
Make bulk QC check the relaxed collar
Turn the successful sample into a short inspection sheet, including the template revision, measurement photographs, care route, recovery protocol, and agreed limits. For example, a buyer might propose a finished neck-width tolerance of ±0.5 cm, subject to factory confirmation and size-specific fit validation. Keep manufacturing tolerance separate from the permitted change after testing.
- Material identity: Confirm that the rib and body match the approved specifications and finishing route. Flag substitutions for evaluation before cutting.
- Relaxed outline: Check front symmetry, shoulder transitions, and back-neck shape without stretching or steaming the garment into compliance.
- Attachment quality: Look for seam grinning under gentle extension, skipped stitches, uneven band width, puckering, and a bulky or twisted rib join.
- Recovery evidence: Test agreed samples across sizes and relevant material or color lots. Compare them with the approved reference using the same rest times.
- Packing condition: Check whether folding, clips, or inserts leave the collar distorted. Reinspect a garment after unpacking and an agreed relaxation period.
Agree on sampling quantities and failure handling before production. If a tested collar stays enlarged, hold the affected lot for investigation rather than accepting a freshly pressed replacement as proof. Trace the rib batch, band length, sewing setup, and finishing history. Neckboard recovery becomes useful only when the comparison can trigger a specific correction.
Approve a collar recipe that production can repeat
Approval should identify the chosen rib, finished band width, band length by size, attachment method, and post-wash appearance. Check representative smaller and larger sizes; a proportion that works in the middle size may create difficult head passage or an overly open neckline elsewhere. Keep an untested reference sample alongside the handled and washed examples so their histories remain clear.
StitchQuote offers cut-and-sew, private label, sampling, fabric and trim sourcing, branding, and QC before packing. MOQ for most categories starts from 50 pieces per style. A 7-day sample is available for standard styles with confirmed specifications and available materials; complex styles, custom washes, and custom-developed fabric take longer. Confirm recovery-testing scope and elapsed rest or wash time separately when agreeing on the sample schedule.
Questions buyers ask when comparing collar recovery
Can pressing rescue a neckline that misses the template?
Pressing may improve presentation, but it does not prove lasting recovery. Recheck after the agreed rest period and laundering. If the collar needs repeated reshaping to match, investigate the material, pattern, and sewing combination before approval.
Should every size use the same neckboard?
No. Use references matched to the approved size specifications. Some adjacent sizes may share an opening by design, but that should be documented. Scaling one board visually makes it harder to detect grading errors.
What if the rib recovers but the jersey stays wavy?
Check band tension, differential feeding, and relative shrinkage. The body seam may have stretched during sewing, or the band may contract too strongly after washing. Compare assembly trials while holding the rib material constant.
Can a wider collar improve recovery?
Width changes appearance and structure, but it cannot guarantee recovery. A wider band may roll or stand away from the neck. Test the intended width on a complete garment and include head passage in the approval decision.
Related reading
- Document neckline measurements in your tech pack
- Review sampling and MOQ planning
- Explore custom T-shirt manufacturing
- Discuss your neckline sample brief
Request a manufacturing quote
Share your product type, quantity range, and destination. We usually reply within one business day.