Custom Streetwear, Casualwear & Denim Manufacturer•MOQ 50 pcs•Denim MOQ 100 pcs•7-Day Sample Available

How to Choose Neck Labels, Woven Labels, and Heat Transfers for Apparel
Use neck label vs woven label vs heat transfer to compare private label decisions more clearly, protect brand consistency, and keep product, trims, and commercial.

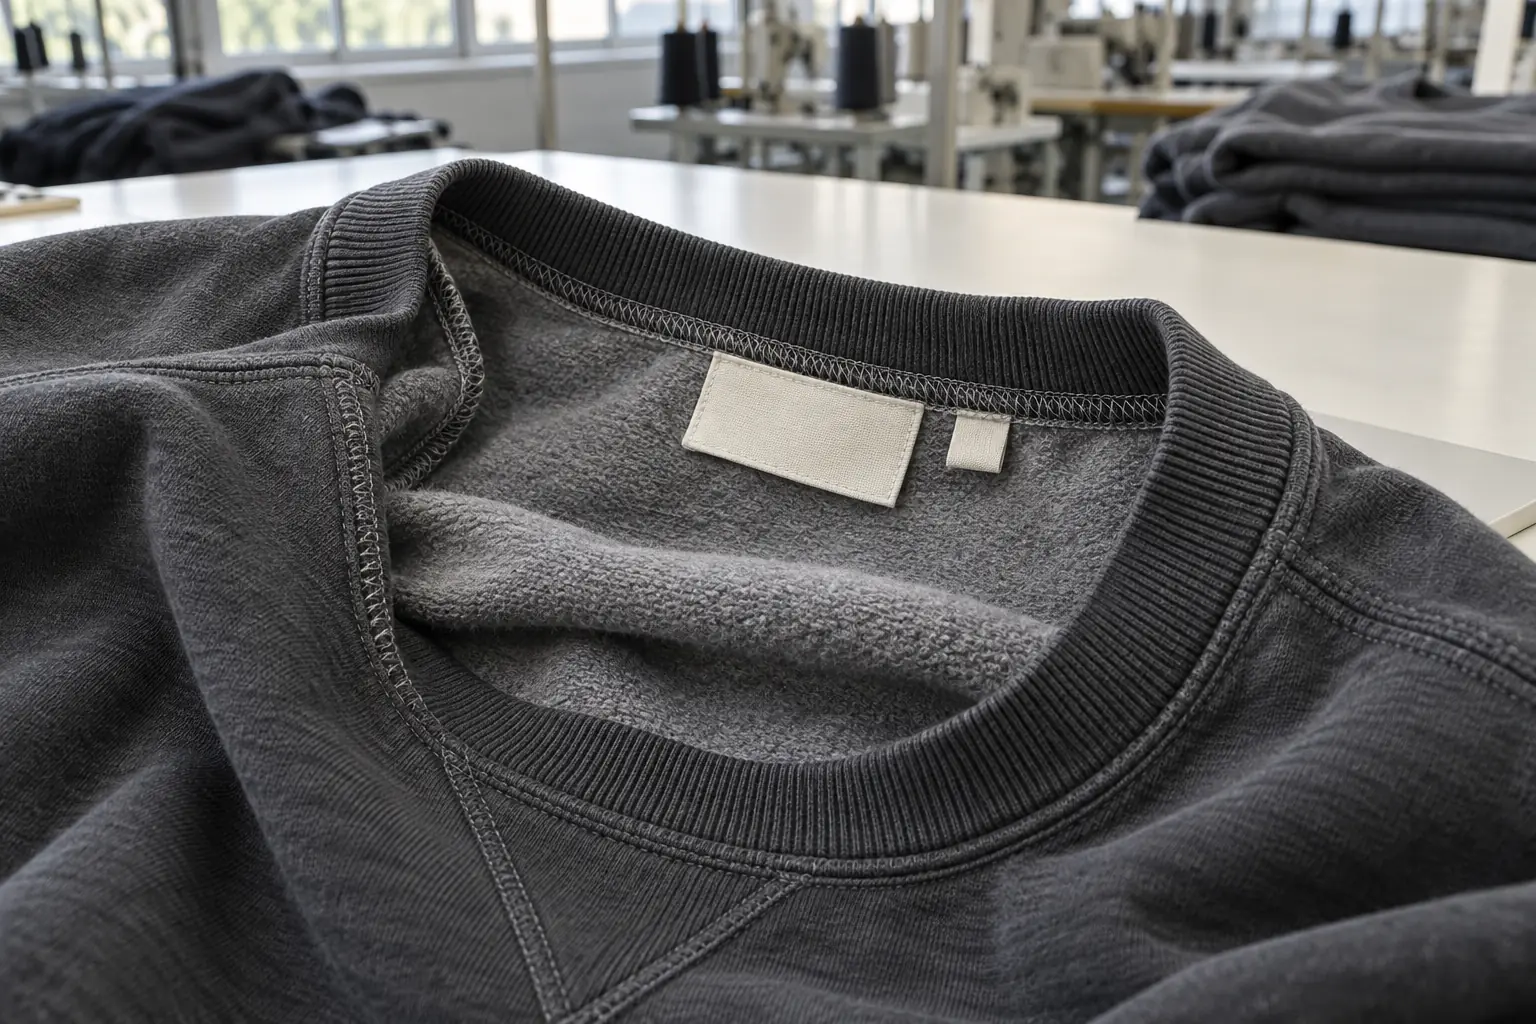
A neck label is a placement, a woven label is a construction, and a heat transfer is an application method. Those categories overlap: a woven label can sit at the neck, while a transfer can carry the same information directly on the fabric. Comparing them as three interchangeable products often produces an incomplete purchase specification.
For an apparel buyer, the useful question is what each garment needs at each location: recognizable branding, readable size information, comfortable skin contact, or durable care instructions. Use the following checklist before committing to trim quantities or approving a production sample. It focuses on decisions that can be inspected on an actual garment, rather than preferences that only look convincing in a digital mockup.
1. Assign every piece of information a home
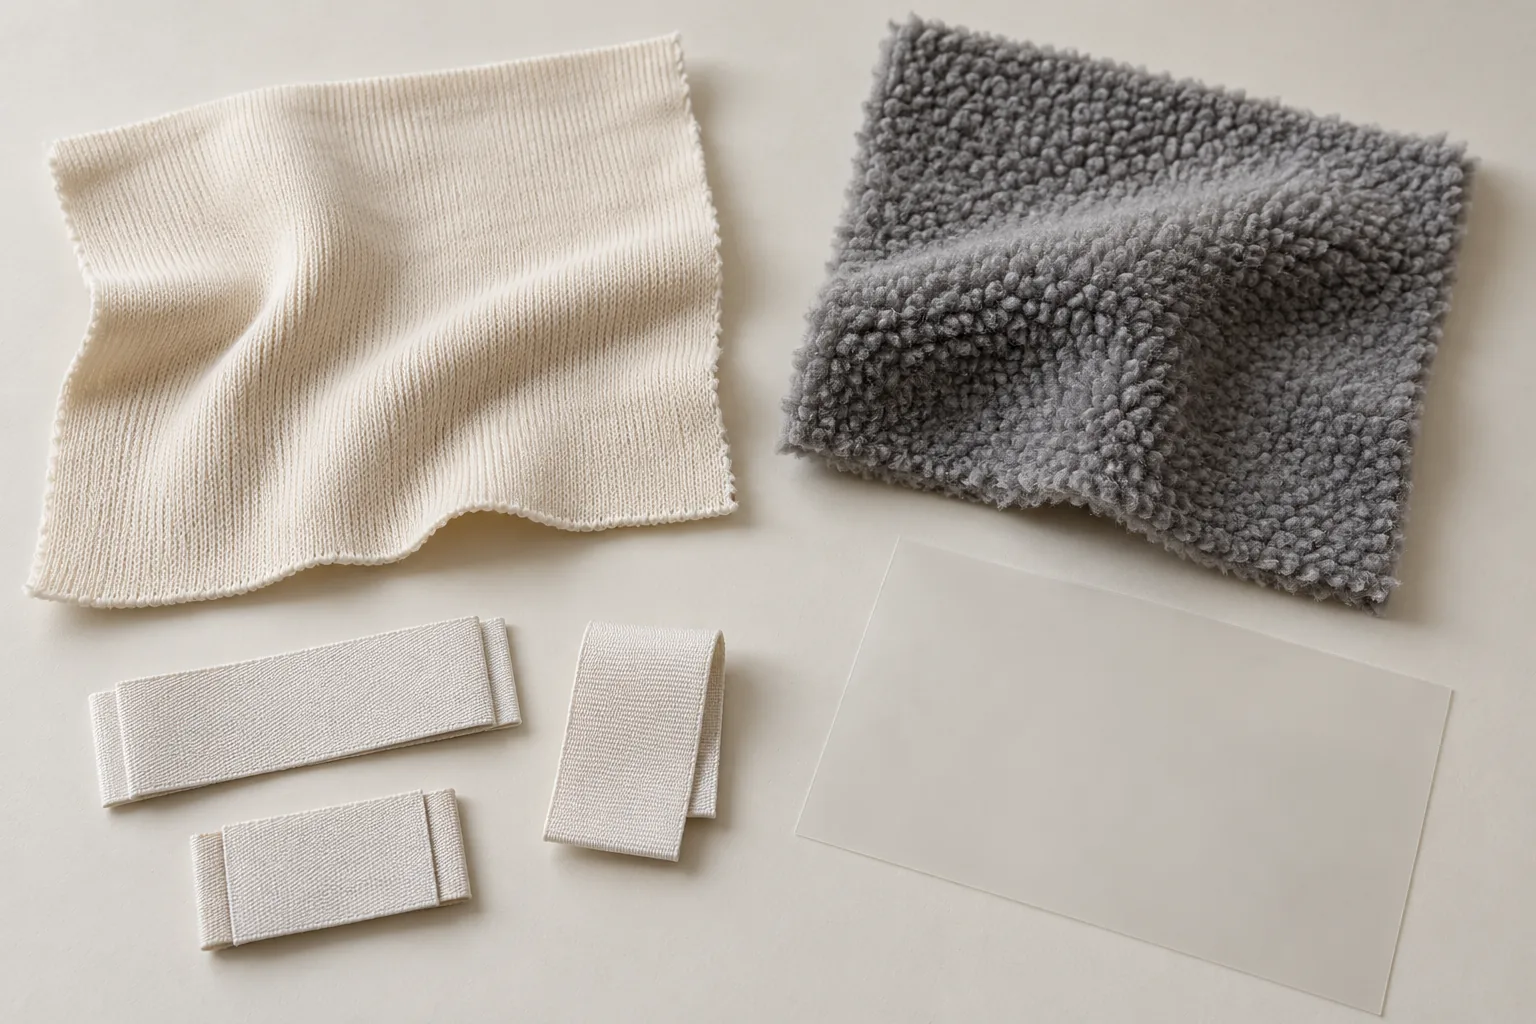
List the information your product needs, then assign an owner to verify it. Brand identity and size are merchandising decisions; fiber content, care, origin, and any other required disclosures need review against the destination market’s rules. A decorative neck treatment does not automatically satisfy labeling obligations. Do not approve legal wording simply because it appeared on a competitor’s garment.
Sketch the inside back neck, side seam, and any exterior branding position. Decide whether size belongs within the main branding element or on a separate tab. An oversized sweatshirt sold in five sizes might use one common woven brand label and five size tabs. An inside-neck transfer combining brand and size needs five artwork variants instead.
- Confirm visibility: which information should appear when the garment is folded, worn, or turned inside out?
- Confirm skin contact: will a label edge touch the neck, or sit over protective neck tape?
- Confirm variants: separate artwork changes caused by size, composition, colorway, and sales market.
This map becomes the label schedule in the purchase specification. Give every component an identifier so a change to one size tab cannot accidentally replace the entire branding package.
2. Choose construction against the actual garment surface
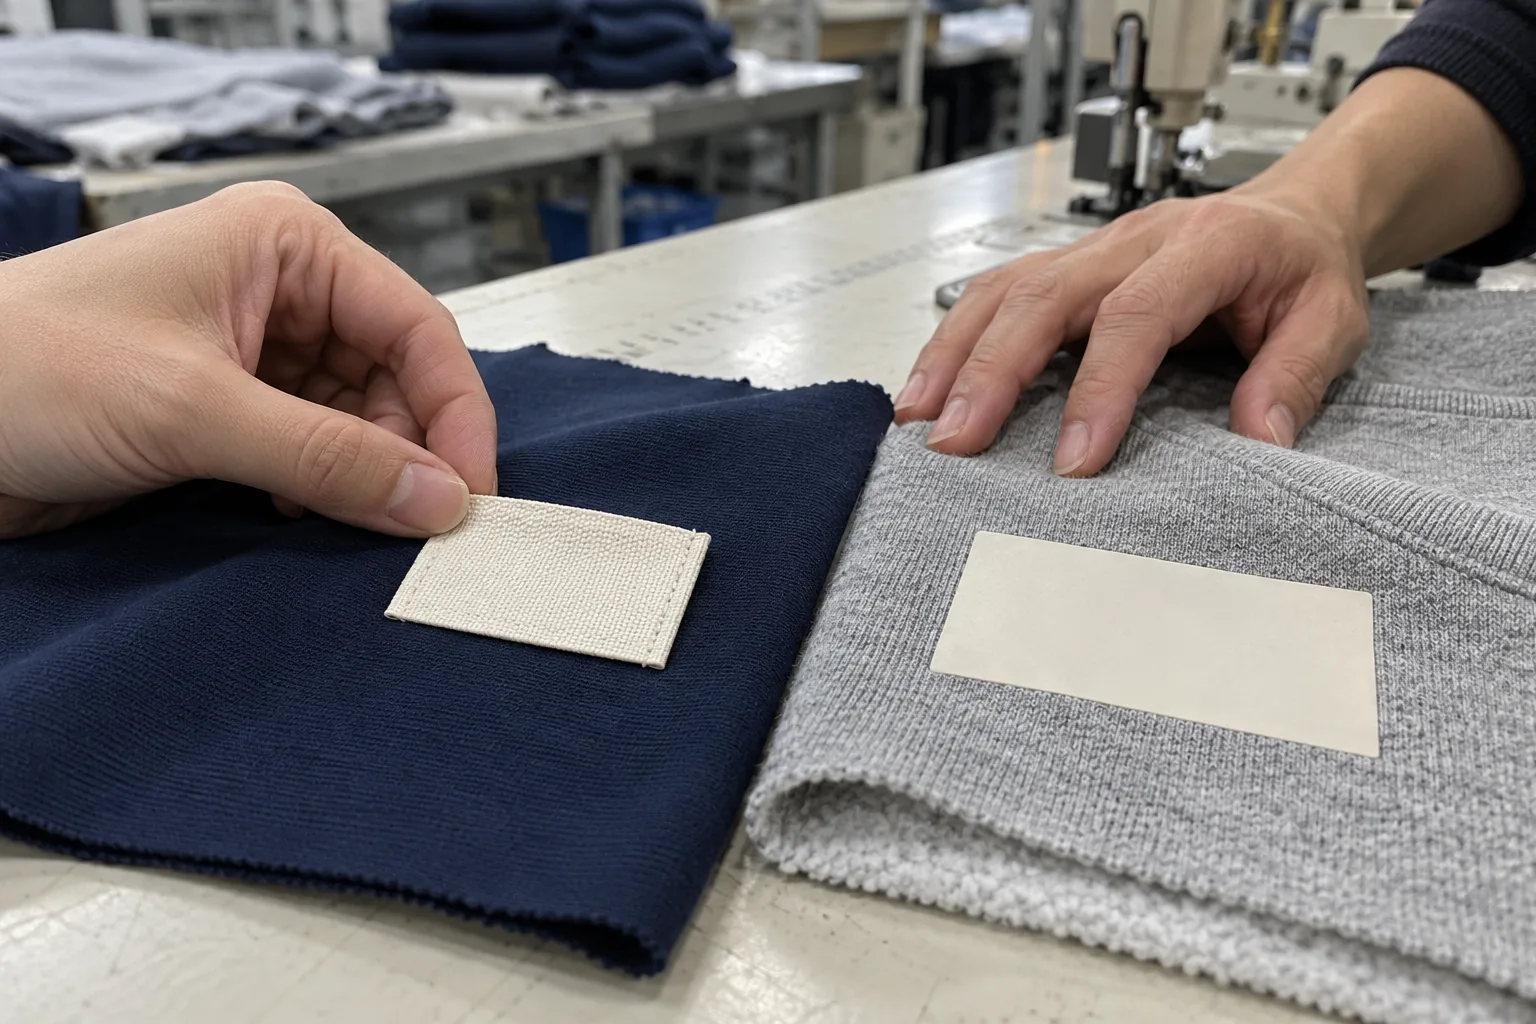
Handle the production fabric before selecting a method. Smooth jersey presents a different application surface from brushed fleece, rib, or heavily textured fabric. The table is a starting point for sample requests, not a guarantee of compatibility.
| Buyer priority | Candidate to sample | Evidence to request |
|---|---|---|
| Compact branding on a substantial hoodie | Woven label with enclosed cut edges | Actual lettering clarity, fold bulk, and comfort when sewn |
| Minimal bulk inside a lightweight tee | Inside-neck heat transfer | Adhesion, show-through, and stretch recovery on the selected jersey |
| Branding near a stretchy rib neckline | Small sewn label or compatible transfer | Neck opening recovery and absence of local distortion |
| Garment receiving a wash treatment | Label system tested with that treatment | Legibility, color stability, and attachment after finishing |
For woven options, ask to compare the actual yarn coverage, reverse side, and cut-edge treatment. A dense weave may improve small details but does not automatically feel softer. Center folds, end folds, and flat labels create different exposed edges and sewing requirements.
For transfers, ask the supplier to identify the compatible substrate and application instructions. Heat, pressure, dwell time, and peel conditions form a matched process. Polyester-containing fabrics may need assessment for dye migration; dark lightweight cotton needs checking for a visible press outline or appearance changes on the outside.
3. Make the artwork and placement measurable
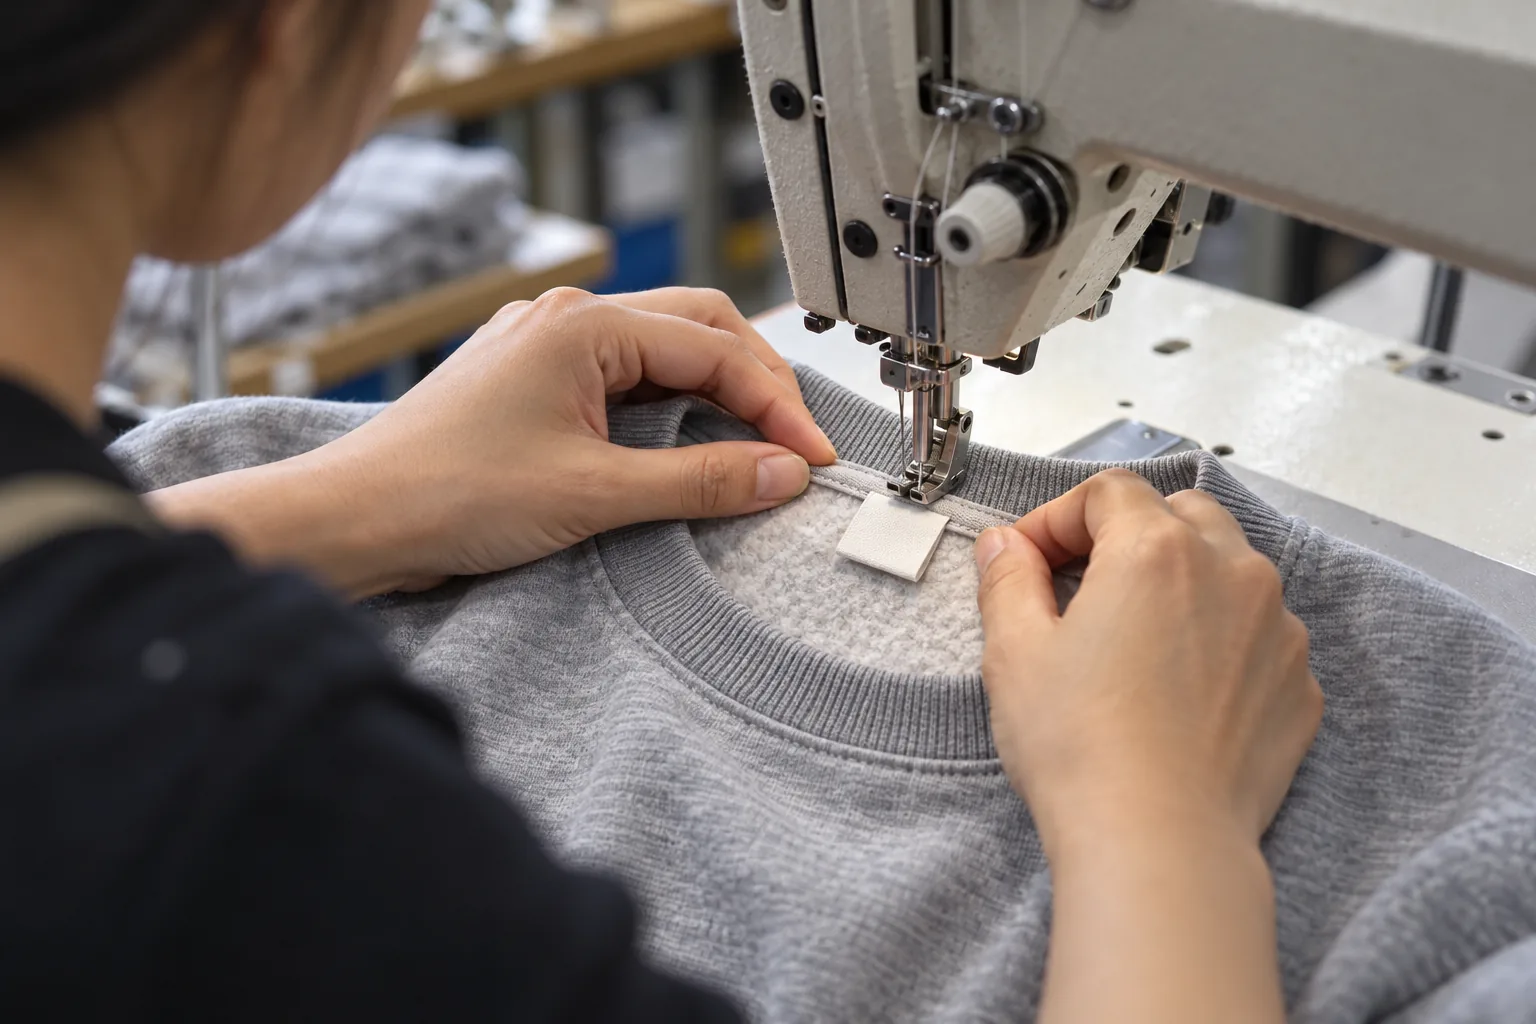
Supply vector artwork where available, with fonts outlined and dimensions stated in millimeters. Identify the finished visible size separately from fold allowances and sewing margins. A 40 mm-wide finished label is not necessarily a 40 mm-wide unfolded component. Require a supplier drawing showing both before approving manufacture.
Reduce the design to its intended size on paper, then review a physical sample. Thin strokes, tightly spaced letters, and small reversed details can disappear in weaving or become fragile in a transfer. Ask the supplier to demonstrate its achievable detail instead of treating screen resolution as production evidence.
Placement instructions need a fixed reference. For example, specify that the top edge of an inside-neck transfer sits 18 mm below the neckline joining seam, centered on the back panel. An illustrative tolerance could be ±2 mm for this distance, subject to confirmation for the garment and application method. State whether measurements are taken before or after washing.
For sewn labels, define which edges are attached, the stitch appearance, thread color, and whether stitches may show on the garment exterior. For a folded label, approve the visible face and orientation with the garment worn. Add a photograph of the accepted placement to the specification; the written dimensions remain the measurement standard.
4. Order samples that expose failure before bulk approval
A loose label sample can confirm artwork and handle, but cannot prove performance on a finished neckline. Request both a trim approval sample and an applied sample using the intended fabric, color, finish, and construction. If the exact material is unavailable, record what the substitute does and does not validate.
Set a wash evaluation matching the proposed care instructions. As an illustrative development screen, examine the sample before washing and after one and five cycles; confirm the final protocol with the supplier. These checkpoints can reveal early problems but do not establish lifetime durability. Record detergent, drying method, and cycle conditions so later samples can be compared fairly.
Inspect transfers for edge lifting, cracking, tackiness, color changes, and loss of fine detail. Stretch the application only to the extent expected in wear, then check recovery. Inspect sewn labels for fraying, puckering, curled corners, color bleeding, and a hard edge against the skin. Check the outside of the garment for press impressions or visible attachment damage.
For washed denim or pigment-finished garments, confirm whether labeling happens before or after finishing. Changing that sequence changes the exposure being tested. Keep one unwashed reference and one evaluated sample, each identified by revision and date, so bulk approval has a physical comparison.
5. Reconcile label quantities with the garment order
Ask for separate garment and trim quantities in the quotation. A garment minimum does not establish the minimum for a custom woven design, transfer sheet, or size variant. Confirm whether artwork setup, variant separation, application, and testing are included in the quoted scope, without assuming that one branding method is always cheaper.
StitchQuote’s MOQ for most categories starts from 50 pieces per style; denim starts from 100 pieces per style. Label availability and any component minimums should be confirmed for the project. If a trim order exceeds garment consumption, agree who owns the balance, how it is identified, and whether it can be used on a reorder.
Request an allowance for approved production losses and retained samples rather than ordering exactly one label per sellable unit. Agree the allowance with the supplier. Then check the size breakdown: spare medium labels cannot cover a shortage of extra-large labels when size is built into the artwork.
A 7-day sample is available from StitchQuote for standard styles with confirmed specifications and available materials. Complex styles, custom washes, and custom-developed fabrics take longer. Confirm custom label readiness separately before scheduling photography or a launch around that sample window.
6. Give QC a release checklist they can use
Approval should identify the accepted artwork revision, applied sample, and inspection criteria. StitchQuote provides QC before packing; the buyer’s label requirements should be explicit enough to include in that review. Agree inspection coverage and how failed pieces will be segregated and corrected before shipment.
- Identity: the garment size, label size, and packing information match; wording and composition correspond to the approved variant.
- Position: centering, distance from the specified seam, and orientation meet the agreed limits on garments laid consistently flat.
- Attachment: sewn edges are secure without loose threads; transfers show no visible lifting or incomplete application.
- Appearance: fine details remain readable, approved colors are represented, and the garment face has no objectionable press marks or puckering.
- Comfort: folds and corners match the approved sample, with no exposed sharp cut edge against the neck.
- Traceability: retained examples identify the garment lot and label revision for later comparison.
Treat incorrect size information or unapproved wording as a reason to hold affected goods for review. Cosmetic deviations need agreed acceptance criteria too; a photograph alone cannot define how far a label may drift from center.
7. Resolve the last label decisions before placing the order
Can one woven brand label serve several garment sizes?
Yes, when size is carried separately and the common label fits every neckline. Check the smallest garment physically: a label that looks balanced on a large sweatshirt may crowd a smaller neck opening.
Should a transfer be applied over neck tape?
Do not assume it will work across tape edges or seams. Uneven thickness can affect pressure and contact. Specify a flat application zone, or ask for a trial on the complete neckline construction before accepting that position.
Can changing the fabric color require another transfer test?
Yes. A new colorway can change contrast, dye migration risk, or the visibility of a press mark. Ask which colors can share validation and which require their own applied sample, especially when fabric composition or finishing also changes.
What should a label inquiry include?
Send the garment fabric and finish, artwork dimensions, placement drawing, size breakdown, destination markets, and care proposal. StitchQuote offers cut-and-sew, private label, sampling, fabric and trim sourcing, and branding services. A complete brief lets label selection be evaluated alongside garment construction.
Related reading and next steps
- Prepare the label details in your apparel tech pack
- Review sampling and MOQ planning
- Contact StitchQuote with your label brief
Request a manufacturing quote
Share your product type, quantity range, and destination. We usually reply within one business day.