Custom Streetwear, Casualwear & Denim Manufacturer•MOQ 50 pcs•Denim MOQ 100 pcs•7-Day Sample Available

How to Choose Hardware for a Denim Jacket Program
Use this factory-side guide to compare choose hardware for a denim jacket program more clearly across supplier fit, quote scope, approvals, and timing before you.

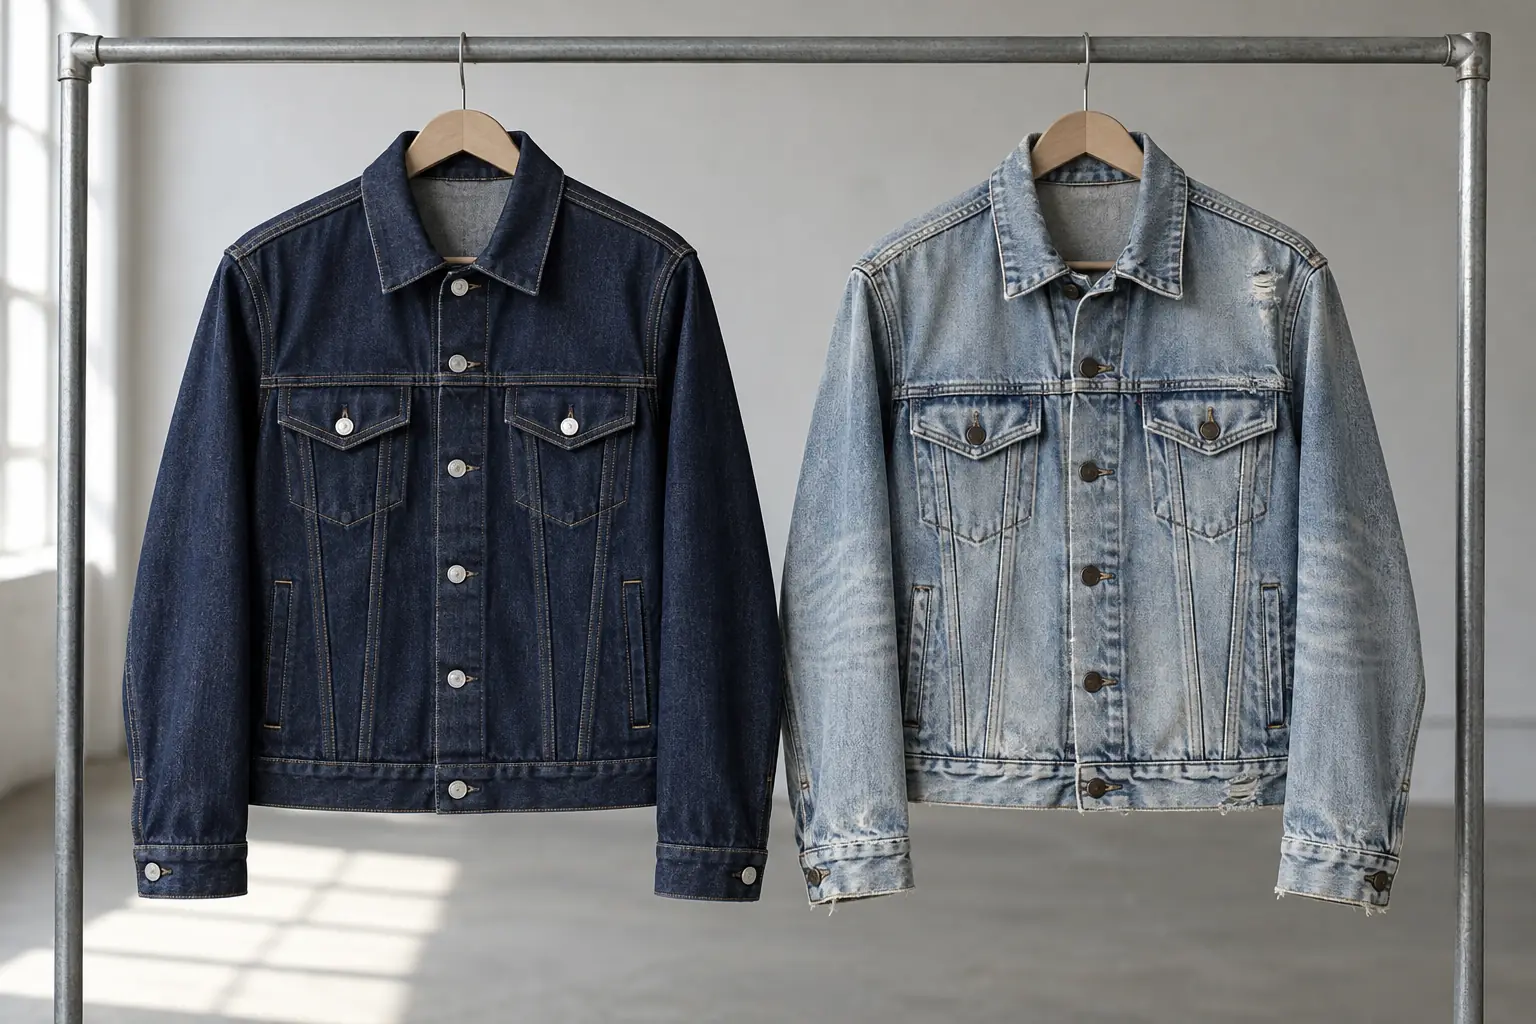
A clean indigo jacket and a heavily distressed trucker can share a pattern but need different hardware decisions. A polished button may suit the first and look accidentally new on the second. Yet an antique finish is not automatically suitable for aggressive washing: surface color, attachment strength, and staining all need checking on the actual garment.
Choose hardware by defining the jacket’s final appearance, then working backward through washing and assembly. The useful buying decision is not simply silver versus brass. It is which combination of button construction, finish, backing, and installation sequence will deliver the intended contrast between metal and denim without creating weak closures or unwanted marks.
Define how much contrast the finished jacket should show
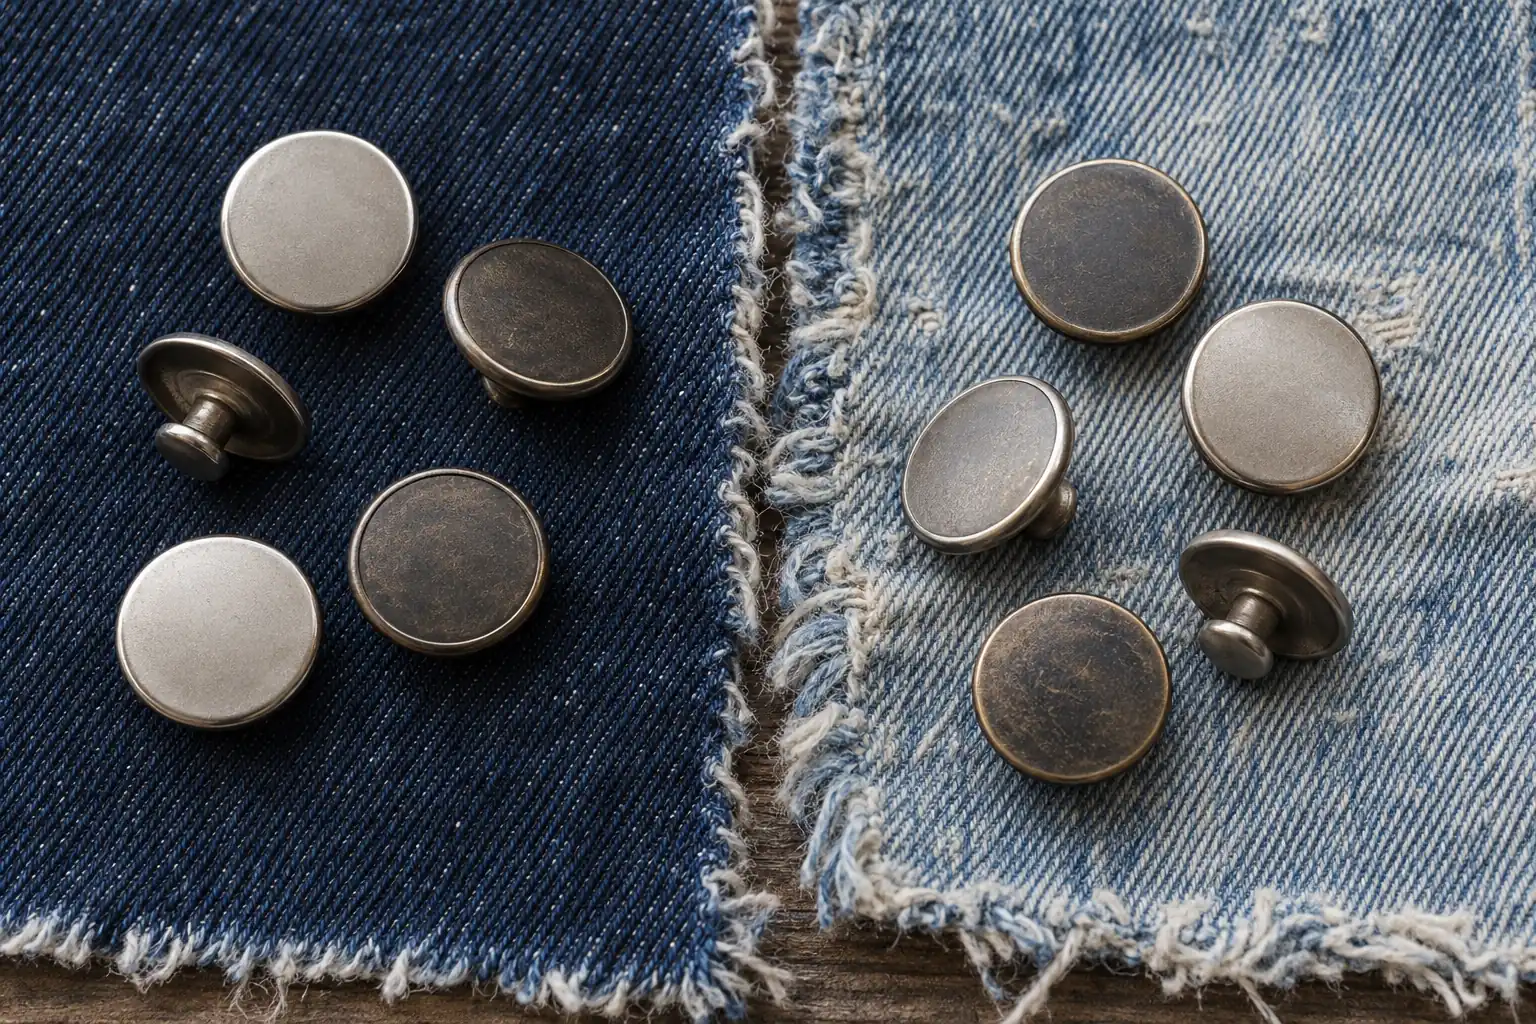
Start with two separate references: one for the denim surface and one for the metal. A clean jacket might use deep indigo, crisp seam edges, and satin silver buttons with little visible variation. A distressed jacket might combine pale abrasion zones with dark recessed buttons and brighter raised edges. Photographing these together makes the desired relationship clearer than asking for a “vintage look.”
Decide whether the hardware should blend into the garment or stand out. For example, a washed charcoal jacket can use muted dark metal for a restrained appearance, or brighter silver for a deliberate contrast. Either can work. Problems arise when a buyer approves dark metal on a loose trim card, then discovers that the wash makes the surrounding denim much lighter.
Define acceptable aging as well. An uneven antique effect may be intentional on the button face, while peeling, sharp flakes, or discoloration transferred onto the fabric remain defects. Keep a physical appearance standard and an unacceptable example where possible. Photos help communicate the direction, but reflections and screen settings make them unreliable as the sole finish reference.
Separate decorative aging from hardware damage
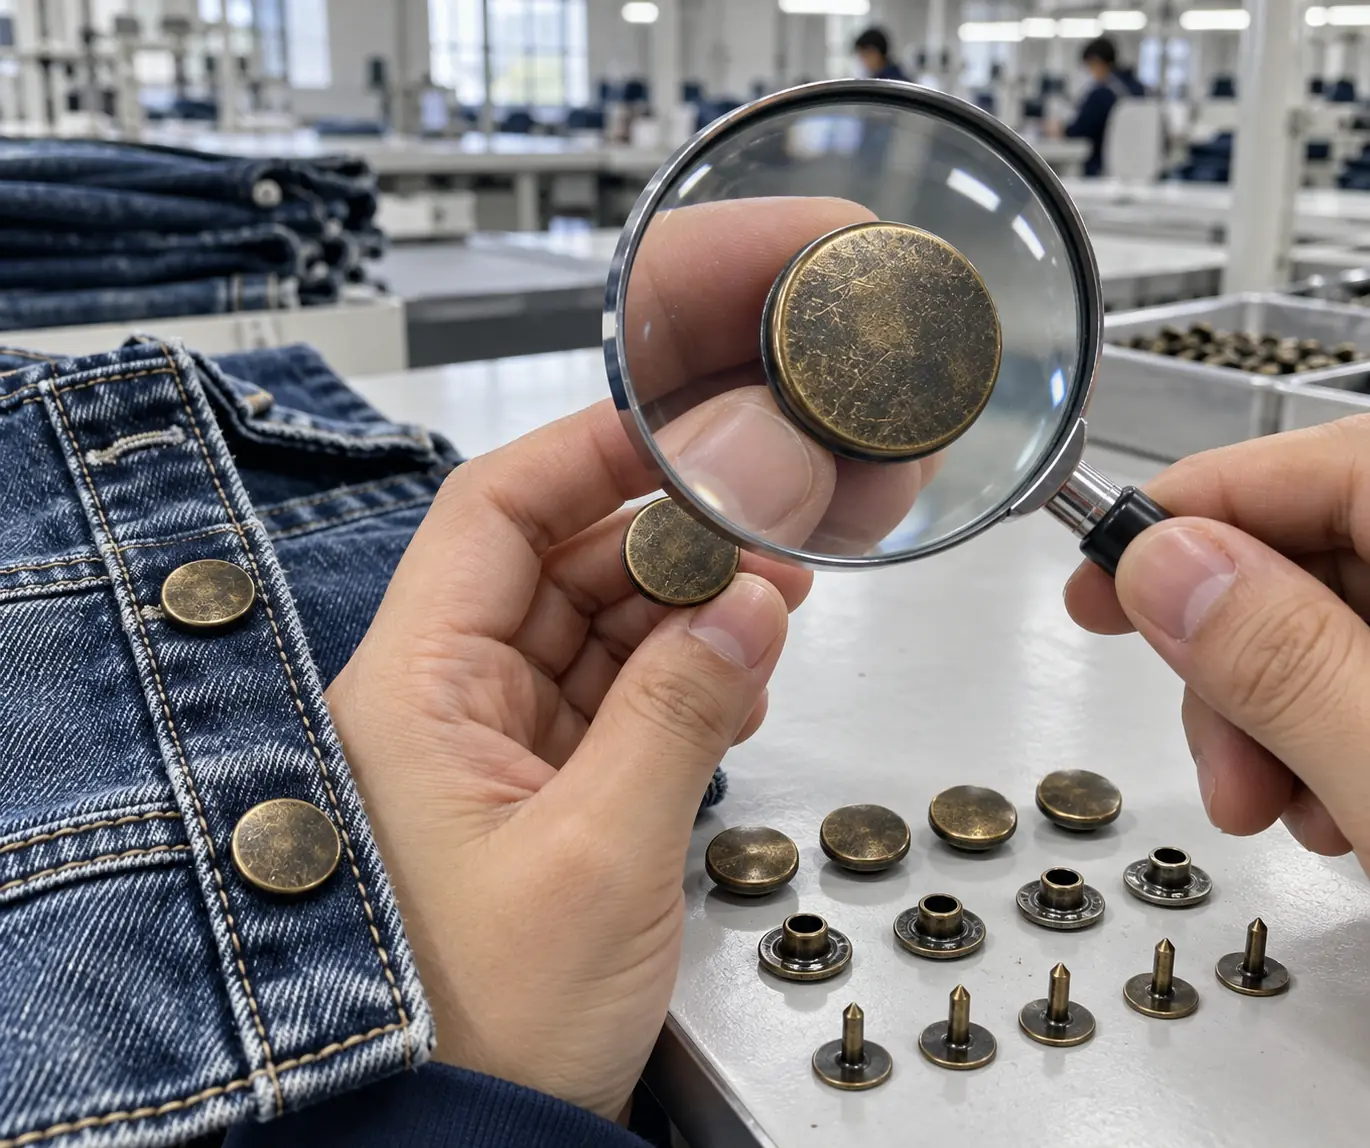
“Antique brass” describes an appearance, not a complete material specification. Ask the trim supplier to identify the base metal, surface treatment, and intended wash compatibility. Two buttons with similar color may behave differently after wet processing because their substrates or finishing systems differ. Record the approved supplier reference so a visually similar substitute does not enter bulk production unnoticed.
For a clean program, inspect gloss, face color, and consistency between buttons, rivets, and buckles. These components may come from different production routes, so matching finish names do not guarantee matching appearance. Lay the full set on the approved washed fabric under consistent lighting before accepting the combination.
For distressing, specify where wear is welcome. A buyer might accept brighter highlights on raised button edges but require recessed areas to stay dark. Avoid treating uncontrolled corrosion as a shortcut to authentic aging. Check for residue, roughness, and staining after the proposed wash and drying route. If chemical or restricted-substance requirements apply in the destination market, request relevant documentation or testing for the selected components; appearance approval does not establish compliance.
Choose the wash and installation sequence together
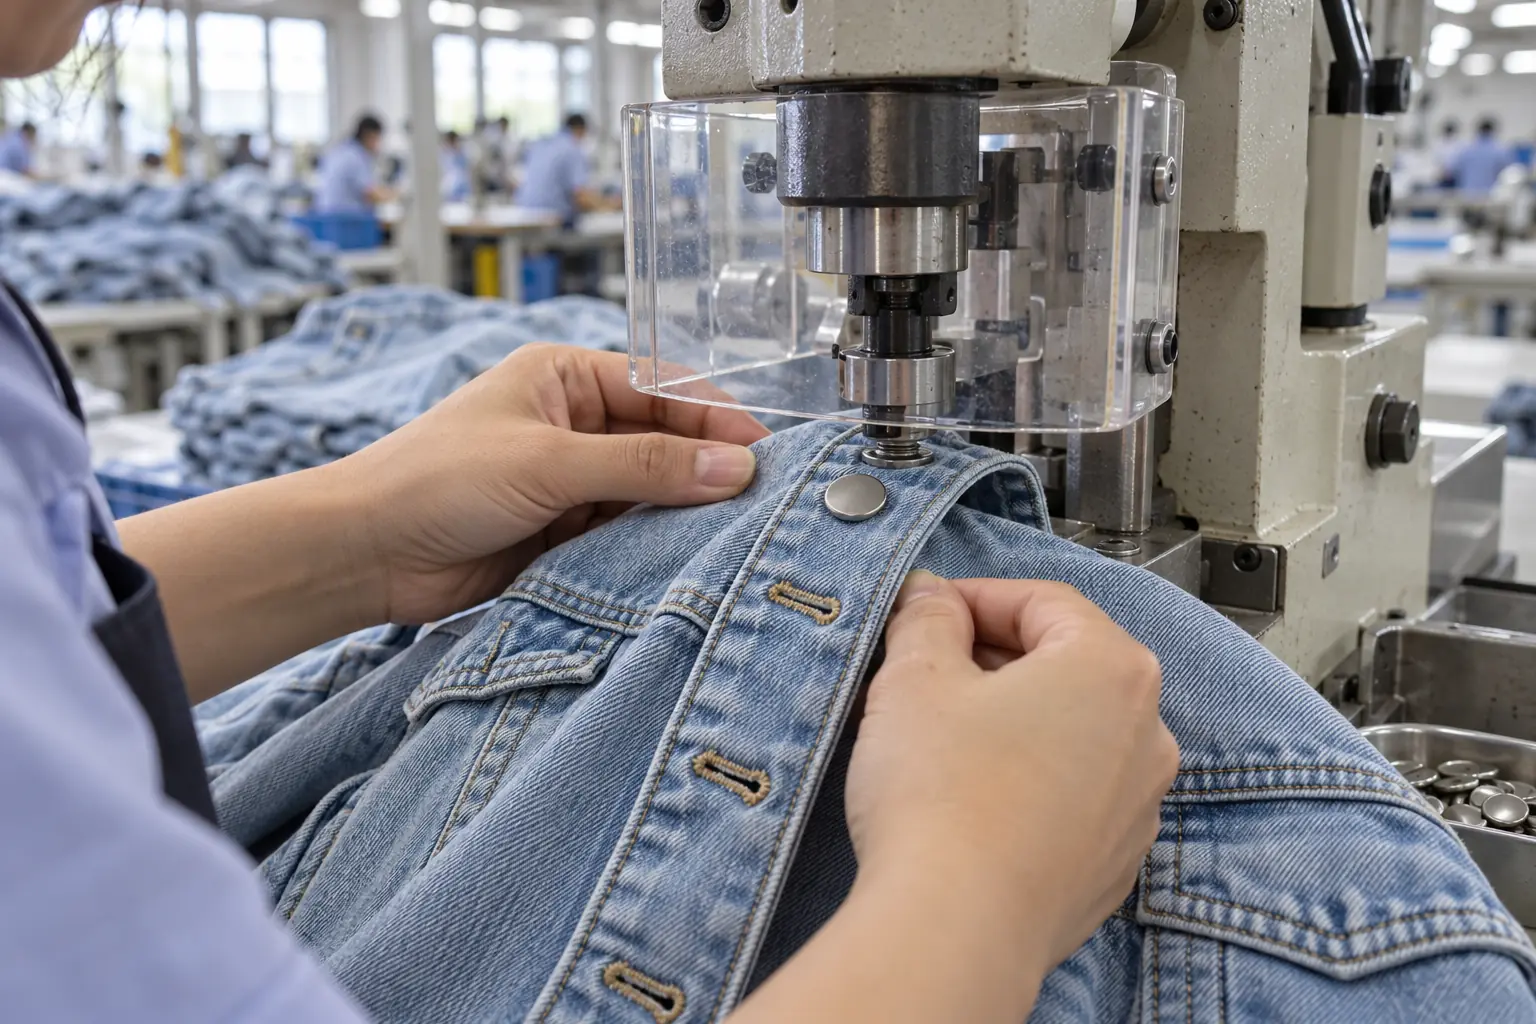
Installing hardware before washing exposes it to the garment’s wet processing and mechanical action. This may create useful wear around a button, but it can also alter the finish, mark adjacent fabric, or damage another garment in the load. Installing afterward can preserve a cleaner metal surface, although the attachment area may then look less naturally worn.
Neither sequence is universally better. Ask the factory to assess access for setting equipment, the wash route, and the final appearance required. A button installed after washing still needs to fit the finished placket thickness and align with a buttonhole affected by shrinkage. Any protective method used during washing must also be evaluated for marks or uneven exposure.
| Design direction | Development comparison | Approval evidence |
|---|---|---|
| Clean dark indigo | Compare proposed finish before and after the wash | Consistent sheen and no unwanted staining |
| Heavily abraded pale denim | Compare hardware installed before versus after processing | Acceptable aging with secure attachment |
| Distressed body with bright metal | Evaluate installation after washing | Intentional contrast and accurate closure alignment |
Use the selected route for the approval sample. A clean button attached to a separately washed swatch cannot prove how a fully assembled jacket will behave through the wash. Record the order of operations alongside the approved appearance so production does not reproduce the look through an untested sequence.
Size the closure around the finished placket
A button that looks balanced on a drawing may be awkward to operate on dense denim. Specify face diameter, profile, attachment construction, and the matching tack or backing component. For illustration, a buyer could compare 17 mm and 20 mm front buttons on the same jacket; these are development options, not universal size recommendations. Check their proportions on the smallest and largest intended garment sizes.
Match the attachment to the actual layer stack. A front placket, pocket flap, and waistband tab can have different compressed thicknesses even when they use the same fabric. Ask the component supplier and factory to confirm compatible parts and setting conditions. An unsuitable tack length or poorly adjusted setting operation can produce a loose button, damage the fabric, or leave an uncomfortable projection inside.
Distressing adds another constraint: abrasion near attachment points can remove support that looked adequate before washing. Keep proposed tears and heavy sanding away from load-bearing areas until a sample demonstrates sufficient strength. Reinforcement should be agreed during development rather than added after failed testing, because it may change both stiffness and visible wash effects.
Write placement from fixed references, such as the finished front edge and button center. A proposed center-position tolerance of ±2 mm can be a discussion starting point, subject to factory confirmation and the design’s needs. Also assess alignment visually with the jacket closed; individually acceptable placements can still create a visibly skewed front.
Approve wear, strength, and finish as separate QC checks
Use a finished, washed sample as the control, together with the approved loose hardware reference. The sample defines the combined result; the loose reference helps identify incoming trim changes. Establish inspection conditions and agreed acceptance criteria before bulk work, especially when natural-looking variation is part of the design.
- Appearance: Compare face color, sheen, and permitted wear against the control. Inspect every hardware type together and look for isolated bright or dark components.
- Fabric contact: Check the surrounding denim for unwanted rings, stains, cuts, or snagging. Inspect the inside where backing parts contact the wearer.
- Attachment: Check for looseness, exposed sharp points, and fabric damage. Agree a pull-test method and acceptance requirement appropriate to the component and intended market; a hand tug alone is insufficient evidence.
- Operation: Fasten and unfasten front, cuff, and pocket closures on the finished garment. Check buttonhole resistance, edge catching, and whether closure tension distorts the placket.
- Care response: Evaluate representative garments through the agreed care procedure, then repeat appearance and attachment checks. Record the procedure and results rather than describing the finish as simply “durable.”
Separate cosmetic variation from functional failures in the inspection record. A distressed finish can allow controlled color differences without allowing loose attachments. If a button batch, wash recipe, or installation sequence changes, assess the affected checks again before accepting that change.
Questions buyers ask when mixing clean and distressed versions
Can both versions use the same button?
Possibly, if the shared component meets both appearance standards after each version’s processing. Approve it on both garments. A common button can simplify sourcing, but that benefit disappears if one wash strips the finish or makes it look inconsistent with the design.
Should pocket rivets look as worn as front buttons?
They should fit the same visual direction, but identical wear may be unrealistic because shapes and exposure differ. Define an acceptable relationship: for example, dark recesses across both parts with limited highlights on raised surfaces. Review them together rather than accepting each trim separately.
Can a seven-day sample settle a custom distressed finish?
Do not assume so. StitchQuote offers a 7-day sample for standard styles with confirmed specs and available materials; complex styles, custom washes, and custom-developed fabric take longer. A custom metal finish or unresolved wash interaction needs its own confirmed development schedule.
What should accompany a request for two wash options?
Send final-look references for each wash, hardware specifications, placement drawings, quantity by version, and the comparisons you need sampled. StitchQuote provides cut-and-sew, private label, sampling, fabric and trim sourcing, branding, and QC before packing. Denim starts from 100 pieces per style; confirm how quantities across wash options and any trim sourcing minimums affect your project.
Related reading
- Document hardware and placement in your tech pack
- Review sampling and MOQ planning
- Set up denim wash approvals
- Discuss your jacket specifications with StitchQuote
Request a manufacturing quote
Share your product type, quantity range, and destination. We usually reply within one business day.