Custom Streetwear, Casualwear & Denim Manufacturer•MOQ 50 pcs•Denim MOQ 100 pcs•7-Day Sample Available

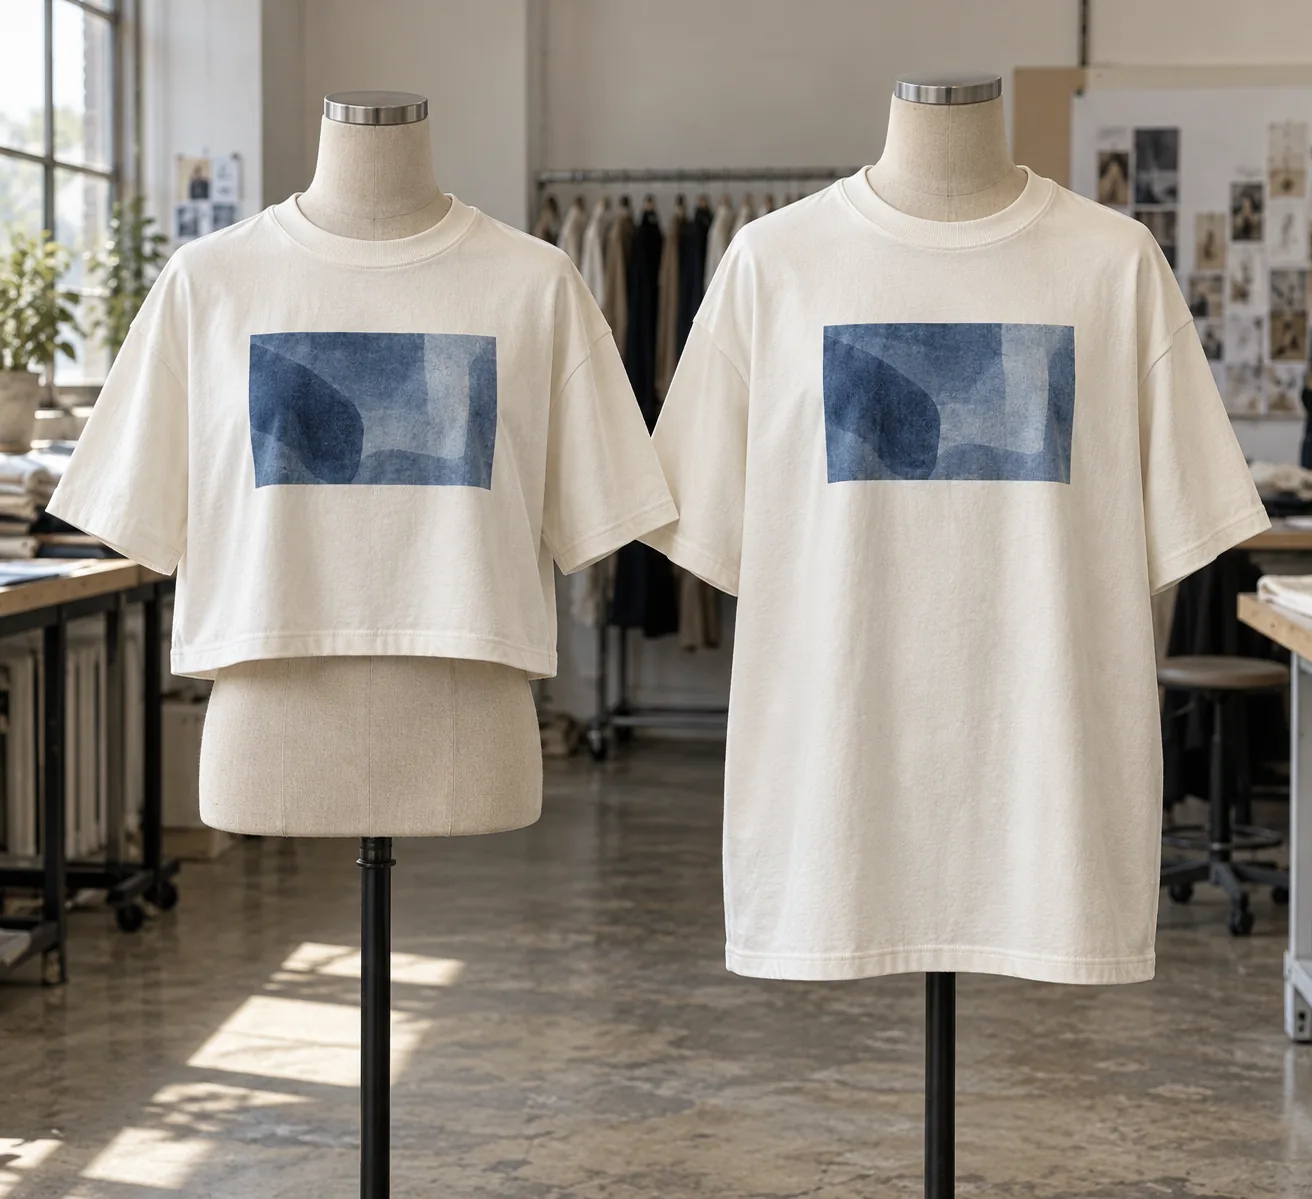
Boxy T-Shirt vs Standard Oversized T-Shirt
Understand boxy t shirt vs oversized t shirt through fit, fabric, decoration, and production logic so streetwear and premium basics buyers can make cleaner.

A wide graphic can look balanced on a short, square tee and strangely shallow on a longer oversized body. The artwork has not changed; the space around it has. For buyers comparing a boxy T-shirt with a standard oversized T-shirt, print layout should be part of silhouette approval, before a finished graphic is sent for production.
This comparison focuses on printed jersey programs: how body proportions, fabric movement and decoration settings affect the result. Use it when choosing the base shape for a graphic capsule or adapting one design across two fits. The objective is a repeatable relationship between garment and print, rather than simply finding the largest available print area.
Choose the silhouette by the negative space around your graphic
Fit names are not measurement standards. A boxy tee generally emphasizes width relative to length, while an oversized tee may retain a longer body alongside extra chest and sleeve room. Either can have dropped shoulders. Ask for actual half-chest, body length, shoulder width and sleeve measurements before deciding which description suits your artwork.
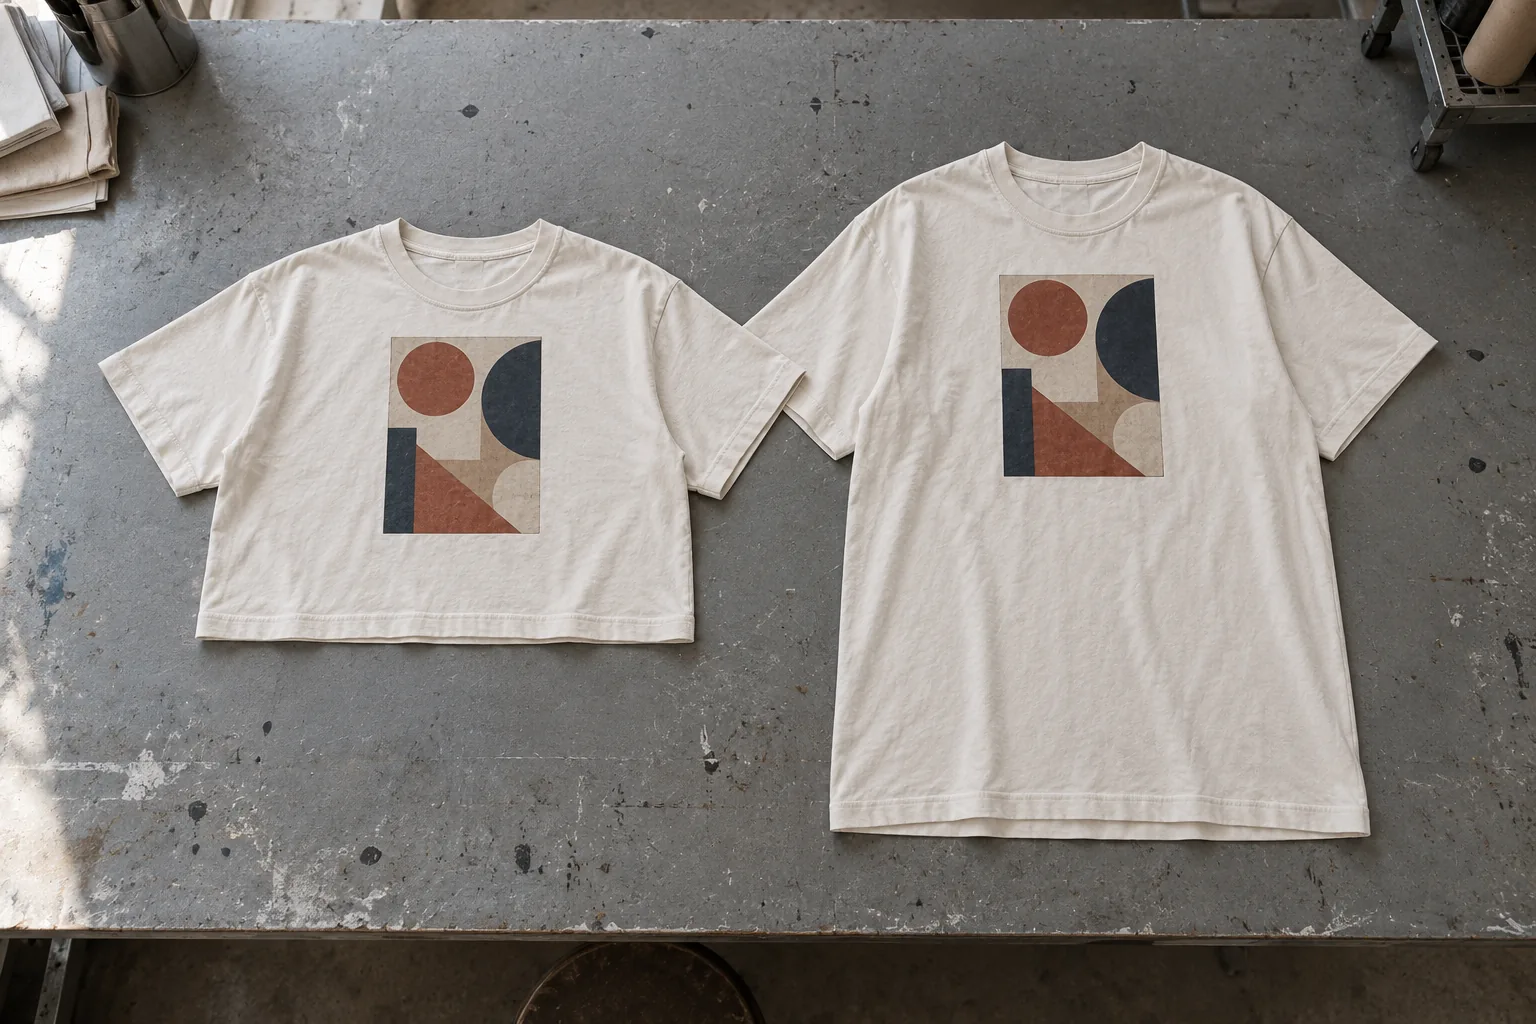
Consider an illustrative medium-size comparison: a boxy body measuring 62 cm across the chest and 66 cm long, against an oversized body measuring 62 cm across and 75 cm long. These are planning examples, not standard sizing. With the same 32 cm-wide front print, both have similar horizontal breathing room, but the longer tee leaves substantially more jersey beneath the design.
A broad landscape illustration may suit the square body. A tall, narrow composition may work more naturally on the longer body. Judge both on a wearer with arms relaxed: dropped shoulders, chest curvature and side folds can hide parts of a graphic that looked prominent in a flat mockup. Check the view with the hem tucked as well if that styling matters to the collection.
Treat jersey recovery and surface texture as artwork inputs
Fabric weight alone cannot predict print quality. Specify fiber composition, knit construction, finished weight, surface finish and intended wash treatment. Compare strike-offs on the actual production jersey; a smooth substitute can disguise ink coverage problems or fine-detail loss on a more textured fabric.
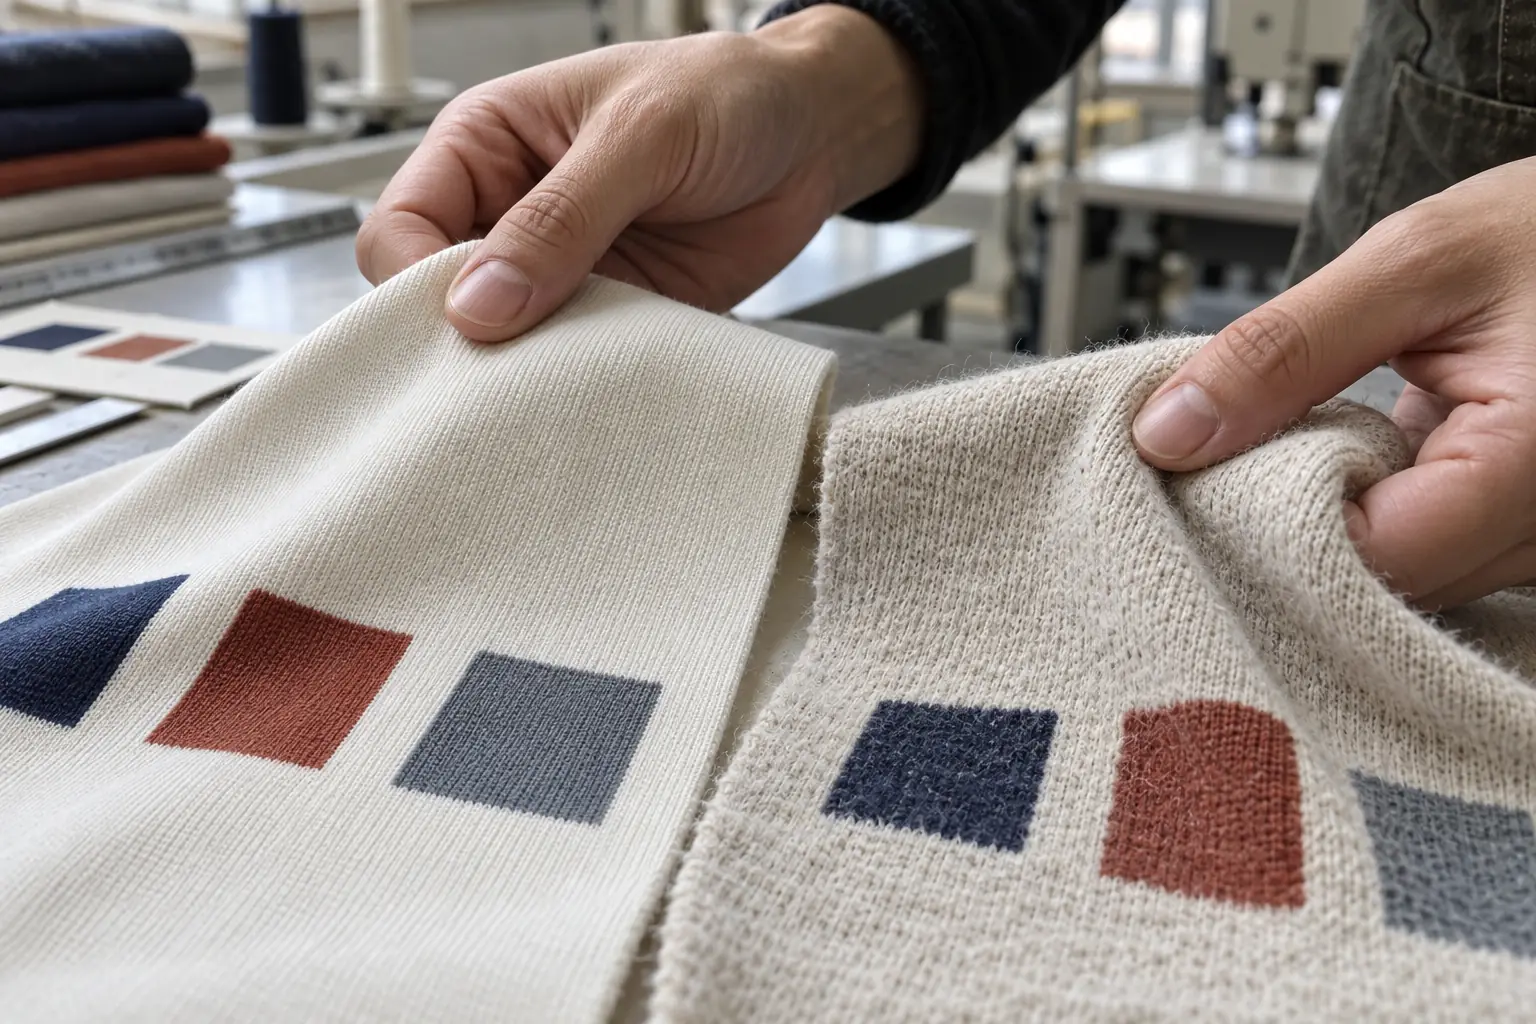
A firmer jersey may help a boxy tee hold its width, but a large solid print can make the front panel noticeably less flexible. A softer jersey may drape well in a long oversized shape, yet fold through the image when worn. Review unprinted and decorated samples together so the buyer can identify whether stiffness comes from the fabric or the decoration.
For screen printing, discuss ink system, underbase coverage and curing conditions with the printer. For direct-to-garment printing, confirm fiber compatibility and pretreatment appearance. For transfers, examine the edge, adhesion and stretch recovery after application. No method is automatically best for a particular fit; artwork coverage, color requirements and substrate behavior determine the useful options.
Include dark and light colorways in the trials when both are planned. A white underbase on dark jersey can change the feel and appearance of the same design. If stretch fibers are present, request a stretch-and-recovery evaluation appropriate to expected wear, rather than assuming a print approved on plain cotton will behave identically.
Specify placement from fixed garment reference points
“Large centered chest print” leaves too much room for interpretation. Provide finished artwork dimensions and an explicit vertical reference, such as the distance from the bottom of the front neck seam at center front to the top edge of the printed image. State whether transparent margins in the artwork file are excluded from that measurement.
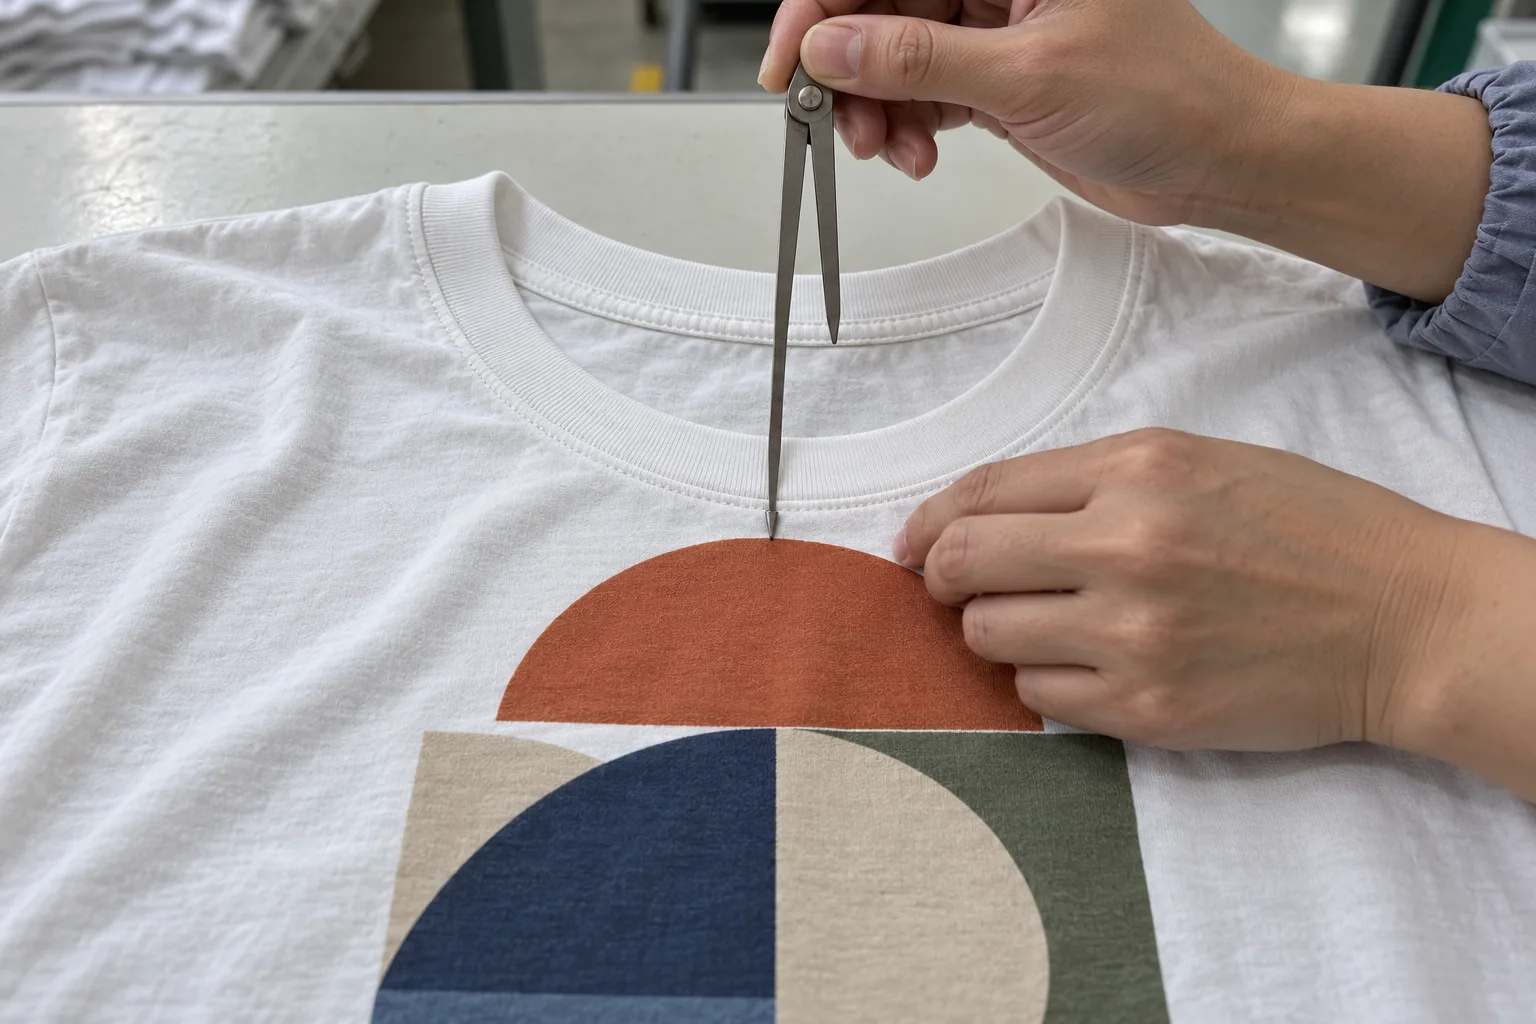
The following example illustrates a placement brief for one size. These figures are proposed development targets, not universal factory tolerances; confirm feasibility for the chosen jersey and printing setup.
| Control | Example instruction | Reason |
|---|---|---|
| Artwork size | 320 mm wide by 240 mm high | Prevents scaling from a visual mockup alone |
| Top placement | 85 mm below front neck seam | Defines a repeatable vertical origin |
| Horizontal alignment | Center on body centerline | Avoids relying on a potentially twisted side seam |
| Placement tolerance | Propose ±5 mm, subject to trial | Creates a measurable acceptance discussion |
Keep the garment relaxed and flat during measurement; stretching it onto a table changes the result. Define body length measurement separately, for example from high shoulder point to hem. For a short boxy body, verify the remaining clearance below the print so a hem revision does not unexpectedly crowd the design.
Resolve size grading before approving the print run
One artwork size across a size range simplifies setup, but the graphic occupies a different proportion of each garment. Approve at least the smallest and largest planned sizes visually. On the smallest boxy body, artwork may approach side folds; on the largest long body, the same print may appear underscaled.
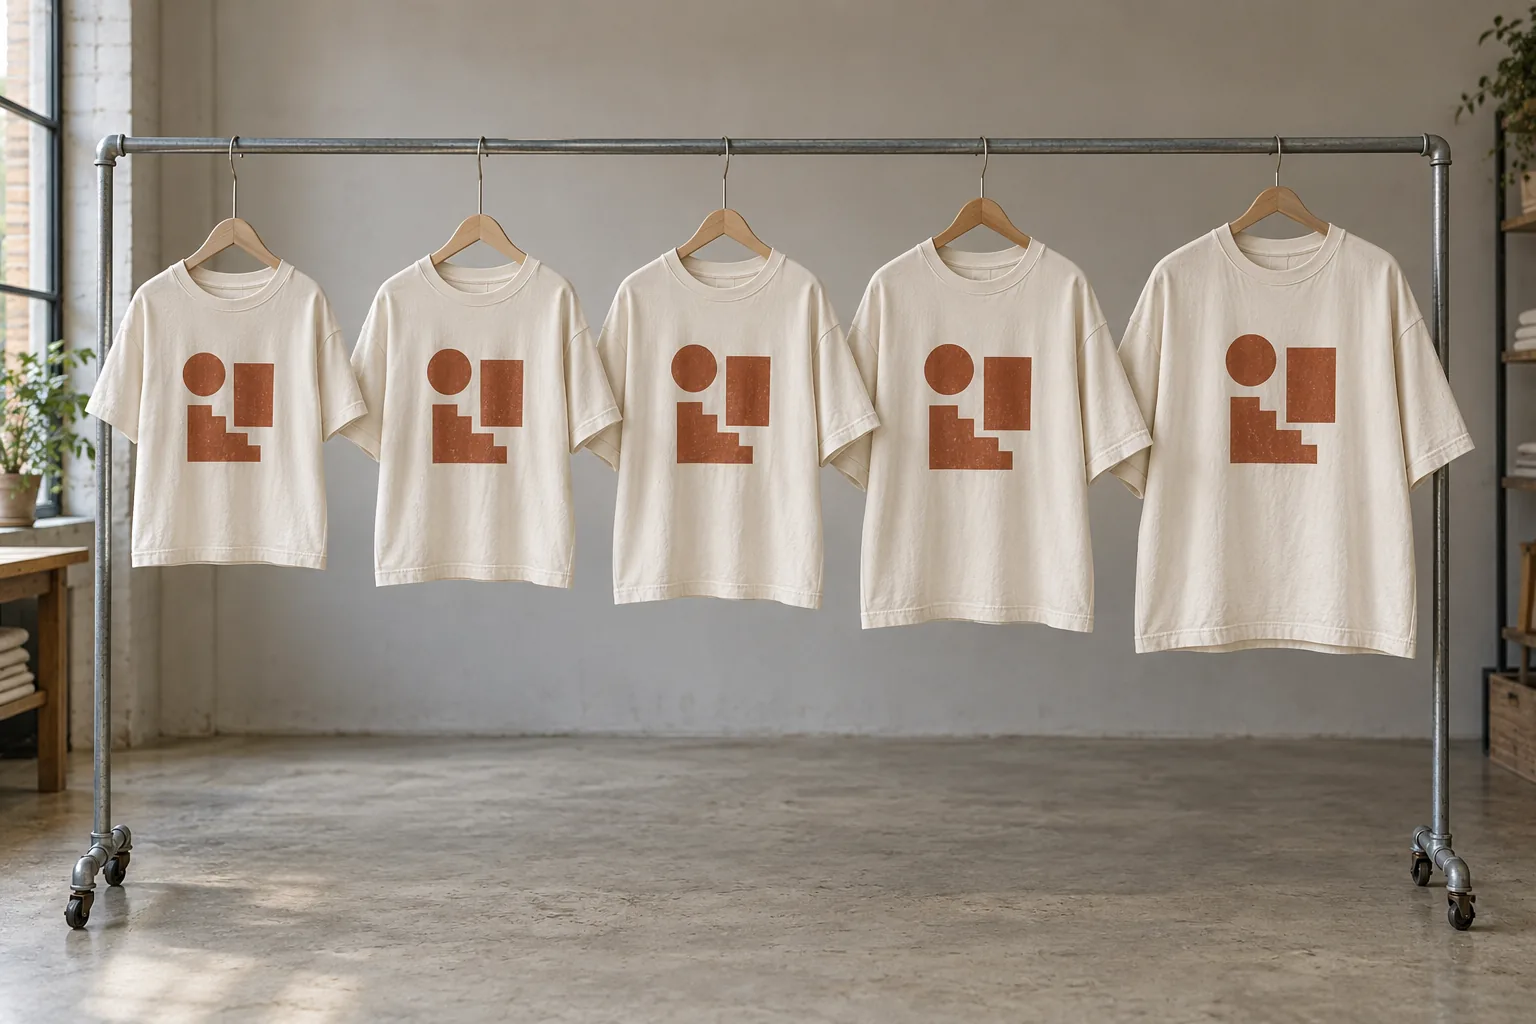
If proportional appearance is essential, consider two artwork size groups and record exactly which garment sizes use each. Ask how additional screens, transfers or setup changes affect the production plan. Do not let the production team infer the breakpoint from a size label: the artwork schedule should identify dimensions, placement and file version for every size group.
Confirm whether printing happens on cut panels or assembled garments. Panel printing can support certain seam-adjacent layouts, but sewing must preserve alignment. Printing assembled tees introduces access and platen constraints near collars, sleeves and seams. A graphic spanning a dropped shoulder needs a specific construction and decoration trial; extra garment width alone does not make that placement straightforward.
Approve the washed relationship between print and body
Raw measurements are only half the approval. Jersey can shrink or twist, while a printed area may respond differently from the surrounding fabric. A shorter body has less spare length to absorb an unexpected reduction, so check both silhouette and print clearance after the intended care process.
Agree on a wash-and-dry test matching the proposed care instructions, including temperature, drying method and number of cycles. Record measurements before and after, using the same method and allowing the garment to relax before inspection. Set acceptable dimensional change with the supplier before testing; do not adopt a generic percentage without considering the fit promise.
- Body geometry: Check chest, length, shoulder position and side-seam rotation against the approved specification.
- Print geometry: Recheck image width, height, centering and clearance to neckline and hem.
- Surface condition: Inspect for unwanted cracking, peeling, pinholes, color shift and pretreatment or press marks.
- Wear behavior: Examine folds through the image, skin-side comfort and recovery after normal movement.
- Production reference: Retain approved unwashed and washed samples, with dated photos and recorded test conditions.
Separate an intentional distressed effect from damage: specify which areas may look broken and which must remain continuous. For bulk QC, agree on inspection scope and defect criteria, then compare production garments with the signed reference. A pleasing overall impression should not override measurable placement or adhesion failures.
Questions buyers ask before releasing artwork
Can one graphic file serve both fits?
Yes, if the artwork dimensions and surrounding space are approved on each body. Keep separate placement sheets even when the image file is shared. The neckline-to-image distance that works on a long tee may place the same graphic too low on a cropped boxy version.
Should the garment be washed before it is printed?
That depends on the desired finish and production sequence. Printing before a garment wash exposes the decoration to that treatment; printing afterward requires checking the washed surface and remaining shrinkage. Approve a sample made in the intended sequence, especially when the wash changes color or texture.
What should accompany the first sample request?
Send the measurement chart, jersey specification, artwork files, color references, placement sheet and intended care method. StitchQuote offers sampling, fabric and trim sourcing, cut-and-sew, private label, branding and QC before packing. Most categories start from 50 pieces per style. A 7-day sample is available for standard styles with confirmed specs and available materials; complex styles, custom washes and custom-developed fabrics take longer.
Related reading for your printed tee brief
- Prepare an apparel tech pack with separate fit and print specifications.
- Review sampling and MOQ guidance before planning colorways.
- Explore custom T-shirt manufacturing for your garment program.
- Contact StitchQuote to discuss the jersey, artwork and sample scope.
Request a manufacturing quote
Share your product type, quantity range, and destination. We usually reply within one business day.