Custom Streetwear, Casualwear & Denim Manufacturer•MOQ 50 pcs•Denim MOQ 100 pcs•7-Day Sample Available

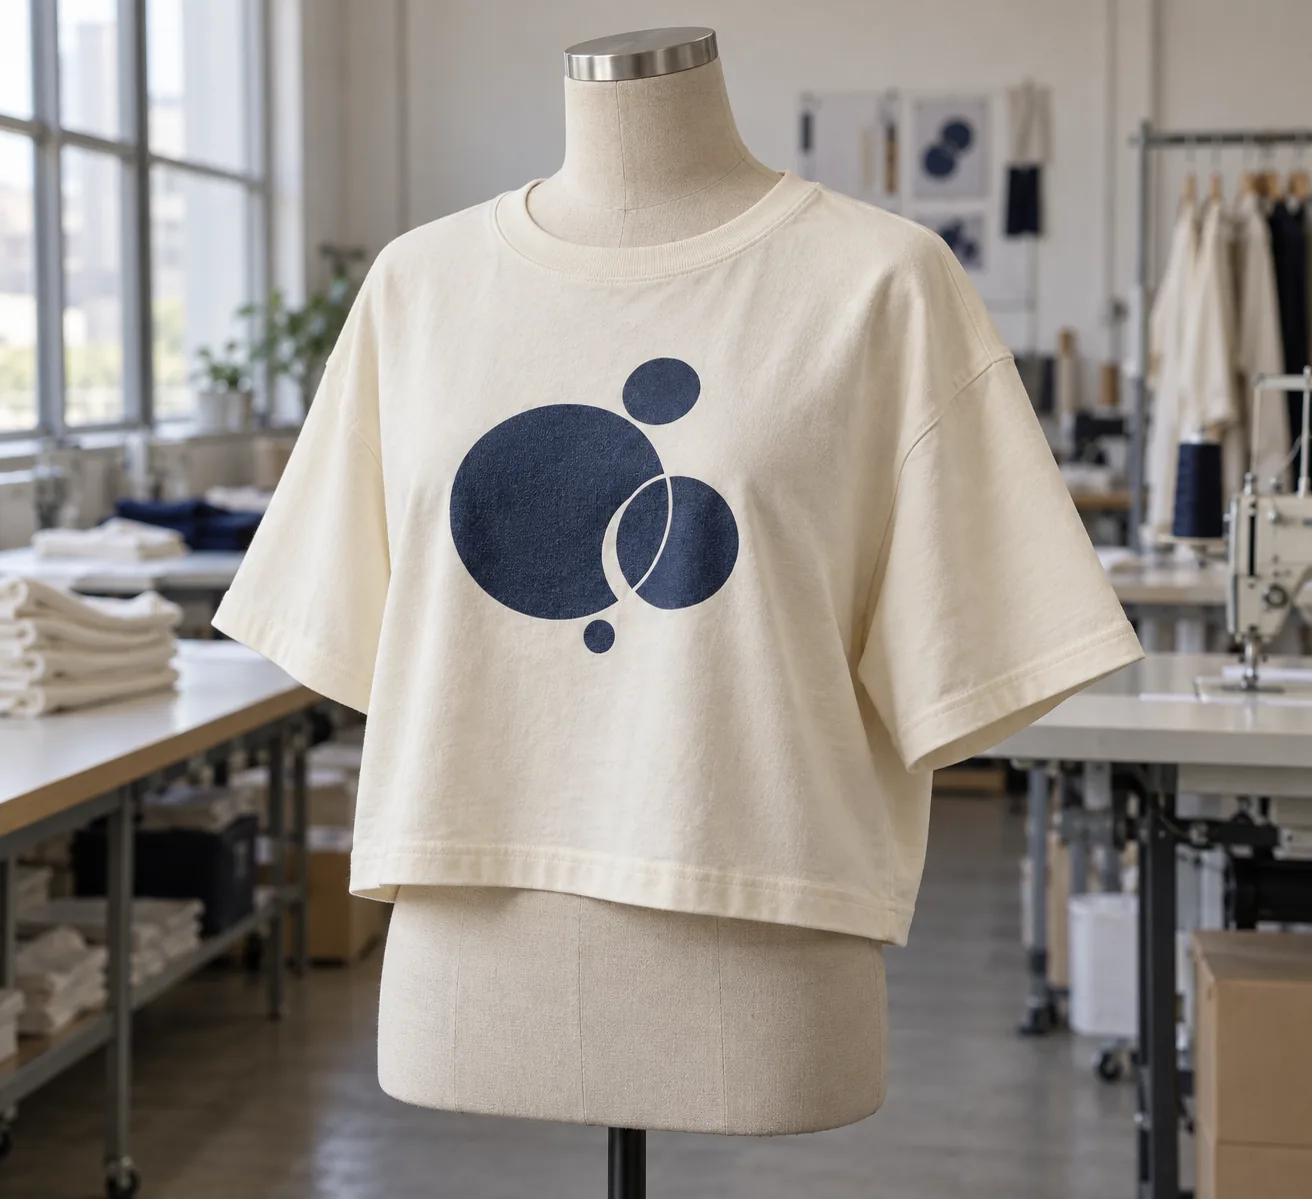
Why Graphic Placement Matters More on Boxy Fits
See why graphic placement matters more on boxy fits, including chest balance, drop-shoulder proportion, print size, and how placement changes the final silhouette.

A graphic can look balanced on a fresh boxy tee and sit awkwardly after its first wash. The print may remain intact while the body shortens, the side seams rotate, or the panel gathers around a stiff ink deposit. On a wide, cropped silhouette, those changes can quickly reduce the space that made the artwork feel intentional.
For brand buyers approving a sample, graphic placement needs a wash-test decision as well as a design decision. The useful question is whether the artwork still belongs on the garment after laundering under its intended care instructions. Establish that before signing off the print size, position, and bulk specification.
Judge the composition after the body has moved
Boxy fits put width and length in a different relationship from longer tees. A broad chest gives artwork room to spread, but a short body leaves less clearance below it. If length contracts more than width, a rectangular print can appear lower and heavier even when its distance from the neckline barely changes.
Consider a cropped tee with a large circular front graphic. Before washing, the circle sits comfortably between the neck and hem. After washing, the lower blank area narrows and the circle appears crowded. Moving the artwork upward might help, but only after checking whether body shrinkage itself is acceptable. Placement should not disguise an unstable garment.
Make the wash sample represent the intended order
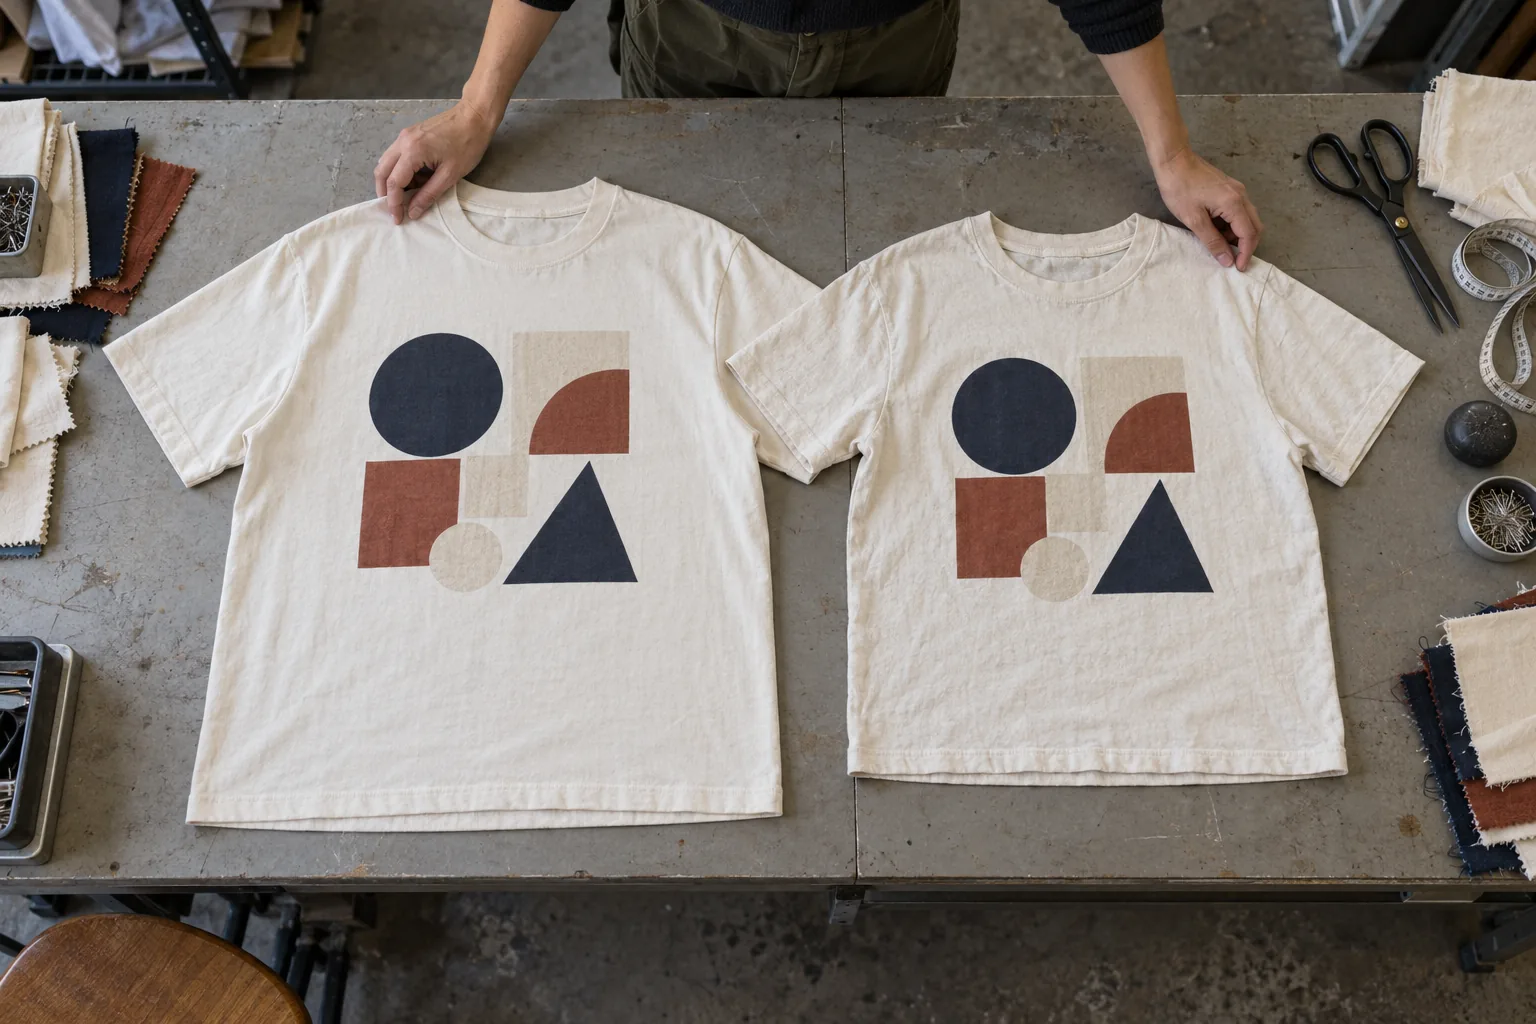
A print strike-off helps assess color and surface feel, but a loose fabric square cannot show how a finished boxy body changes. Use a sewn sample with the intended fabric, garment finishing, print process, artwork dimensions, and print location. Record any substitutions so the result does not become approval for a combination nobody tested.
Retain an unwashed reference and identify the garment being washed. Record its size, fabric reference, print version, and production sequence. Printing before a garment wash can produce a different result from printing after that wash; the sample must follow the proposed bulk sequence.
If the collection includes both a lightweight jersey tee and a fleece boxy hoodie, assess each construction. A successful result on jersey does not establish performance on fleece. For a hoodie, include the pocket and hood in the placement review because they influence the visible print area when worn.
Set the laundering conditions before comparing results
Agree on the intended care instructions and a repeatable test procedure with the supplier. Specify wash temperature, cycle, detergent, load conditions, drying method, and the number of cycles to review. These are project decisions, not universal pass thresholds. If a retailer requires a particular testing standard, name it explicitly.
Measure both the original and washed garment flat, relaxed, and under consistent conditions. Allow it to dry fully and settle before recording results. Do not stretch it into its original dimensions or press it to conceal distortion. Keep camera position and lighting consistent for comparison photographs.
| Record | Before washing | After agreed cycles |
|---|---|---|
| Body shape | Chest width and body length | Dimensional change and seam rotation |
| Print position | Top edge from defined neckline point | Same measurement using the same datum |
| Visual clearance | Print bottom to hem; sides to seams | Remaining space and apparent balance |
| Print condition | Surface, color, and flexibility | Cracking, lifting, puckering, or color change |
Use clearly defined measurement points in the sample record. “Centered” is insufficient if one person centers on the pattern panel and another uses side seams that have twisted during laundering.
Separate print failure from a placement problem
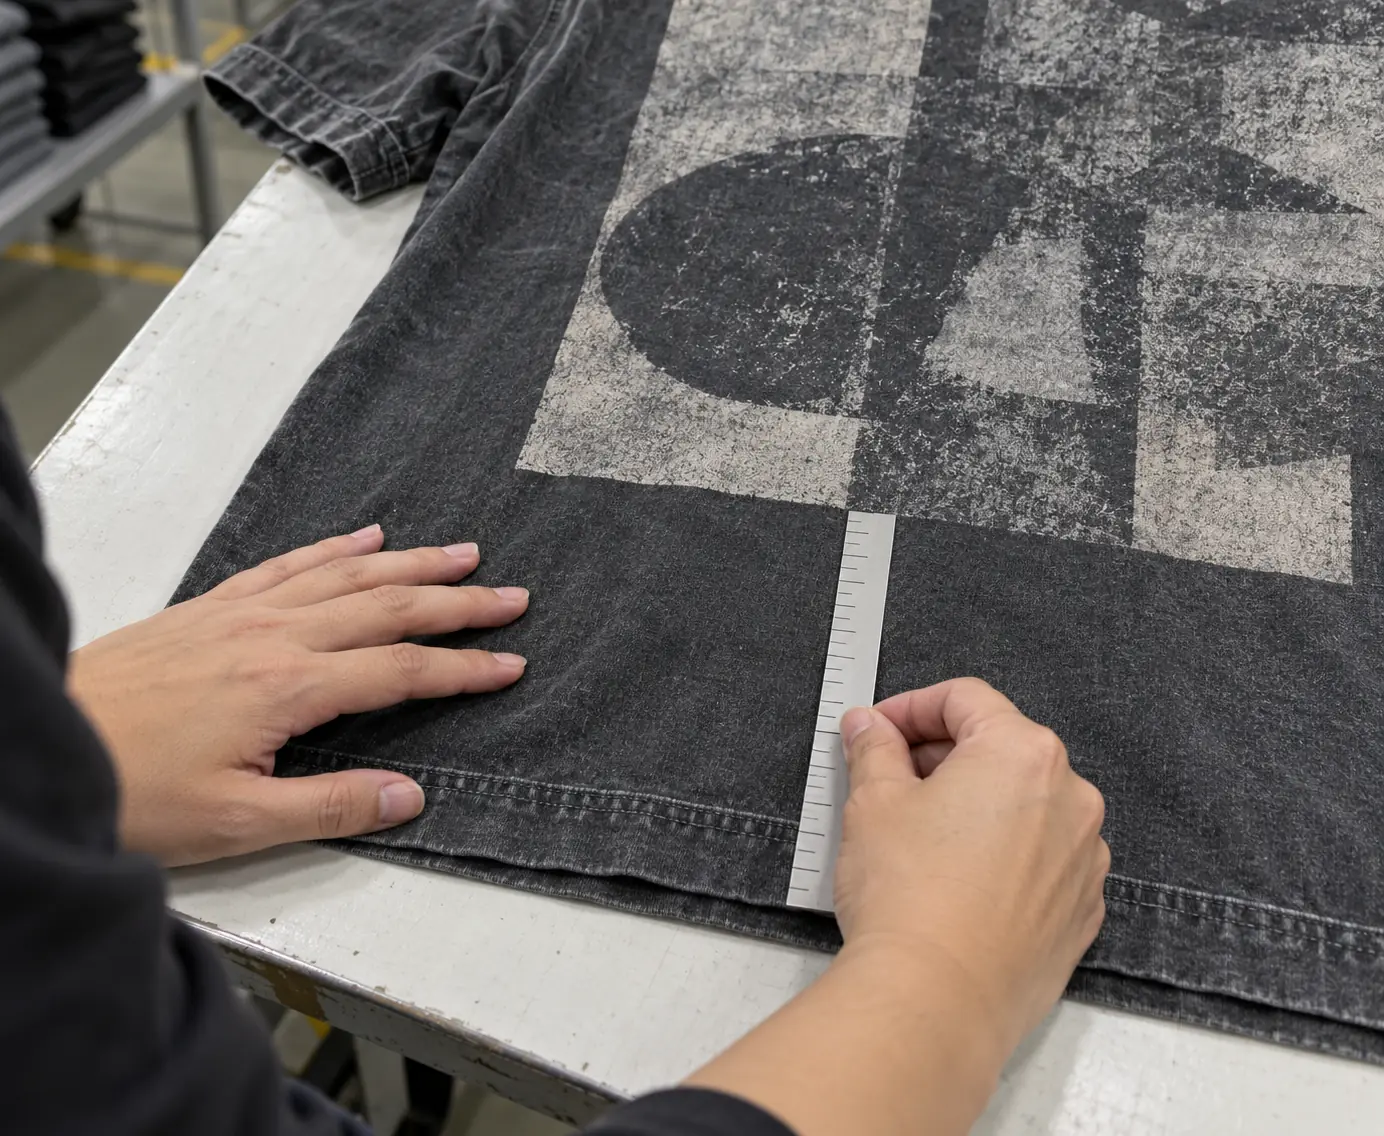
Read the result in two passes. First, inspect the decoration: look for edge lifting, unwanted cracking, color loss, dye migration, or changes in hand feel. Compare against the approved appearance; an intentionally distressed print needs its own reference rather than an assumption that every crack is acceptable.
Second, review the garment composition. A print with sound adhesion can still look off-center because the body twists. A dense chest panel may resist movement differently from the surrounding knit, leaving ripples at its perimeter. These observations call for different investigations, so photographs should include both close-ups and the full garment.
Ask the supplier to identify the likely cause before changing the artwork. A print application problem may require process adjustment; excessive body movement may require fabric or finishing work. If the body and print both meet their agreed requirements but the visual balance is poor, revise placement or scale and wash the revised sample again.
Use a release checklist that includes the smallest body
A single middle-size sample can hide clearance problems. Review the smallest and largest offered sizes, particularly when one print dimension is shared across the range. The smallest cropped body may lose its lower margin while the largest body makes the same artwork look undersized.
- Body stability: dimensional change and seam rotation meet the project’s agreed limits.
- Print durability: the washed surface matches the agreed appearance and performance criteria.
- Placement: neckline offset, center alignment, and hem clearance are recorded before and after washing.
- Worn appearance: inspect relaxed posture and normal arm movement, including pocket or fold interference.
- Approval record: identify the accepted sample, care procedure, cycle count, photographs, and any unresolved deviations.
Define tolerances before release and state whether each applies before or after washing. Keep the accepted wash sample alongside the unwashed reference for production review. Any later change to fabric, finishing, or printing should trigger a decision about retesting rather than inheriting approval automatically.
Turn the placement sketch into a measurable specification
Define body length from the high shoulder point beside the neck seam to the bottom hem, and define half-chest width at a stated distance below the armhole. Measure print offset separately from the center-front neck seam to the top of the actual printed area, excluding transparent space in the artwork file. For asymmetric graphics, mark an artwork reference axis rather than assuming the bounding box represents the visual center. Include a diagram so the sample room and bulk inspector use the same points.
Write separate limits for sewing dimensions, decoration placement, and wash change. For example, a buyer might propose a prewash print offset tolerance of plus or minus 5 mm, subject to the supplier confirming that the selected process can hold it. This is an illustrative project requirement, not a StitchQuote standard. A placement tolerance cannot substitute for a minimum postwash hem clearance: both need their own acceptance decision. Record measurements in one unit throughout the specification to avoid rounding discrepancies.
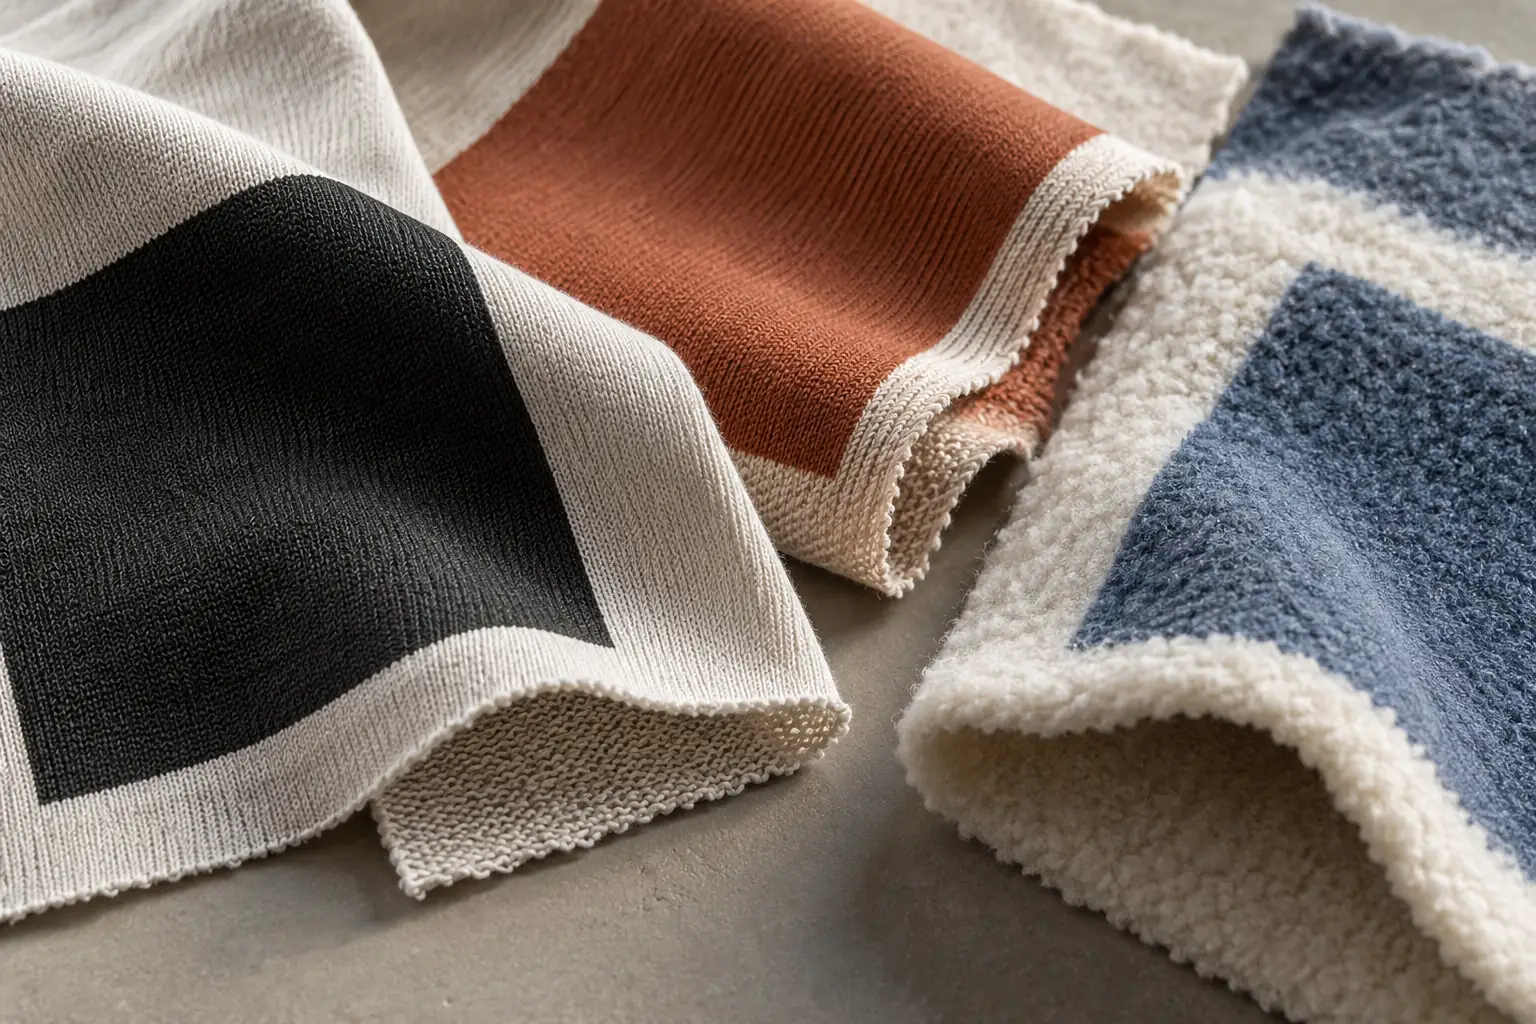
Specify fabric composition, knit construction, finished GSM, and finishing treatment together. A proposed 220 GSM cotton single jersey and a 320 GSM brushed fleece are different sampling substrates, even if both are described as heavyweight in a collection brief. GSM alone does not predict shrinkage or print compatibility. Ask whether the quoted weight refers to finished fabric, and retain the approved fabric reference so a later substitution is visible before printing begins.
Use a worked clearance check before committing to bulk
Consider an illustrative order of 100 boxy tees across four sizes with one shared front graphic. On the smallest sample, the center-front neck-seam-to-hem distance is 460 mm, the top print offset is 70 mm, and the print height is 300 mm. The initial lower clearance is therefore 90 mm. After the agreed wash cycles, suppose those measurements become 442 mm, 68 mm, and 294 mm. The remaining clearance is 80 mm. Calculate from the measured washed values rather than applying the body shrinkage percentage to every component; the printed panel can behave differently from the surrounding knit.
If the buyer requires at least 85 mm below the graphic after washing, that sample misses the requirement despite having no visible cracking. Check body stability first, then trial a smaller graphic or revised offset and repeat the wash review. For bulk QC, carry the approved size-specific measurements into an inspection sheet and check garments from different points in the printing run. Retain photographs with a ruler visible and identify each inspected garment by size and production batch.
Request a breakdown of the cost implications before choosing multiple artwork sizes. Additional screens or transfers, extra setup, larger ink coverage, and separate placement checks can affect the quote. Fabric changes or another decorated sample can also add development work. Compare these actual process changes with the visual benefit; do not assume that dividing a small order into more print variants has no effect on cost or scheduling.
Questions buyers ask before approving the washed sample
Can we approve placement from a digital mockup?
A mockup can establish the starting layout. It cannot demonstrate shrinkage, seam rotation, or print interaction with the fabric. Reserve final placement approval until a representative decorated garment has completed the agreed wash review.
Should every size use a different print size?
Not necessarily. Compare the size-range extremes first. A shared print may work if the washed clearances remain balanced. If they do not, consider grouped print sizes or adjusted offsets, and document which artwork and position belong to each garment size.
Does a seven-day sample include wash approval?
Confirm the testing schedule separately. StitchQuote offers a seven-day sample for standard styles with confirmed specs and available materials; complex styles, custom washes, and custom-developed fabrics take longer. Sample availability alone does not confirm completion of your required laundering cycles.
What should we send with a sampling request?
Send artwork dimensions, placement measurements, fabric requirements, intended care instructions, and wash acceptance criteria. StitchQuote provides sampling, cut-and-sew, private label, fabric and trim sourcing, branding, and QC before packing. Most category MOQs start from 50 pieces per style; confirm the proposed configuration for your project.
Related reading and project support:
- Prepare a tech pack with measurable placement requirements
- Review sampling and MOQ planning
- Explore custom hoodie manufacturing
- Discuss your wash-test sample with StitchQuote
Request a manufacturing quote
Share your product type, quantity range, and destination. We usually reply within one business day.