Custom Streetwear, Casualwear & Denim Manufacturer•MOQ 50 pcs•Denim MOQ 100 pcs•7-Day Sample Available

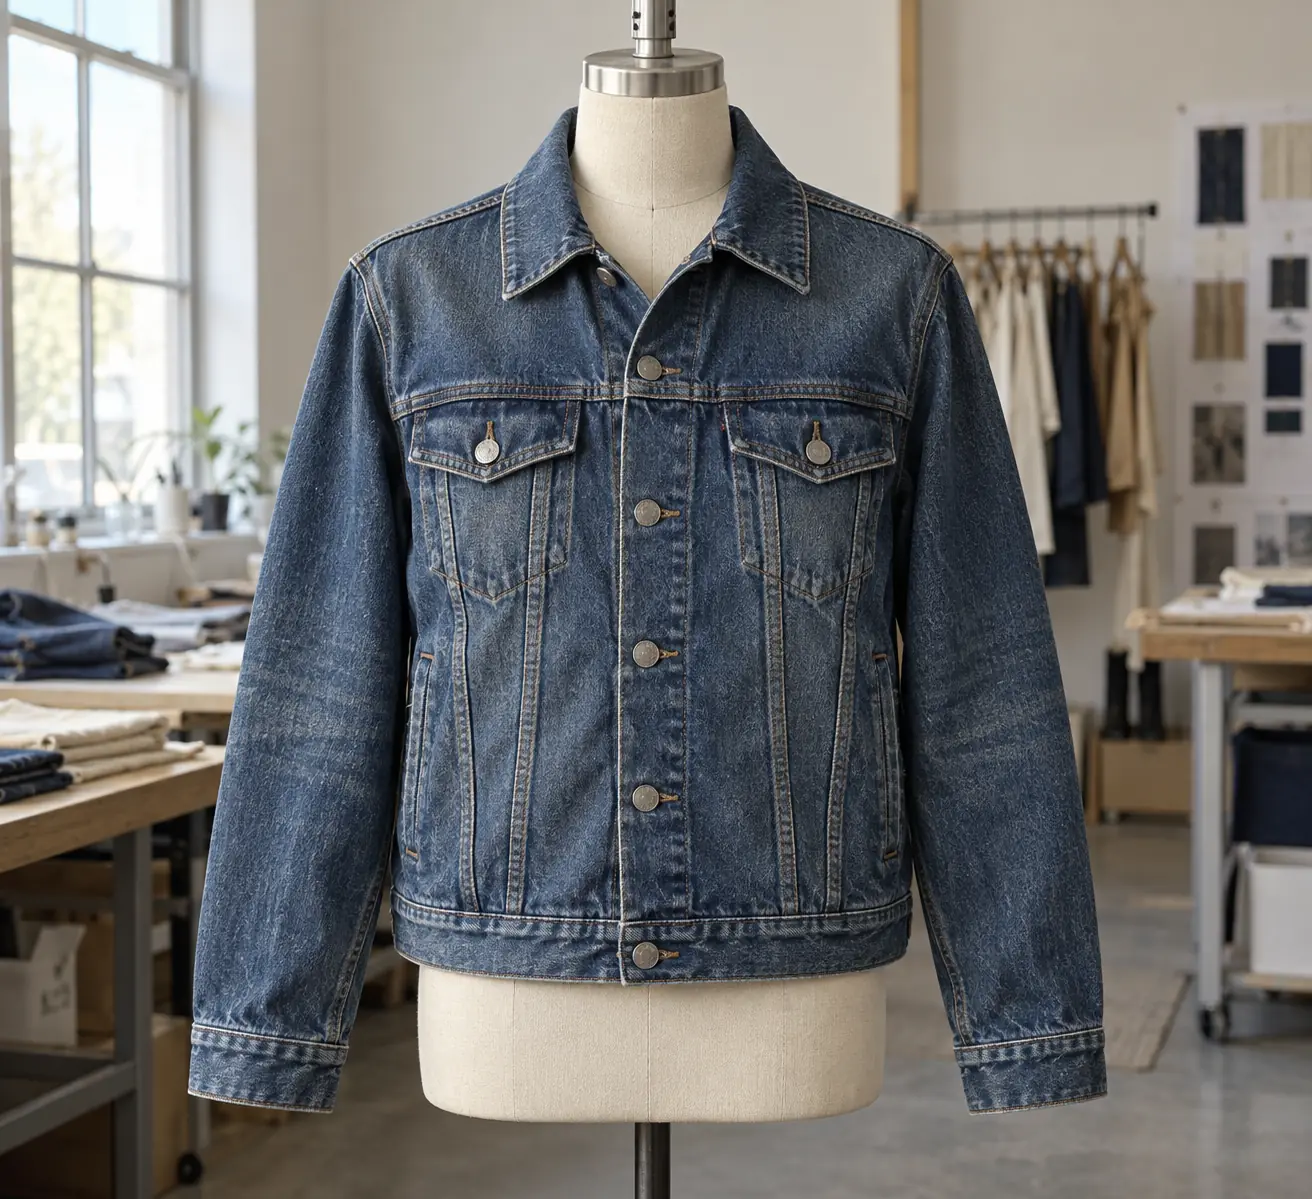
How to Develop a Private Label Denim Jacket Program
Use private label denim jacket program to compare private label decisions more clearly, protect brand consistency, and keep product, trims, and commercial scope.

A denim jacket can look correct on the sampling table and still arrive too short, too tight across the back, or uneven at the front after its production wash. For a brand developing a private label denim jacket program, the useful starting point is the garment the customer will receive: washed, dried, finished, and measured under agreed conditions.
Build the program around that finished measurement standard before approving pocket artwork or finalizing a size curve. This approach connects silhouette, fabric selection, pattern compensation, wash development, and bulk inspection. It also gives buyers a practical way to separate a fit problem from a processing problem when a sample misses the brief.
Define the finished jacket before adjusting the pattern
Choose a specific wearing intention. A cropped jacket worn over a T-shirt needs a different back length and armhole allowance from a roomy trucker intended for a sweatshirt. Record the intended layer and fit model alongside the base size. Otherwise, one reviewer may approve the silhouette on a thin tee while another rejects it over heavy fleece.
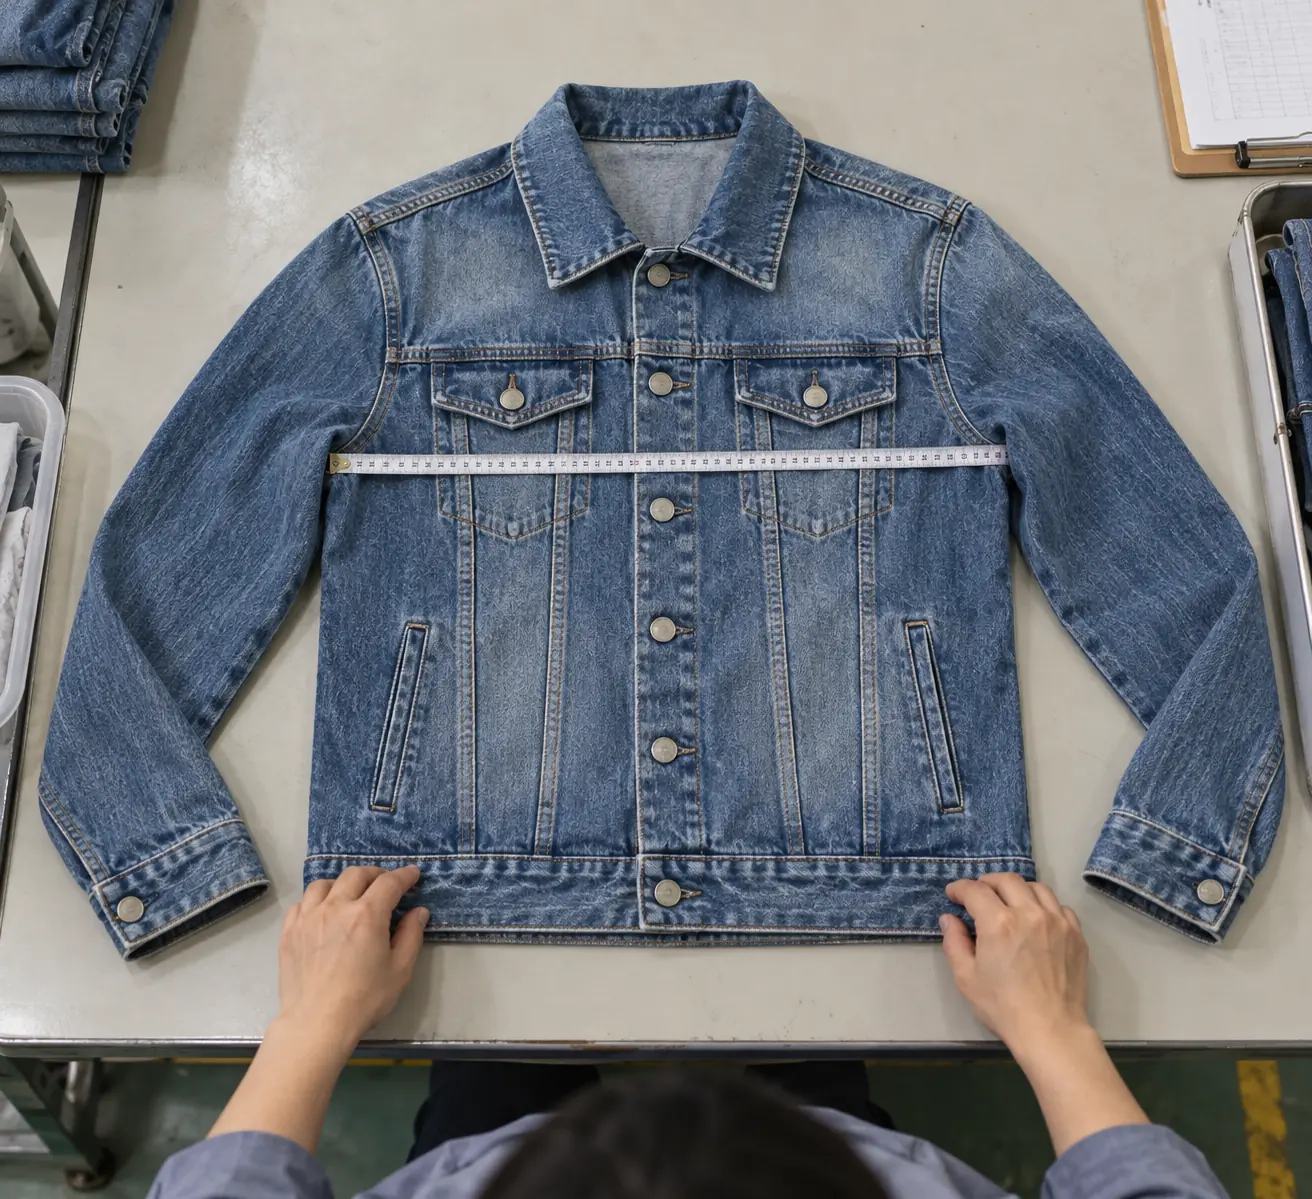
Create an after-wash specification with illustrated points of measure. Define whether chest width is taken with the front fastened, where the tape crosses below the armhole, and whether back length excludes the collar. For sleeves, identify the starting seam and measuring path. A curved sleeve measured along its outer edge cannot be compared directly with a straight-line measurement.
The following values are an illustrative development brief for one relaxed base size, not universal sizing or StitchQuote production tolerances. Agree achievable tolerances per project before sampling.
| Finished point | Example target | Proposed tolerance |
|---|---|---|
| Half chest, fastened, 2.5 cm below armhole | 60.0 cm | ±1.0 cm |
| Center back, collar seam to hem | 62.0 cm | ±0.7 cm |
| Sleeve, shoulder seam to cuff edge | 61.0 cm | ±0.7 cm |
| Half hem, adjusters at agreed setting | 55.0 cm | ±1.0 cm |
Measure fabric response in both directions
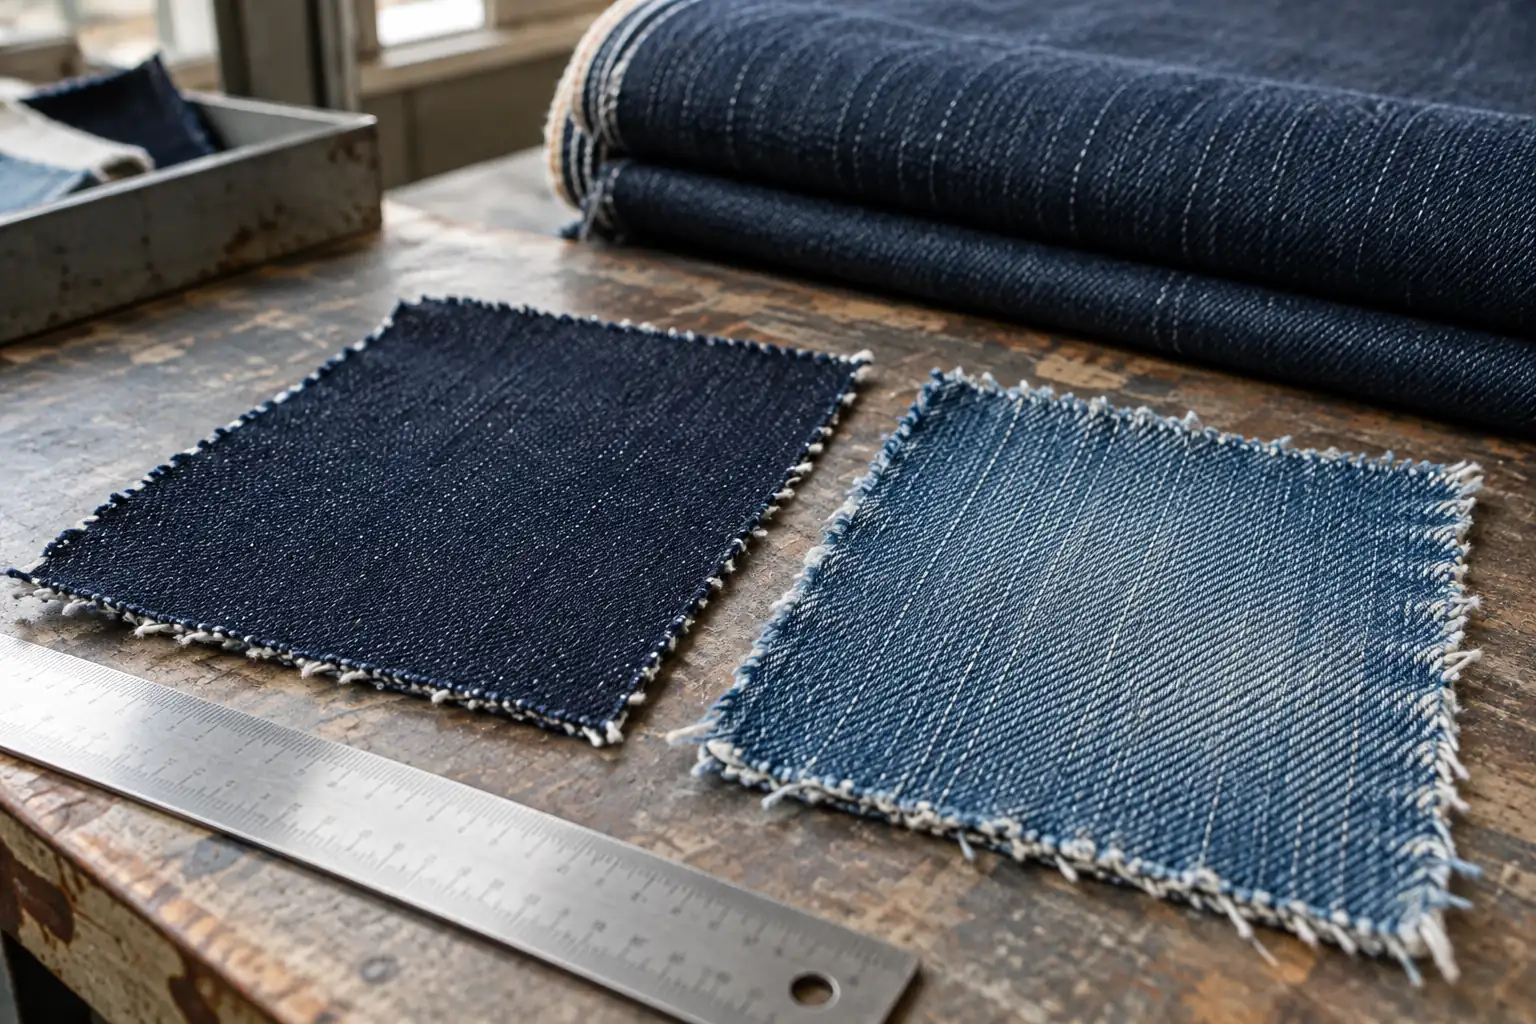
Request dimensional testing on the selected denim using the proposed production treatment, including its drying stage. Record fabric identification, lot, composition, weight, and treatment route. Test marked distances in both warp and weft directions, with repeat specimens agreed for the project. A single overall shrinkage percentage hides differences that affect jacket length and chest width separately.
Calculate dimensional change as the original distance minus the processed distance, divided by the original distance. If a marked 50 cm length becomes 48 cm, shrinkage is 4%. As a first calculation, a 62 cm finished length would require 62 ÷ 0.96, or approximately 64.6 cm, before that shrinkage occurs. This is a planning estimate, not a complete cutting dimension: seam allowances, construction, and garment behavior still require validation.
Keep the test method stable. Measure specimens after the agreed relaxation period, without stretching them flat. Also record skew or twisting, because correct average dimensions do not prove that a front edge will hang straight. If the denim source or finishing route changes, reassess the dimensional evidence before carrying forward the old pattern compensation.
Follow one sample through sewing, washing, and relaxation
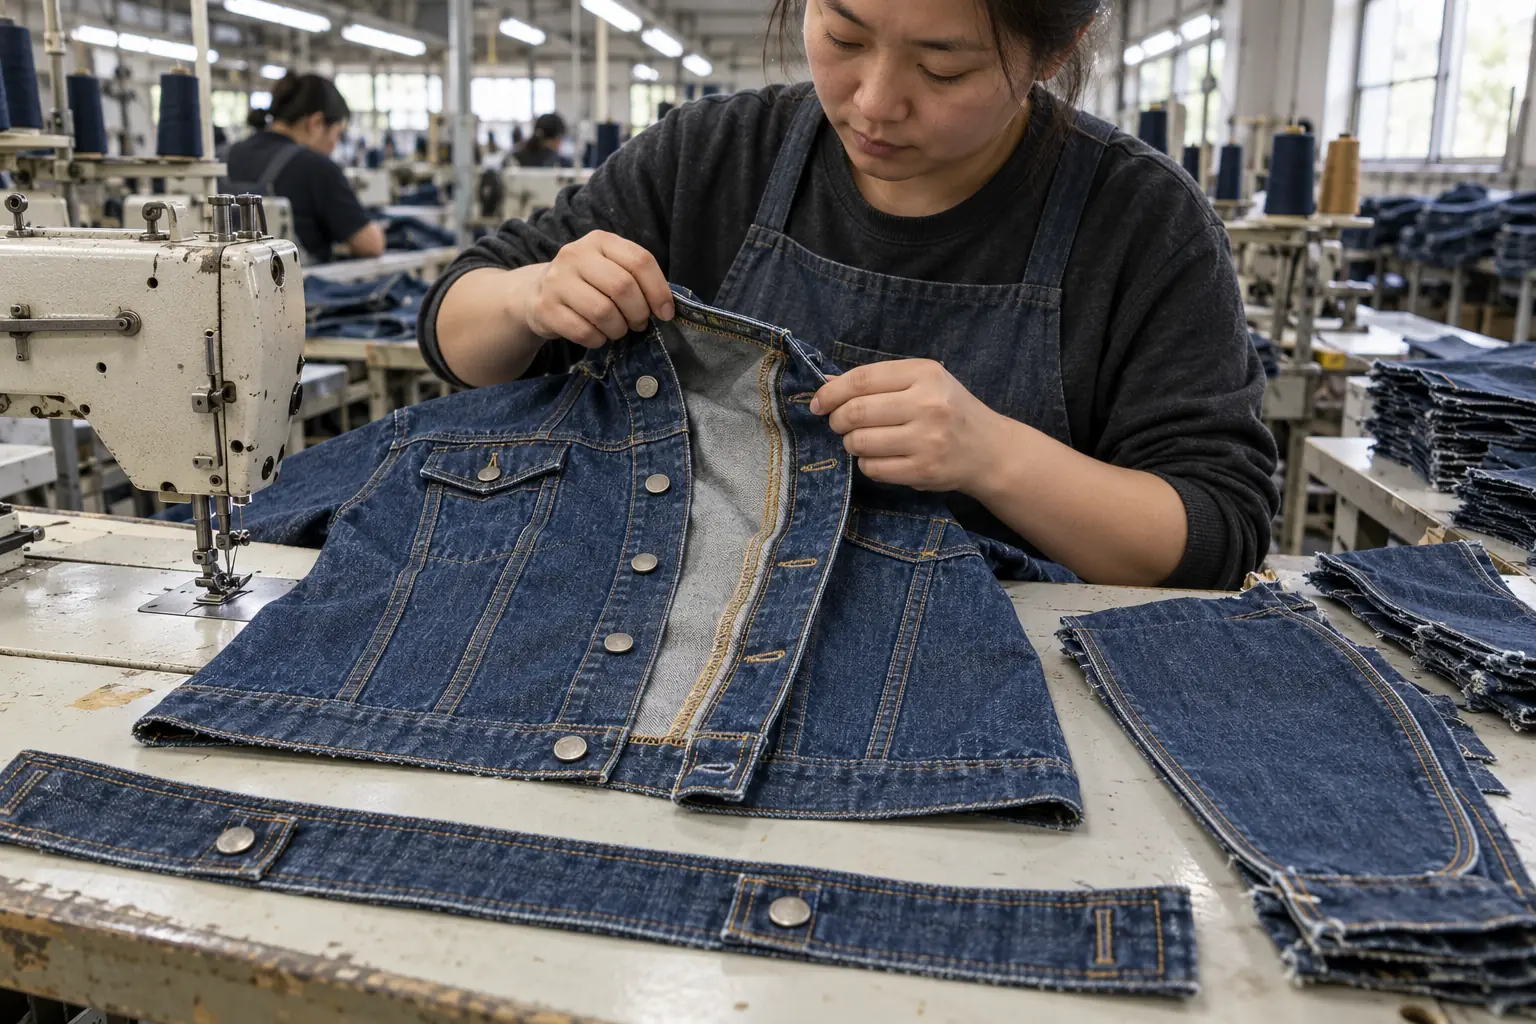
Assign each development jacket an identifier that stays with its measurement record. Measure the sewn garment before washing, then measure the same jacket after the complete wash and dry process and agreed conditioning period. This paired record reveals which points moved. Comparing two different samples can confuse sewing variation with wash response.
Document the condition of each measurement. The jacket should be dry, fastened consistently, laid on a flat surface, and gently smoothed without pulling. Specify whether measurements are taken before or after final pressing. Measuring immediately after steam can produce a result that changes once the garment relaxes; the inspection condition should represent the state you intend to accept.
Look beyond the large dimensions. A chest measurement may pass while the front placket ripples because its layered construction responds differently from the body. Check pocket opening length, cuff circumference, waistband depth, and left-to-right sleeve differences. Record these observations beside photographs and measurements so the pattern maker can distinguish panel shrinkage from seam tension or local distortion.
Correct the cause before releasing the size range
When a sample misses its target, compare three records: the intended finished specification, the actual prewash garment, and the actual after-wash garment. If the jacket was already narrow before processing, investigate cutting or sewing against the prewash specification. If its starting dimensions were correct but its dimensional change exceeded the trial result, investigate material and processing consistency.
Avoid enlarging the entire pattern to solve a short body. Suppose the sample finishes at the correct chest width but loses 1.5 cm more back length than expected. Increasing every panel equally could damage shoulder placement and pocket proportions. Review the lengthwise compensation, waistband contribution, and wash conditions together, then resample the affected construction.
Approve the base size before grading, but verify the resulting range with an agreed size set. Include sizes that expose proportion risks, such as the smallest and largest offered. Sleeve pitch, armhole shape, and pocket position do not become acceptable simply because chest increments are consistent. Fit checks should use the intended layering garment, with reaching forward and bending the elbows included.
Treat each materially different wash as a separate dimensional validation. A dark rinse approval does not establish the finished measurements for a heavily worked pale version. Keep shared targets where the brand wants consistent fit, while documenting any wash-specific pattern or processing adjustments needed to reach them.
Make after-wash inspection a release checklist
Before bulk production, agree which points are critical, the inspection sample plan, and what happens when a result fails. Include samples across the size assortment and relevant wash batches rather than selecting only visually tidy jackets. An acceptable average can conceal individual garments outside tolerance, so retain individual readings as well as any summary.
- Reference: Confirm the current finished specification, approved sample identifier, wash version, and fabric lot before measuring.
- Condition: Check that garments are dry and have completed the agreed relaxation and finishing steps.
- Method: Use consistent fastening, hem-adjuster positions, tape paths, and flat-table handling.
- Dimensions: Check critical chest, body, sleeve, and hem points, plus paired measurements where asymmetry matters.
- Shape: Inspect placket alignment, seam twist, puckering, pocket distortion, and collar balance alongside the numbers.
- Disposition: Identify affected pieces or batches, investigate the cause, and recheck any approved corrective work before packing.
Do not use aggressive pressing to temporarily stretch a failing jacket into tolerance. Any proposed reprocessing should be assessed for shade, hand feel, seam appearance, and trim damage as well as dimensions. If a deviation is commercially acceptable, document the buyer’s concession explicitly instead of silently changing the specification.
Build quantities and approvals around dimensional evidence
Separate the factory wash approval from an assessment of later home-care dimensional change. The first establishes the supplied garment; the second checks its behavior under the intended care instructions. Where laundering tests are part of development, define the method, cycle count, drying conditions, and acceptance criteria with the supplier. Do not assume a production-washed jacket has no remaining shrinkage.
For StitchQuote, denim starts from 100 pieces per style; most other categories start from 50 pieces per style. Confirm how sizes and wash variants fit the proposed order before committing the assortment. StitchQuote services include cut-and-sew, private label, sampling, fabric and trim sourcing, branding through woven labels, prints and embroidery, and QC before packing.
A 7-day sample is available for standard styles with confirmed specifications and available materials. Complex styles, custom washes, and custom-developed fabric take longer. Schedule dimensional review and any corrective sample around those dependencies. The release package should contain the approved finished measurements, measurement method, wash reference, size-set comments, and treatment of any outstanding deviation.
Questions buyers ask when washed dimensions drive approval
Should the purchase specification show prewash or finished measurements?
State the accepted delivery measurements as finished, after-wash values. Keep a separately identified prewash control sheet for manufacturing. Both can be useful, but mixing them in one unlabeled column makes it unclear which condition the buyer has approved.
Can two washes use the same jacket pattern?
Possibly, if trials show that both reach the agreed finished targets and shape requirements. Validate each route before deciding. Different dimensional responses may require separate compensation even when the customer-facing size chart stays the same.
What if the measurements pass but the jacket feels restrictive?
Review armhole shape, upper-sleeve room, shoulder position, and sleeve pitch on the intended wearer. Flat dimensions capture only part of fit. Record movement observations and revise the relevant geometry rather than automatically adding width to the whole jacket.
Does a repeat order need another dimensional check?
Confirm that material, construction, and processing remain equivalent to the approved order. Check representative garments from the new run against the retained standard. A familiar style name does not prove a new fabric lot will behave identically.
Related reading and project support:
- Prepare a tech pack with clear measurement instructions
- Plan sampling and minimum order quantities
- Document denim wash approvals
- Discuss your jacket specification with StitchQuote
Request a manufacturing quote
Share your product type, quantity range, and destination. We usually reply within one business day.