Custom Streetwear, Casualwear & Denim Manufacturer•MOQ 50 pcs•Denim MOQ 100 pcs•7-Day Sample Available

How to Prevent Artwork from Fighting the Garment Shape
Understand artwork placement garment shape through fit, fabric, decoration, and production logic so streetwear and premium basics buyers can make cleaner development.

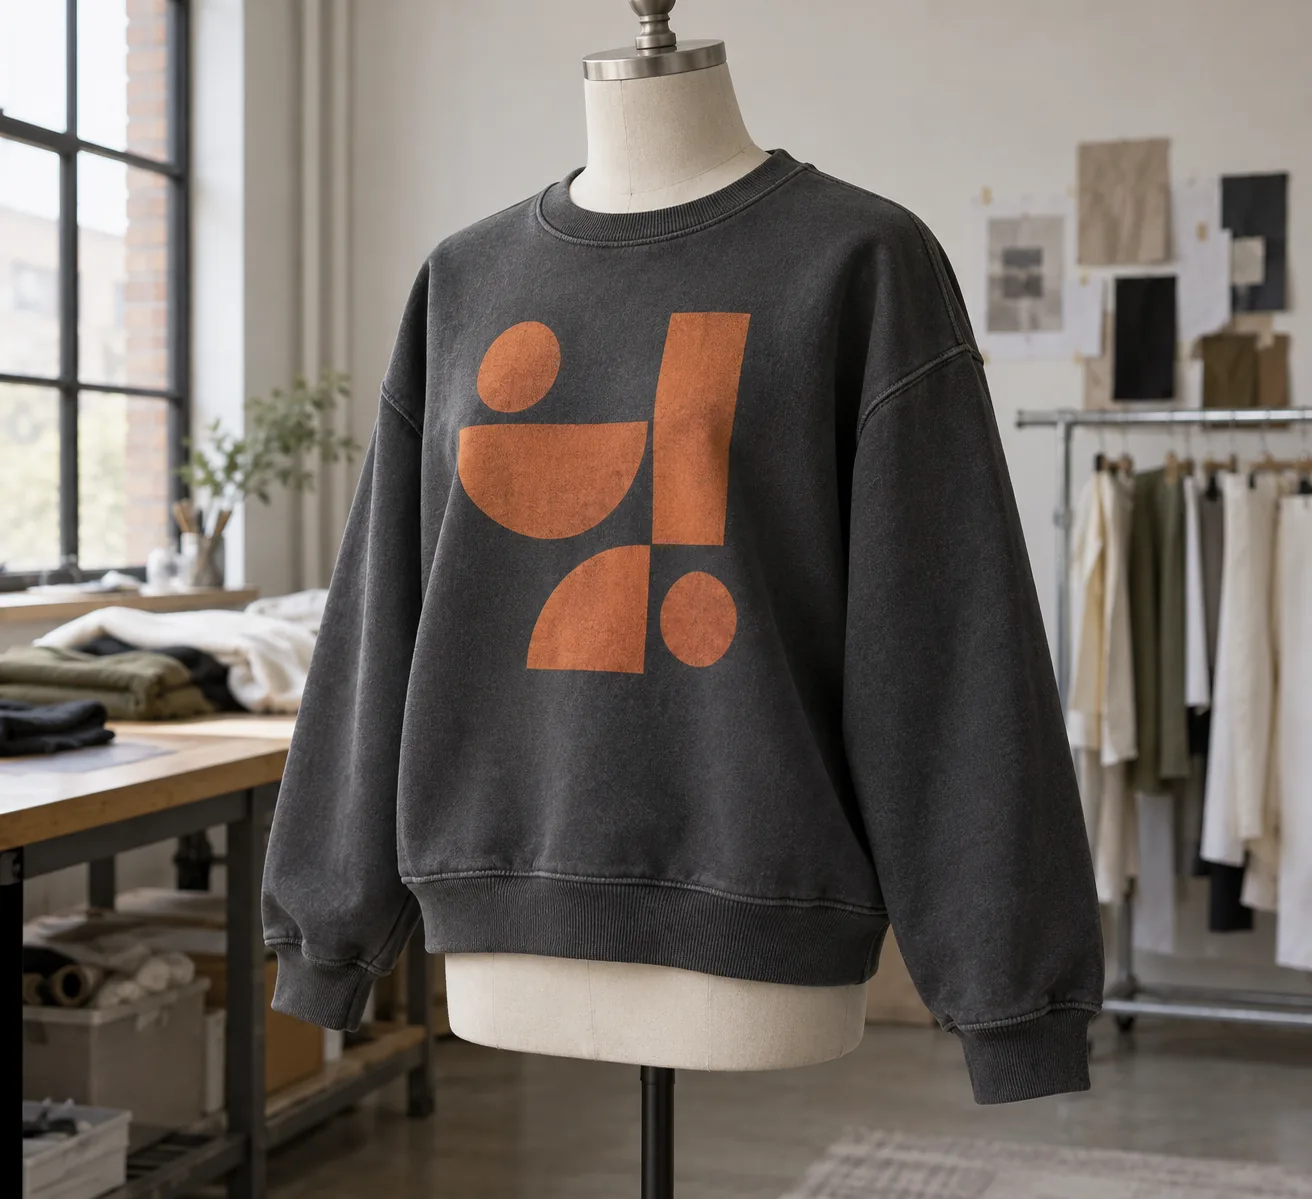
A graphic can look balanced on a flat mockup and feel awkward on the finished garment. A wide illustration may disappear into the sides of a narrow tee, while a dense embroidered panel can stop a soft sweatshirt from falling naturally. The buyer’s job is to approve the relationship between decoration and shape, not just approve two attractive components separately.
Use the checklist below before releasing artwork for sampling or bulk production. It focuses on what to measure, what to photograph, and which decisions need a physical sample. The objective is a garment whose graphic remains intentional across sizes, movement, and the agreed care routine.
Check which part of the silhouette must stay visible
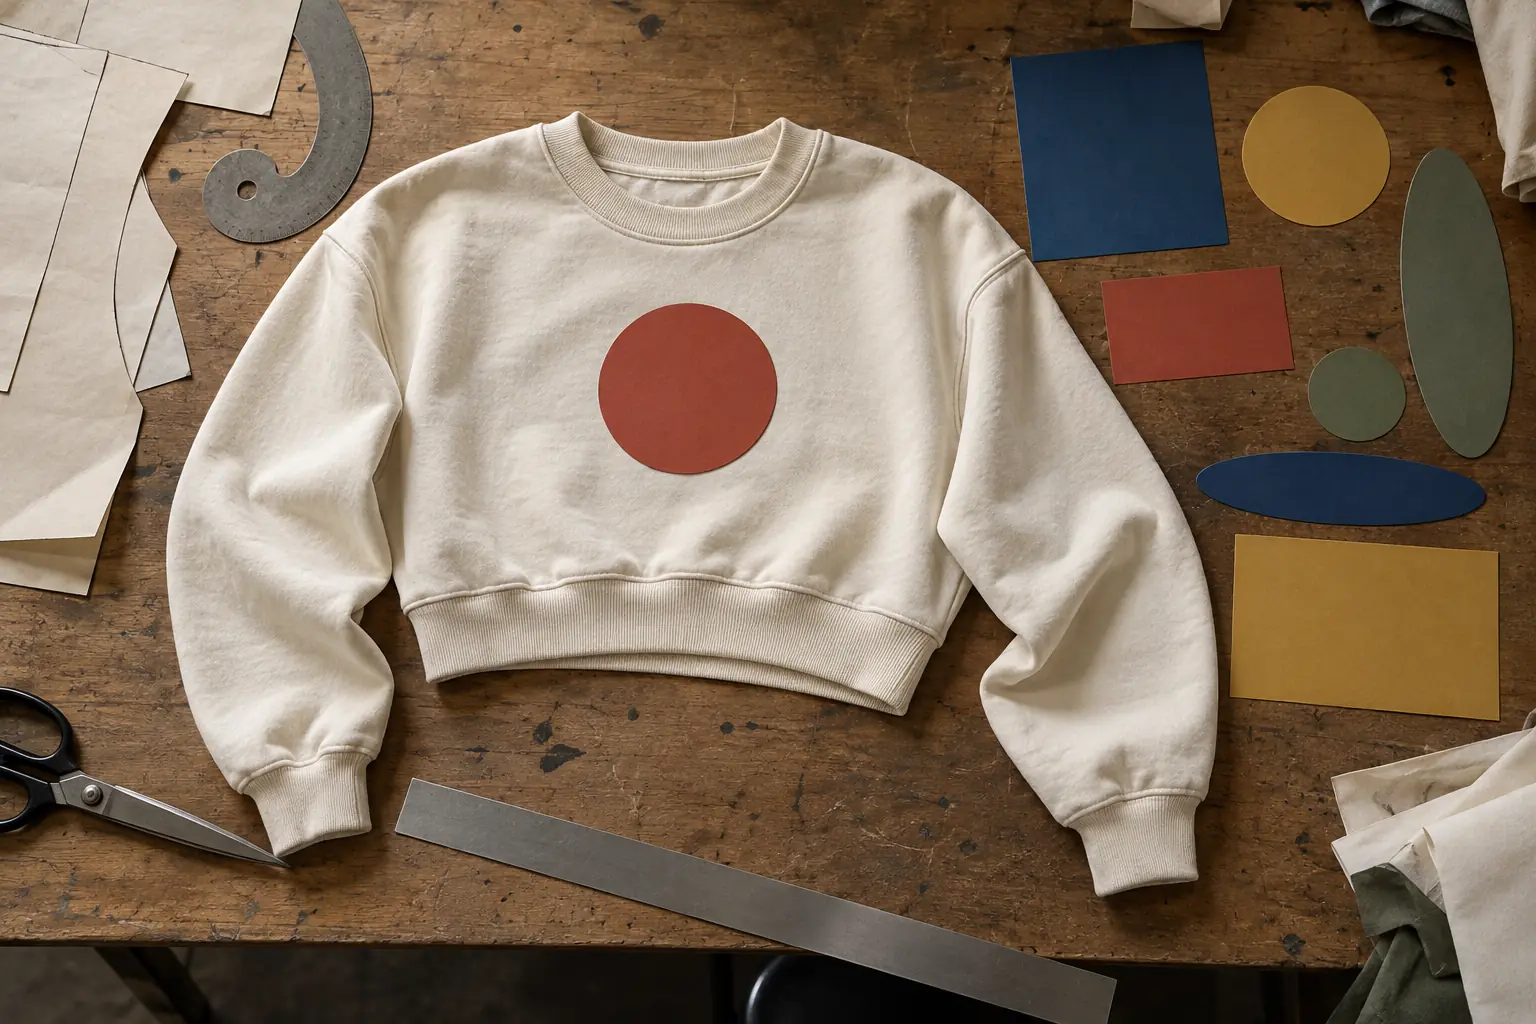
Begin with the garment’s defining feature. Is it a broad shoulder, a short boxy body, a tapered leg, or a curved side seam? Identify that feature in the brief, then decide whether the artwork should emphasize it or sit quietly within it. A large rectangle across a cropped sweatshirt can visually lengthen the torso even when the pattern is deliberately short.
Check the front, back, and side views. On a barrel-leg trouser, an illustration that looks vertical when laid flat may curve toward the inseam when worn. On a dropped-shoulder tee, a sleeve graphic placed relative to the shoulder seam can sit much lower than the buyer expects.
- Identify the hero feature: write one sentence describing what the wearer should notice first.
- Mark interruption zones: locate pockets, darts, curved seams, rib attachments, and folds that can split the image.
- Set a visual boundary: decide whether artwork may wrap out of the front view or must remain fully readable.
For an initial review, cut the graphic outline from paper at actual size and place it on the fit sample. This quickly exposes proportion problems, although it cannot prove how the final decoration will affect drape.
Give placement a measurable reference system
“Centered on chest” is not a complete production instruction. Define the garment centerline, the artwork boundary being measured, and the vertical reference point. For an asymmetric illustration, distinguish the file’s bounding box from its visual center. Empty space inside the file can make a mathematically centered print look misplaced.
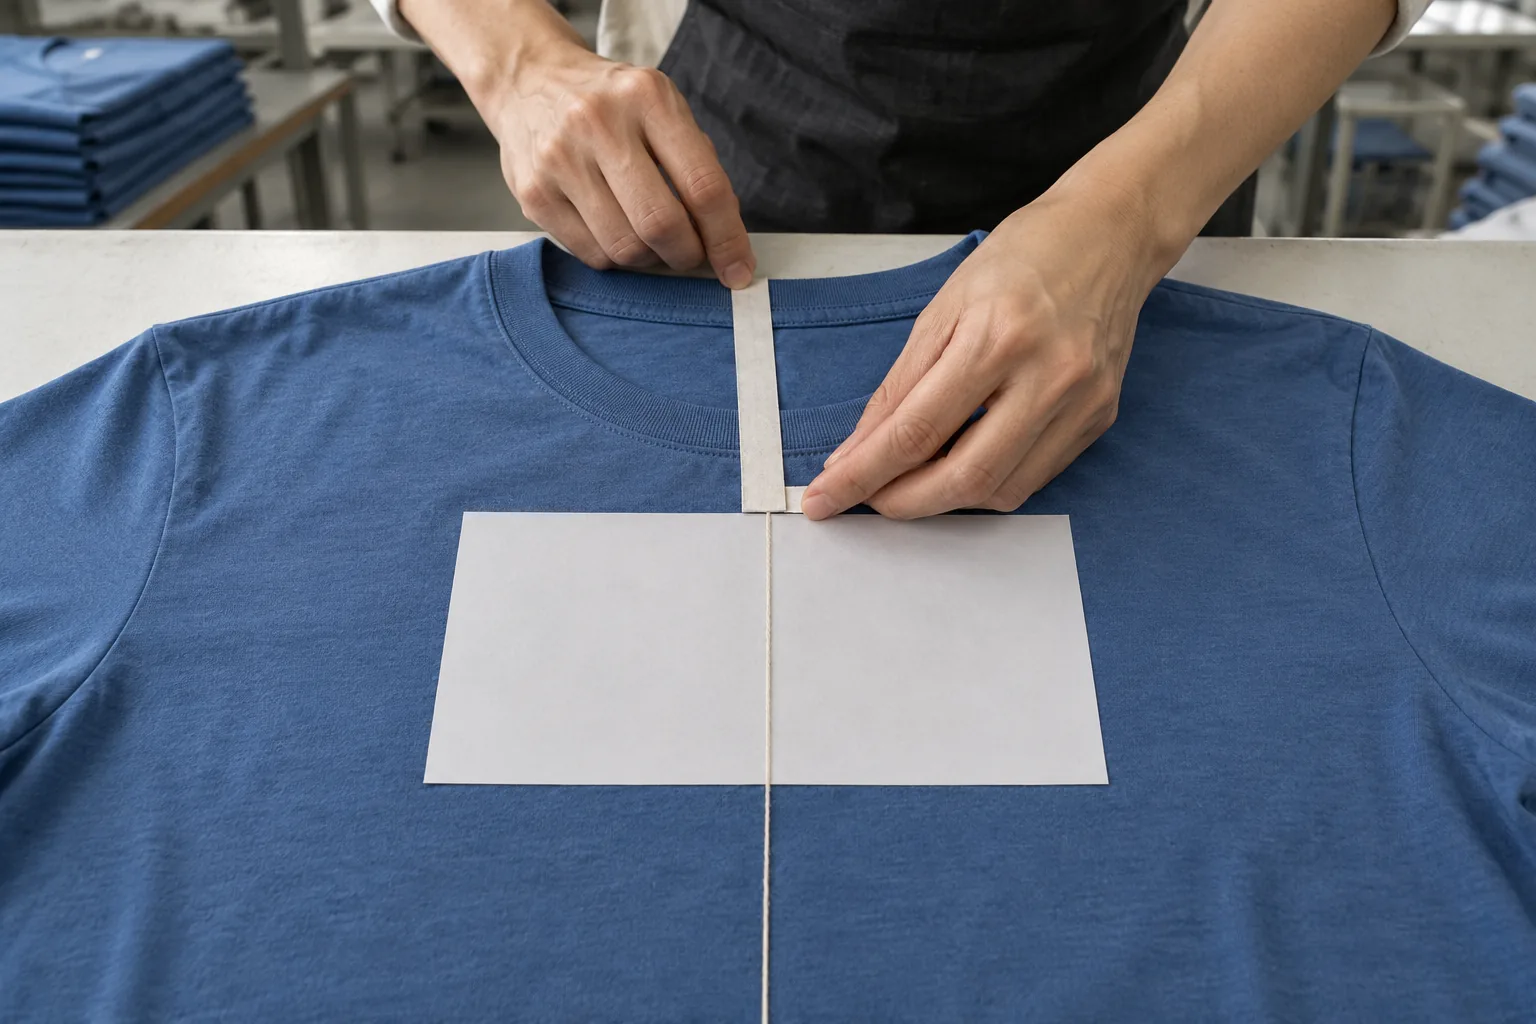
Specify whether the top distance starts at the center-front neckline seam or another defined point. Do not interchange neckline seam, rib edge, and high shoulder point in different documents. Measure the garment relaxed on a flat surface, without stretching it into a more convenient shape.
| Buyer check | Illustrative instruction | Reason |
|---|---|---|
| Artwork dimensions | Visible graphic 240 mm wide; height proportional | Excludes unused file margins |
| Vertical position | Top edge 80 mm below center-front neckline seam | Creates a repeatable starting point |
| Horizontal position | Graphic center aligned to body centerline | Avoids dependence on uneven side seams |
| Placement variation | Propose ±5 mm for sample review | Makes the acceptance discussion explicit |
These values are examples, not universal production limits. Confirm achievable tolerances for the garment, decoration process, and measurement method. A graphic beside a pocket may need tighter visual control than a small motif floating in a large open panel.
Test whether decoration changes the fabric’s behavior
The important question is not simply whether a technique can reproduce the design. It is whether the decorated area bends, stretches, and recovers compatibly with the surrounding fabric. A large solid transfer can create a comparatively firm patch on a fluid jersey. Heavy embroidery can pull a lightweight panel inward or leave it looking supported in one area only.
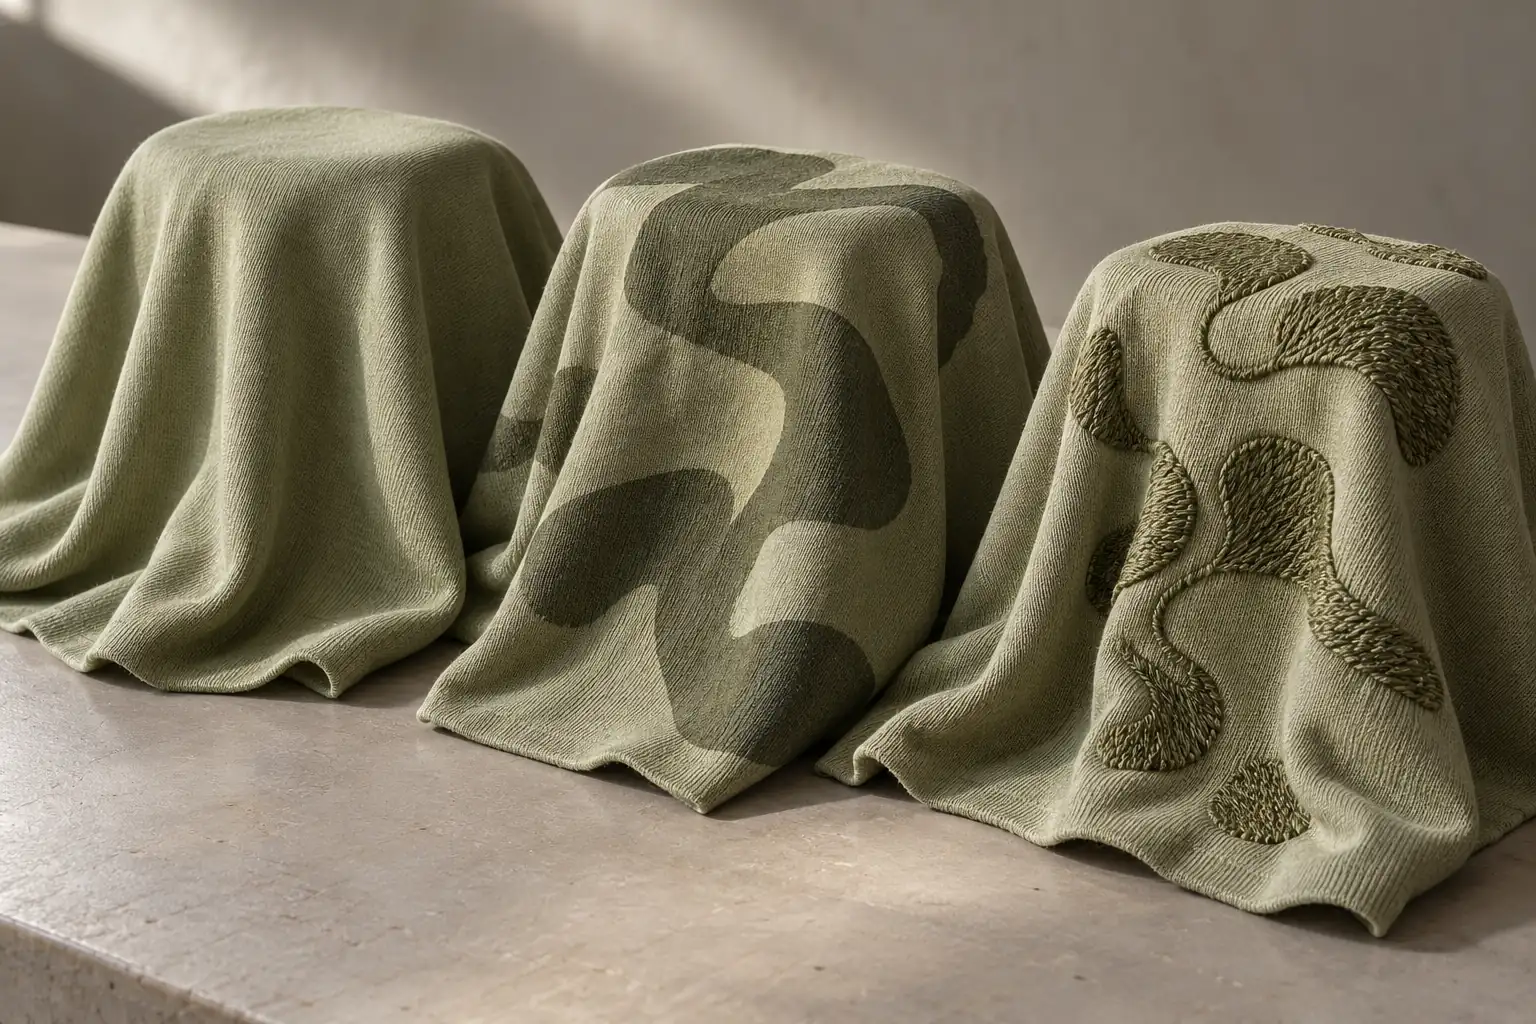
Request a decoration trial on the intended fabric and color, using the proposed backing or stabilizer where relevant. A trial on a heavier substitute may hide puckering that appears on the actual material. Compare an undecorated swatch beside the decorated one so the added stiffness is visible.
For example, if a large filled emblem makes a soft long-sleeve tee hang like a board at the chest, review reduced coverage, open spaces within the design, or a smaller placement. Treat each option as a design change requiring approval. Do not assume a different print method will preserve the original appearance automatically.
Handle the trial after the proposed curing, finishing, and care steps. Check edge lifting, puckering, recovery, and color change under consistent light. Fabric stretch does not guarantee decoration stretch; confirm the combination under the movement expected during wear.
Review size extremes and construction obstacles together
A graphic that works on the development size may crowd the armholes on the smallest size or feel lost on the largest. Before approving one artwork size for the entire order, place full-size templates on the smallest and largest garment patterns or samples. Record clearances to seams, pockets, and hems at both extremes.
Choose between a fixed graphic size and grouped graphic sizes deliberately. Fixed artwork can support a consistent identity, while grouped sizes can maintain proportions across a broad size range. If using groups, list every garment size assigned to each artwork version. Confirm any additional screens, setup requirements, or sample implications before release.
Construction order also matters. Printing a panel before assembly gives access to areas that may be difficult to decorate on a sewn garment, but sewing can alter the final alignment. Decorating after assembly introduces thickness changes around seams, pocket edges, and plackets. Ask the supplier which sequence the sample uses and ensure bulk follows the approved sequence.
For a split motif on a zip hoodie, specify the intended appearance with the zipper closed and the acceptable interruption at the teeth. For graphics near a curved trouser pocket, inspect the garment with a hand inside the pocket: the opening can distort a design that appears straight when empty.
Make sample approval a wear-and-care QC gate
Approve fit and decoration together on a sample made with the intended materials. A clean decoration swatch proves surface execution; it does not prove placement on a moving body. Ask for relaxed front, back, and side photographs, plus views with arms extended or the wearer seated where relevant.
Keep the sample review narrow enough to produce actionable decisions. If the buyer changes body length, shoulder width, and artwork position simultaneously, issue a revised placement drawing against the revised garment measurements. Otherwise, a corrected print may be built around an obsolete silhouette.
- Dimensions: measure visible artwork width and height, reference distances, and clearances; record actual values beside agreed limits.
- Balance: inspect graphic alignment with the garment relaxed, then worn; note whether folds conceal essential elements.
- Surface: check puckering, unwanted stiffness, damaged stitches, print edges, and backing visibility.
- Movement: confirm that normal reaching, sitting, and pocket use do not create unacceptable distortion.
- Care: follow the proposed care instructions and compare garment and graphic measurements before and after the agreed test.
- Release record: retain dated photographs, the approved artwork version, placement sheet, and physical reference sample.
Agree the wash procedure and number of cycles before testing; one successful wash does not establish lifetime durability. If the fabric shrinks differently around a decorated area, investigate the material and process combination before simply moving the artwork. Give QC a specific defect description, such as persistent rippling along the lower graphic edge, rather than “does not look premium.”
Questions buyers should settle before artwork release
Should the graphic follow the neckline or the body centerline?
Usually these references control different directions: a defined neckline point establishes vertical position, while the body centerline establishes horizontal alignment. For asymmetric necklines or intentionally off-center designs, draw a separate reference system. Avoid relying on a photograph alone to communicate the exception.
Can a digital mockup replace the decorated fit sample?
A mockup can establish composition and help eliminate weak options. It cannot demonstrate stiffness, seam interaction, or distortion during wear. Use it to narrow decisions, then approve the chosen direction on the actual garment and fabric before bulk release.
What if one size needs a different artwork width?
Document it as a separate artwork variant with an explicit size assignment. Recheck height and placement because proportional scaling moves the lower edge as well as the sides. Ask whether the change affects setup, sampling, or order planning before approving the variant.
What should a buyer send StitchQuote for this review?
Send the garment measurements, size range, fabric specification, artwork files, placement drawing, and decoration preference. StitchQuote offers cut-and-sew, private label, sampling, fabric/trim sourcing, woven labels, prints, embroidery, and QC before packing. MOQ for most categories starts from 50 pieces per style; denim starts from 100. A 7-day sample is available for standard styles with confirmed specs and available materials; complex styles, custom washes, and custom-developed fabric take longer.
Related reading and project support:
- Prepare the tech pack for measurable artwork placement
- Review sampling and MOQ before planning size variants
- Contact StitchQuote to discuss your garment and artwork brief
Request a manufacturing quote
Share your product type, quantity range, and destination. We usually reply within one business day.