Custom Streetwear, Casualwear & Denim Manufacturer•MOQ 50 pcs•Denim MOQ 100 pcs•7-Day Sample Available

Puff Print vs High-Density Print for Streetwear Graphics
Understand puff print vs high density print through fit, fabric, decoration, and production logic so streetwear and premium basics buyers can make cleaner.

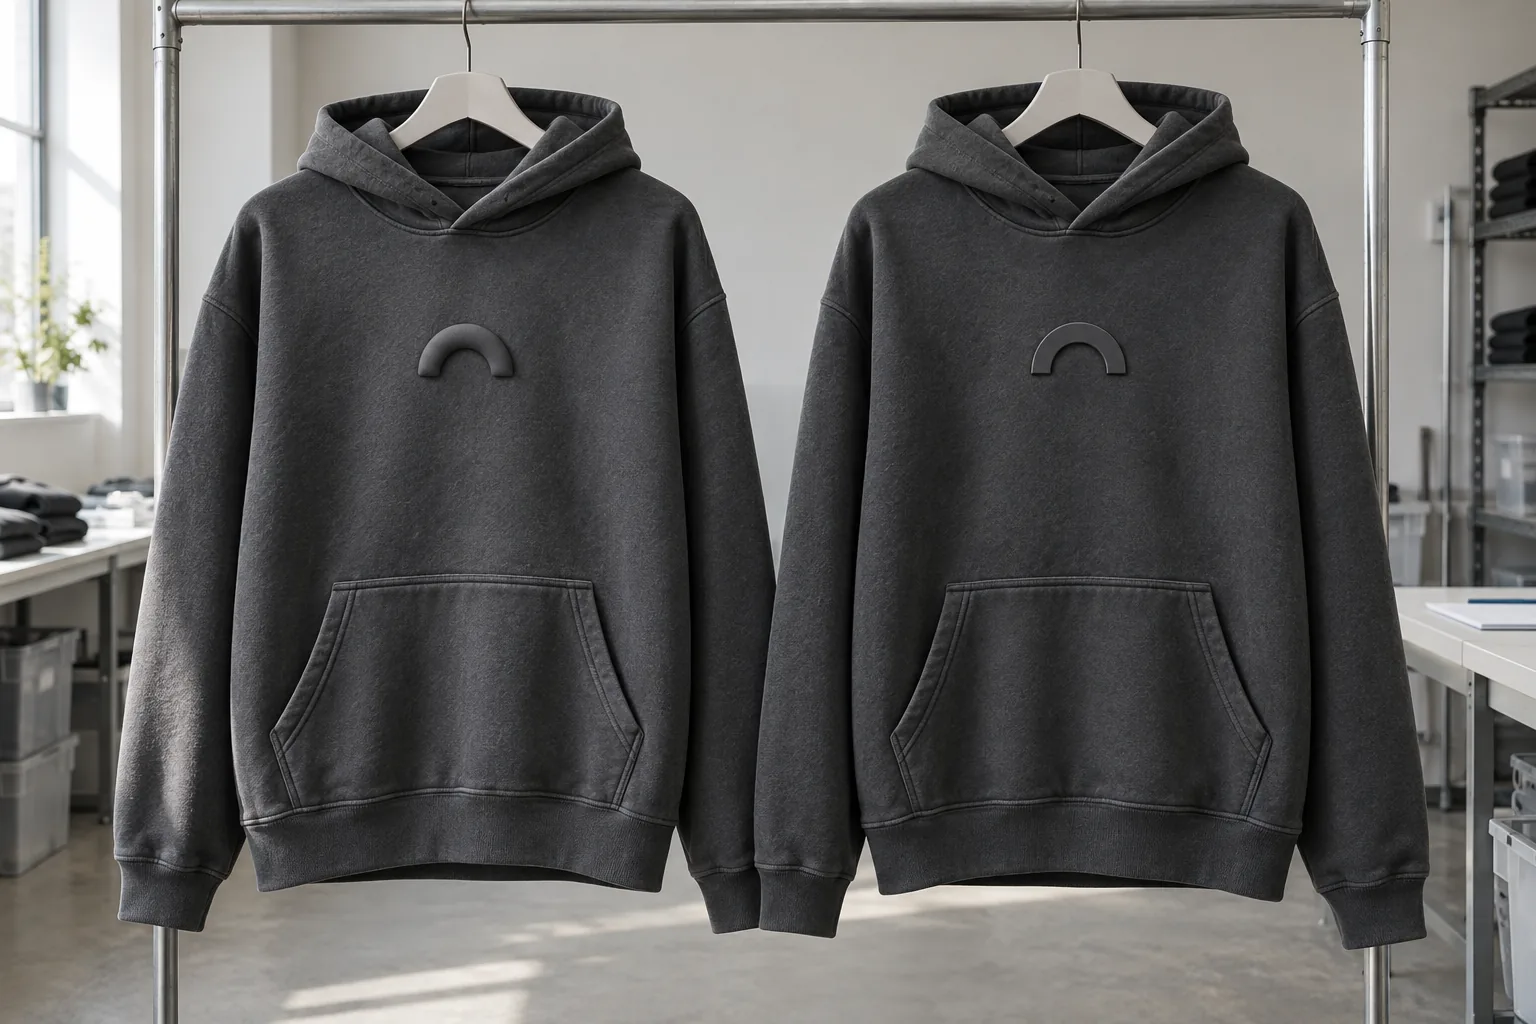
A raised chest graphic can look excellent on a print swatch and still feel misplaced on the finished hoodie. A few millimeters of rotation, an expanding outline, or a pocket sewn slightly higher than expected can change the balance. For a brand approving production, the useful question is which raised effect can hold the intended position on the actual garment.
Evaluating puff print vs high-density print for streetwear graphics through placement tolerance turns a visual preference into an actionable specification. Define where the graphic belongs, which edges matter, and how much movement is acceptable before selecting the print route. The examples below are proposed starting points for discussion with your supplier, not universal factory tolerances.
Make the finished outline your approval target
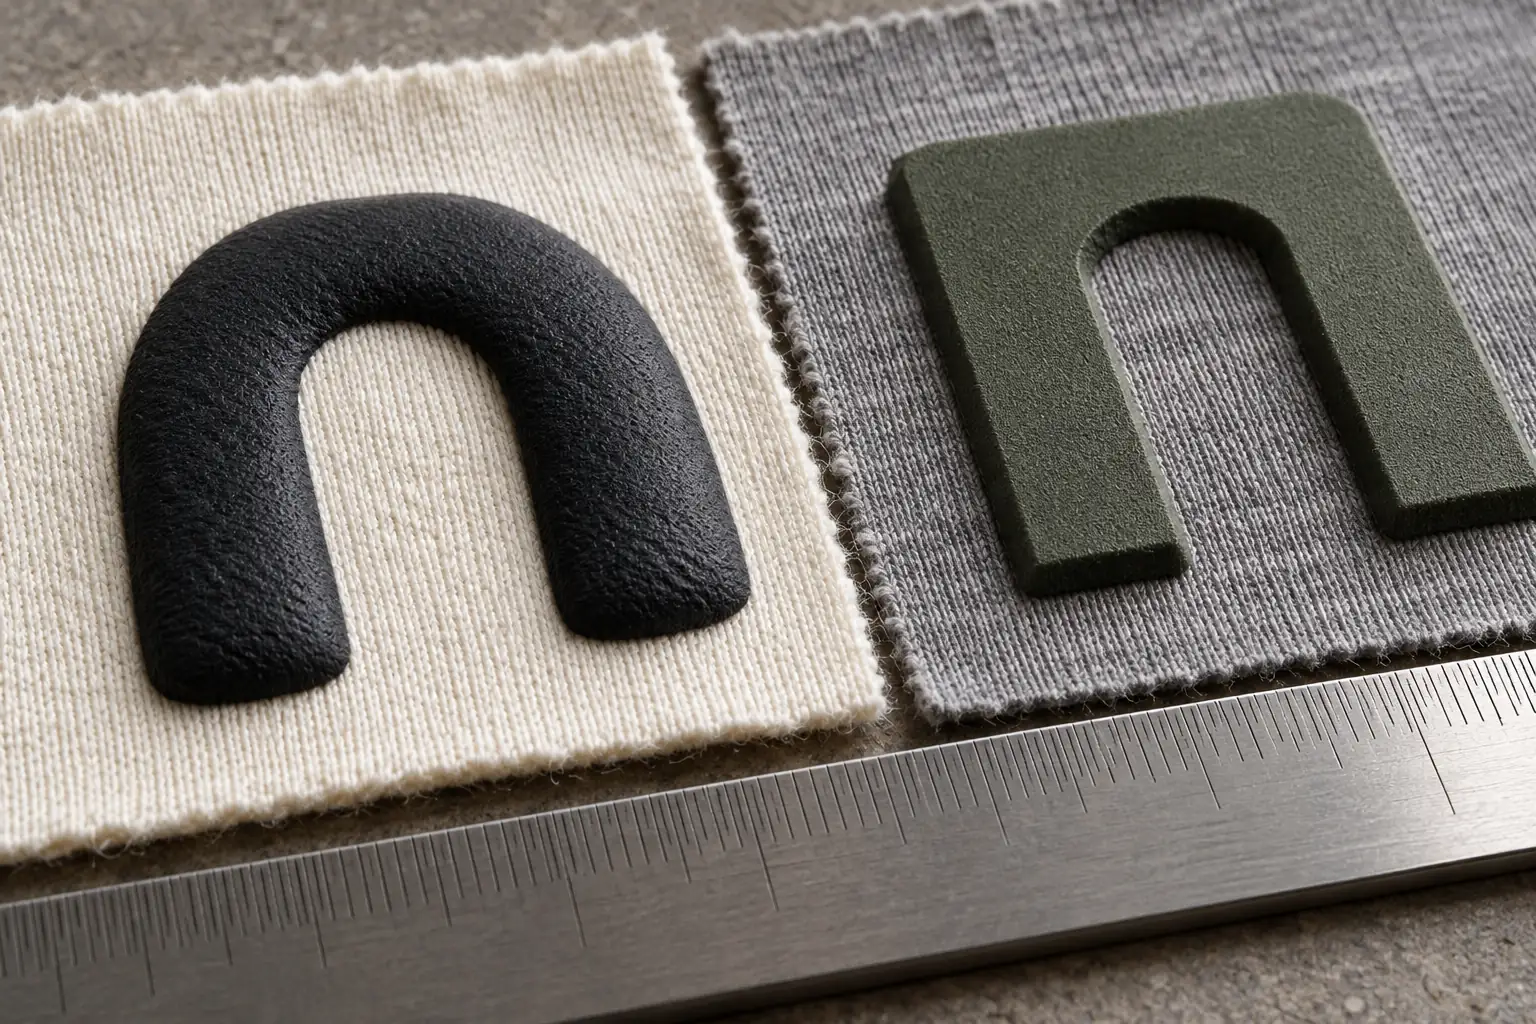
Puff ink expands during curing, creating a rounded, raised surface. Depending on the ink system and process, that expansion can soften corners and narrow spaces between shapes. High-density screen printing builds a raised deposit intended to retain more defined edges. It still requires testing: stencil construction, ink behavior, fabric texture, and curing affect the final boundary.
Separate two measurements in the specification: artwork size before printing and visible size after curing. For a proposed 90 mm chest emblem, decide whether 90 mm describes the file or the finished outer edge. Otherwise, a printer can follow the supplied file accurately while the result misses the buyer’s intended clearance.
Use a solid arch with a small internal opening as a trial graphic. Assess whether the opening remains clear and whether the outer curve reaches too close to a seam. Puff may suit a generous, rounded mark; a defined raised deposit may better support a geometric outline. Neither method automatically guarantees accurate placement.
Anchor the graphic to stable garment landmarks
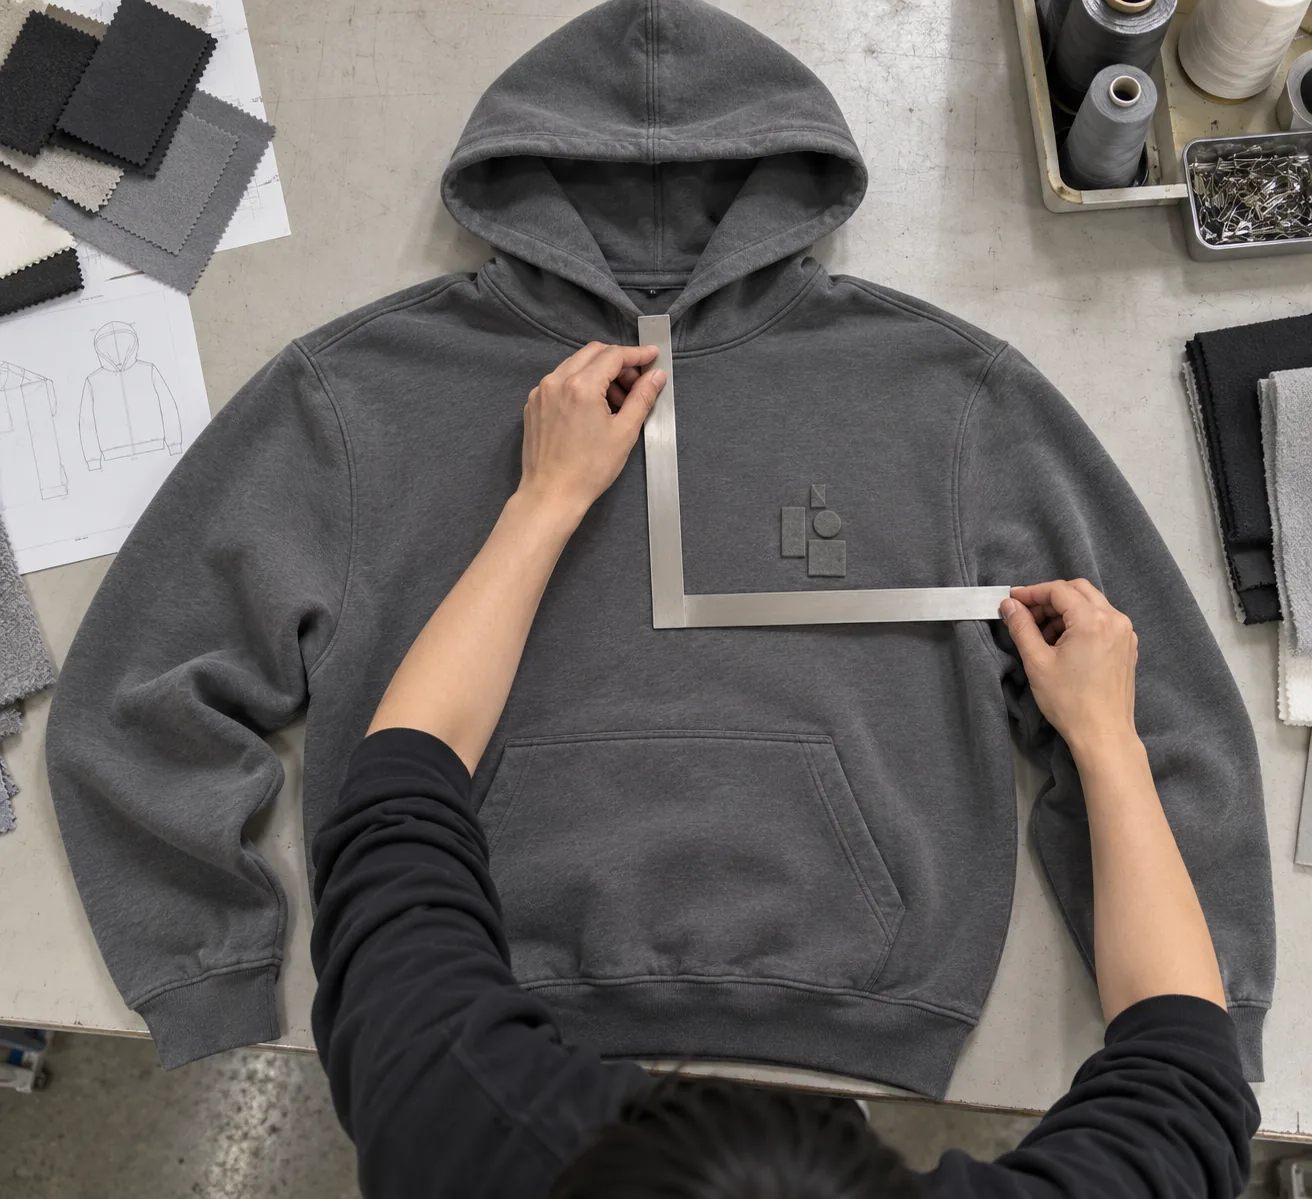
“Left chest” is a location name, not a measurement instruction. Specify the garment’s left side as worn, the vertical reference, and the point on the graphic being measured. A practical front placement might use the center-front line for horizontal offset and the center-front neckline joining seam for vertical distance to the graphic’s top edge.
State whether the neckline reference excludes the rib collar. Lay the garment flat, relaxed, and unsuspended, with front and back arranged consistently. Do not stretch the chest to make a ruler sit flat. On asymmetric designs, document how center front is established rather than assuming a fold will locate it accurately.
For hoodies, use the kangaroo pocket as a clearance check rather than the sole positioning reference. Pocket placement has its own sewing variation. If both pocket and print move toward each other, the visible gap can become too small even though each component individually meets its specified position.
Include a front-view diagram with arrows terminating at identifiable edges. A photograph communicates visual balance, while a dimensioned drawing makes the placement reproducible. Specify the measuring condition alongside both.
Allocate the gap before assigning tolerances
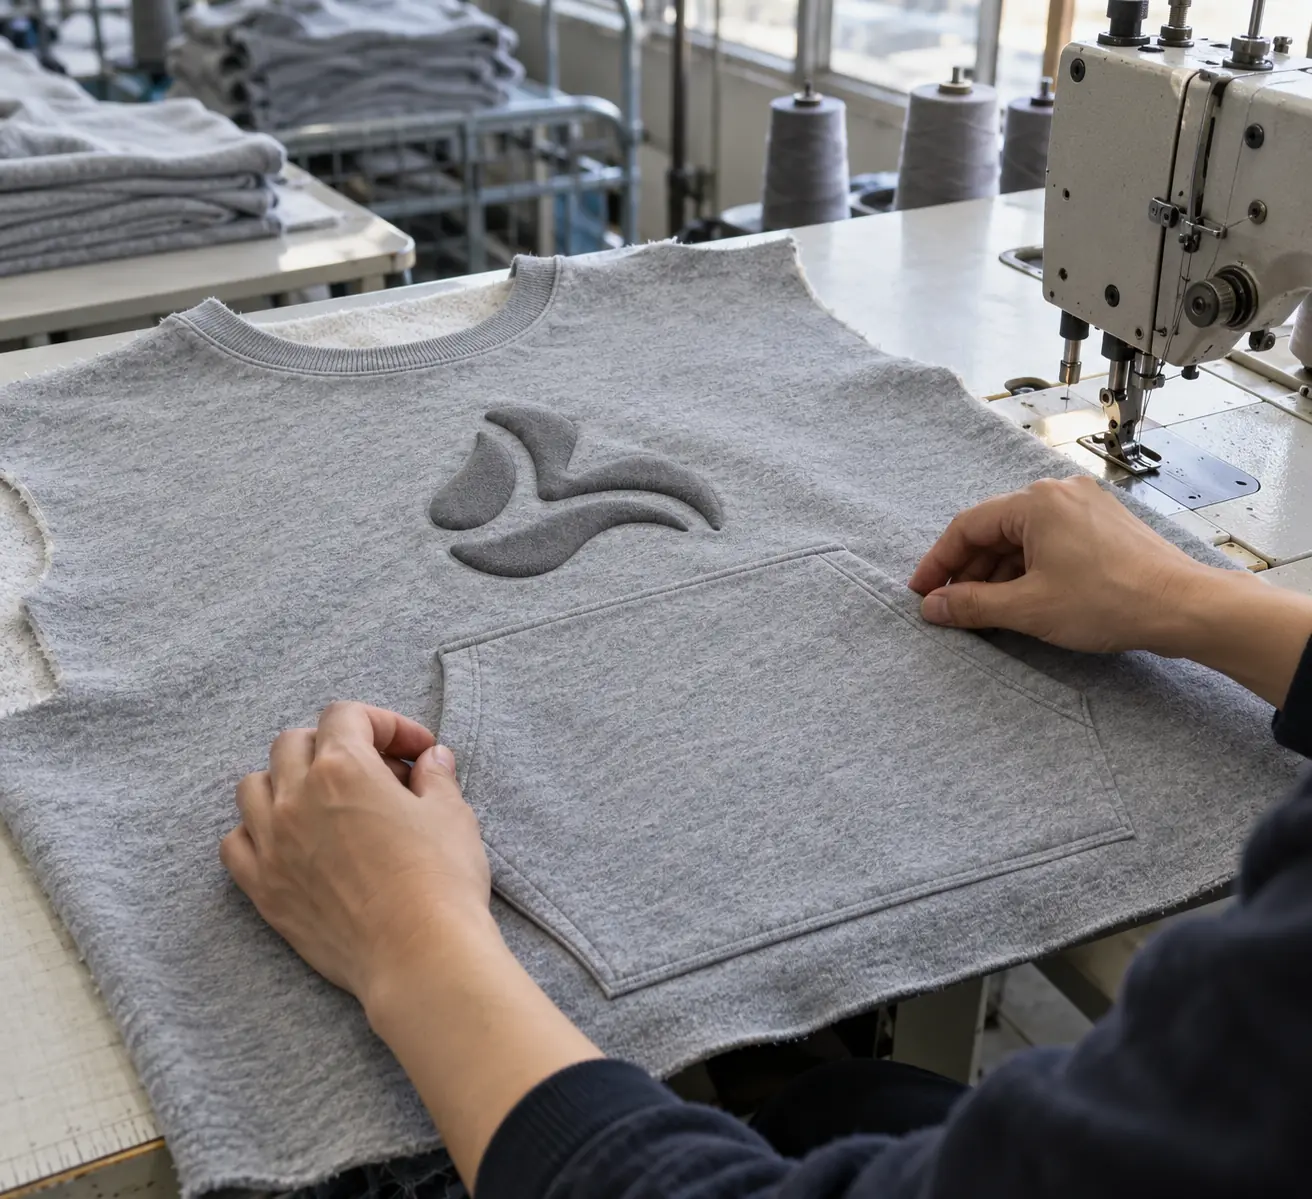
Begin with the smallest acceptable gap between the finished graphic and the nearest obstruction. Work backward to allow for print movement, garment construction, and any outline growth. Tight clearances should be treated as a shared production constraint rather than solved by asking the printer to be more careful.
Suppose a graphic’s bottom edge sits nominally 25 mm above a pocket. If the print can shift downward 5 mm and the pocket upward 5 mm, the remaining gap is 15 mm before any additional outline growth. If the design requires at least 18 mm, those proposed limits are incompatible. Increase the nominal gap, revise the limits with the supplier, or change the artwork.
| Control | Illustrative requirement | Approval evidence |
|---|---|---|
| Horizontal location | Graphic center within ±5 mm of agreed coordinate | Relaxed finished garment measured against diagram |
| Vertical location | Top edge within ±5 mm of agreed drop | Measurement from named neckline seam |
| Rotation | No more than 3 mm end-to-end rise across a 100 mm baseline | Two marked artwork endpoints compared |
| Pocket clearance | At least 18 mm after curing | Shortest visible gap recorded |
These figures are illustrative negotiation points, not StitchQuote guarantees. Ask the supplier to assess them using the chosen fabric, graphic dimensions, and production sequence. Avoid demanding a narrow location tolerance while leaving rotation and finished outline dimensions undefined.
Use size extremes to choose the raised effect
A middle-size sample cannot establish whether a placement works across the size range. On a cropped small hoodie, the neckline-to-pocket space may be limited. On an oversized large size, the same graphic can look isolated. Decide whether the artwork stays one size, scales by size group, or changes position while retaining its dimensions.
Request trials on the smallest and largest intended sizes before releasing the placement map. Compare both methods on the same fabric and artwork where feasible. Evaluate cured outlines, internal gaps, rotation visibility, and the distance to seams. A square high-density badge may make slight rotation conspicuous; an irregular puff motif may make its growing outer boundary the more important control.
Specify whether printing happens on cut panels or assembled garments. Panels can offer a flatter printing area, but subsequent sewing changes the relationship between print and seams. An assembled hoodie exposes the actual pocket and neckline positions, while bulky seams can complicate loading. Confirm the selected sequence on the approval sample.
Do not assume a print setting transfers unchanged from jersey to brushed fleece. Fabric surface and compressibility affect the printed result. Keep the fabric, finishing route, and print method fixed while testing placement, so a revised sample answers a clear question.
Inspect position separately from print quality
A correctly positioned graphic can still have uneven lift or damaged edges. A beautiful print can still be crooked. Record these as separate inspection categories so a strong result in one does not conceal a failure in the other. Retain an approved physical sample and a signed measurement sheet as complementary references.
- Prepare consistently: inspect cooled, relaxed garments on a flat surface. Record the garment size and agreed measuring condition.
- Measure coordinates: check horizontal offset, vertical drop, finished width, and rotation using the specified landmarks.
- Check clearance: measure the closest point to pocket, neckline, zipper, or seam. Do not substitute an average gap.
- Assess the raised surface: look for uneven puff expansion, collapsed areas, blurred openings, chipped edges, and inconsistent deposit appearance against the approved reference.
- Verify after care: wash trial garments using the proposed care instructions, then recheck outline, clearance, cracking, and garment distortion after drying and relaxation.
- Document exceptions: photograph defects with a scale and record the affected size, position, and production batch for follow-up.
Agree the inspection sample quantity and response to failures before bulk production. Review garments across sizes and production intervals rather than selecting only the easiest units to measure. If placement drifts, investigate loading references and garment variation before changing the ink process.
Release a placement brief that can be quoted
Send the artwork, intended finished dimensions, garment measurement chart, placement diagram by size, minimum clearances, and proposed tolerances together. Identify the feature that matters most: an open letter counter, a level rectangular edge, or a minimum pocket gap. That priority helps the supplier recommend a workable print treatment.
StitchQuote offers cut-and-sew, private label, sampling, fabric and trim sourcing, branding including prints and embroidery, and QC before packing. MOQ for most categories starts from 50 pieces per style; denim starts from 100 pieces per style. Confirm how artwork variants and size allocations affect your specific project.
A 7-day sample is available for standard styles with confirmed specs and available materials. Complex styles, custom washes, and custom-developed fabric take longer. Include placement trials and wash evaluation in the agreed approval schedule rather than assuming they fit automatically within that sample window.
Questions buyers ask when placement is tight
Should both print methods use identical position tolerances?
They can share coordinate limits if trials demonstrate that both can meet them. Assess finished outline variation separately. Puff expansion may require more clearance even when its placement center matches that of a sharper raised print.
Can the printer center the logo between neckline and pocket?
Yes, but define whether this means a fixed coordinate or a position adjusted to each garment’s actual gap. Those instructions produce different results when pocket heights vary. Approve the rule and an acceptable visual range before production.
What if every measurement passes but the badge looks tilted?
Check the rotation requirement and garment alignment first. An asymmetric neckline or skewed body can affect visual judgment. Compare the relaxed garment to the approved sample and agree which datum controls acceptance; avoid introducing a new reference during final inspection.
Should placement be approved before or after washing?
Record both when washing is part of development or production. Initial coordinates establish printing accuracy; the post-wash check reveals fabric distortion and changes in clearance. Define separate acceptance conditions so the two measurements are not confused.
Related reading and project support:
- Prepare a tech pack with measurable placement instructions
- Review sampling and MOQ planning
- Explore custom hoodie manufacturing
- Contact StitchQuote about your placement brief
Request a manufacturing quote
Share your product type, quantity range, and destination. We usually reply within one business day.