Custom Streetwear, Casualwear & Denim Manufacturer•MOQ 50 pcs•Denim MOQ 100 pcs•7-Day Sample Available

Sample vs Prototype vs PP Sample: What’s the Difference
Compare sample vs prototype vs PP sample so your team can use the right approval language, reduce confusion, and manage garment development with clearer milestones.

A printed garment can fit perfectly and still be unready for production. The artwork may look sharp on a digital mockup, yet feel too heavy on the chosen jersey or distort after washing. That is why the difference between a prototype, a development sample and a pre-production sample matters most when each one has a specific approval job.
For a brand developing graphic tees, printed sweats or decorated casualwear, choose and test the print method before signing off the final garment. Use the stages below to separate experiments from production instructions, so a good-looking early piece does not become an accidental bulk standard.
Give each sample a decision, not just a name
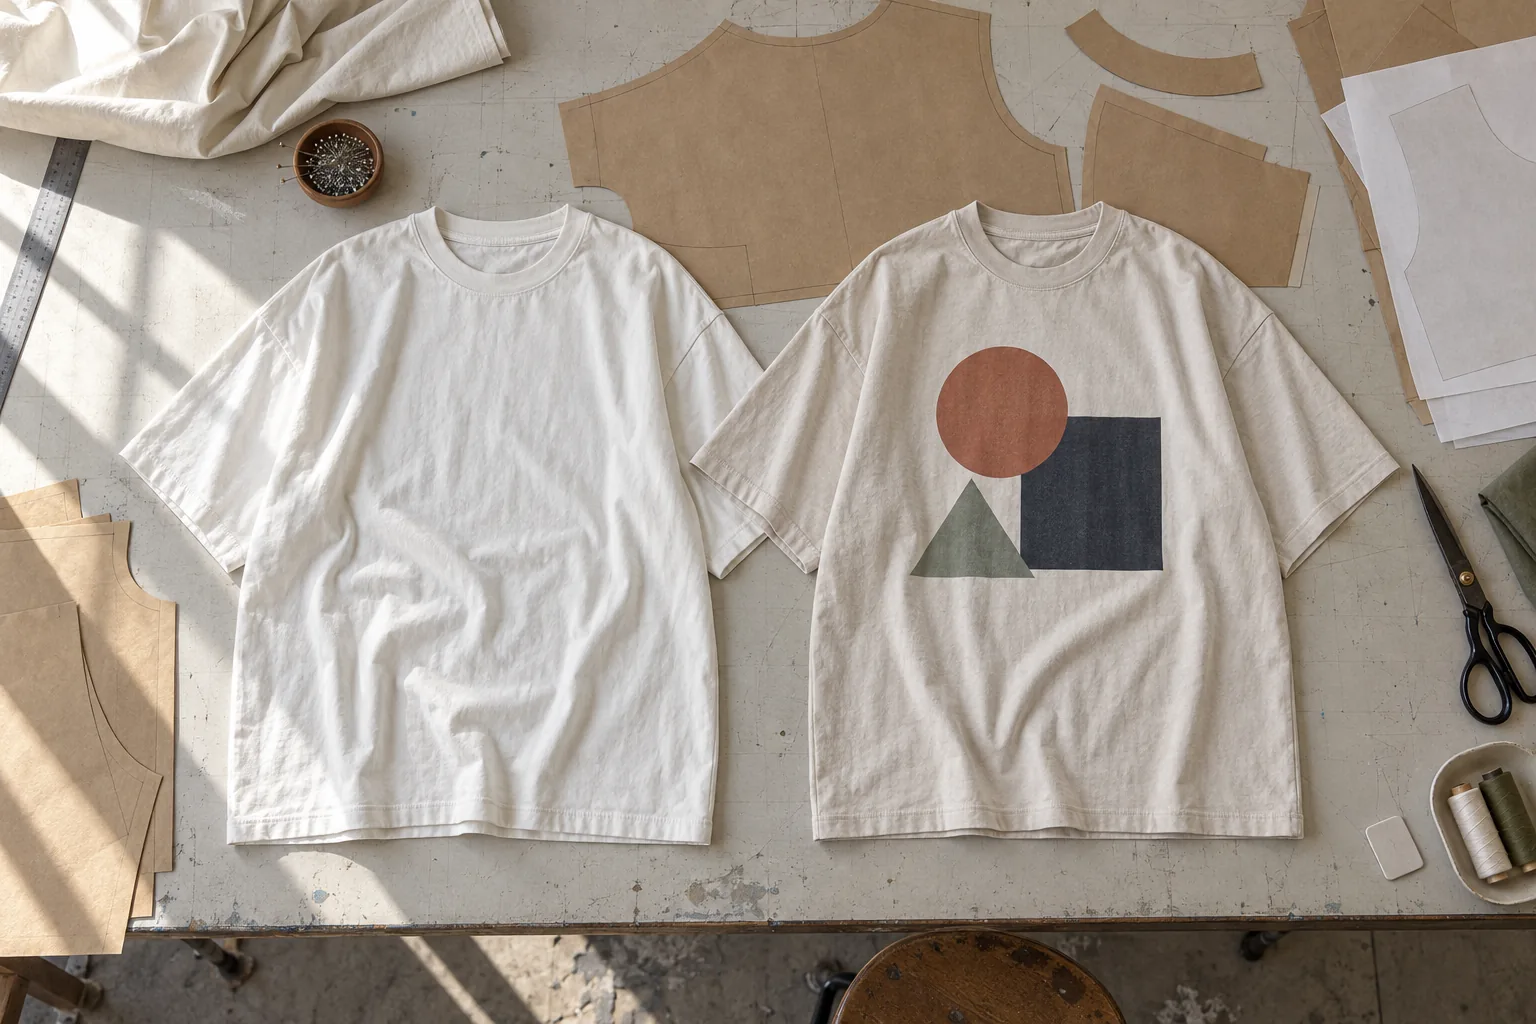
“Sample” is an umbrella term, rather than a single stage between prototype and production. Suppliers may use different names, so agree on the purpose and materials of each submission in writing. A prototype usually explores the concept and construction; a development sample resolves particular details; a PP sample demonstrates the agreed production specification.
| Submission | Print-related decision | Approval boundary |
|---|---|---|
| Prototype | Can the garment shape accommodate the graphic? | Does not prove final print performance if materials are substitutes. |
| Development sample or strike-off | Which print method, color and finish work on the selected fabric? | A flat print test does not approve garment fit or assembly. |
| PP sample | Does the complete garment reproduce the approved specification? | Any substitutions or unresolved items must be documented before release. |
A print strike-off is a trial print on fabric. It can answer decoration questions without requiring another complete garment, but it should use representative fabric and the proposed printing conditions.
Use the prototype to find where the graphic fights the garment
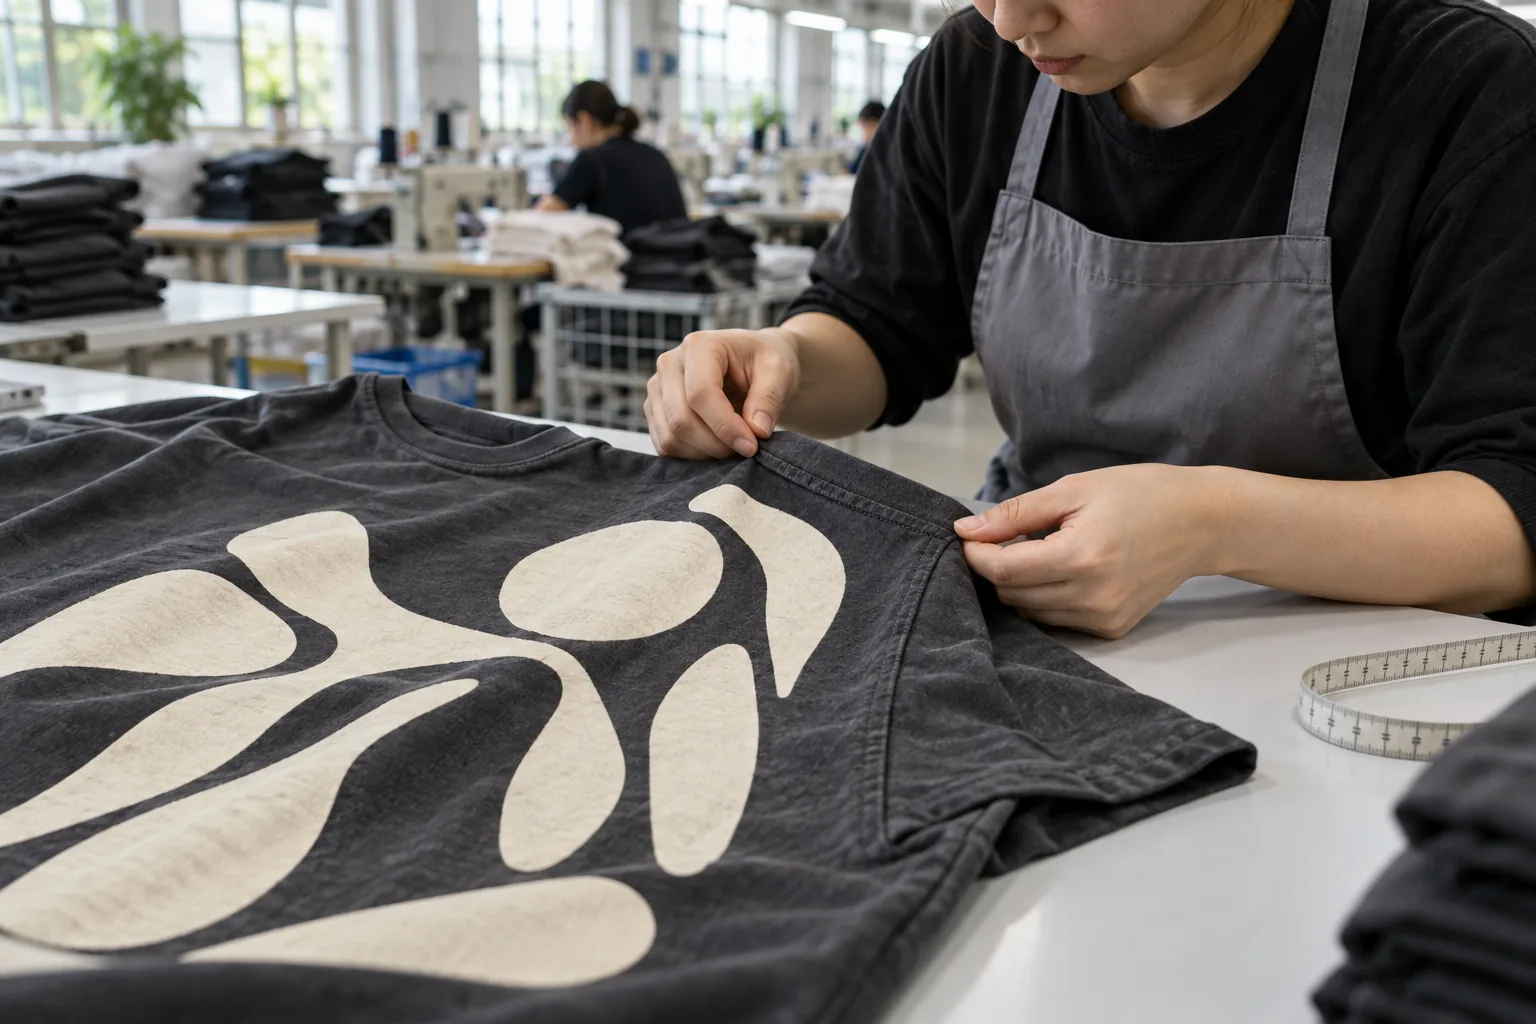
At the prototype stage, examine the relationship between shape and decoration. An oversized back graphic may approach the armholes on the smallest size. A chest motif may disappear into a deep fold. A print crossing a pocket opening may require a different assembly sequence than a graphic on an uninterrupted front panel.
Paper placement guides or temporary artwork can help assess scale, provided everyone understands that they do not represent the final finish. Record dimensions from stable reference points, such as the center front and neck seam, rather than approving placement by eye alone.
Resolve whether printing happens on cut panels or assembled garments. Panel printing can offer access that disappears after sewing, while printing completed pieces introduces seams and thickness changes beneath the print area. Confirm the proposed route before treating a prototype as ready for decoration testing.
Compare print methods on the fabric you intend to buy
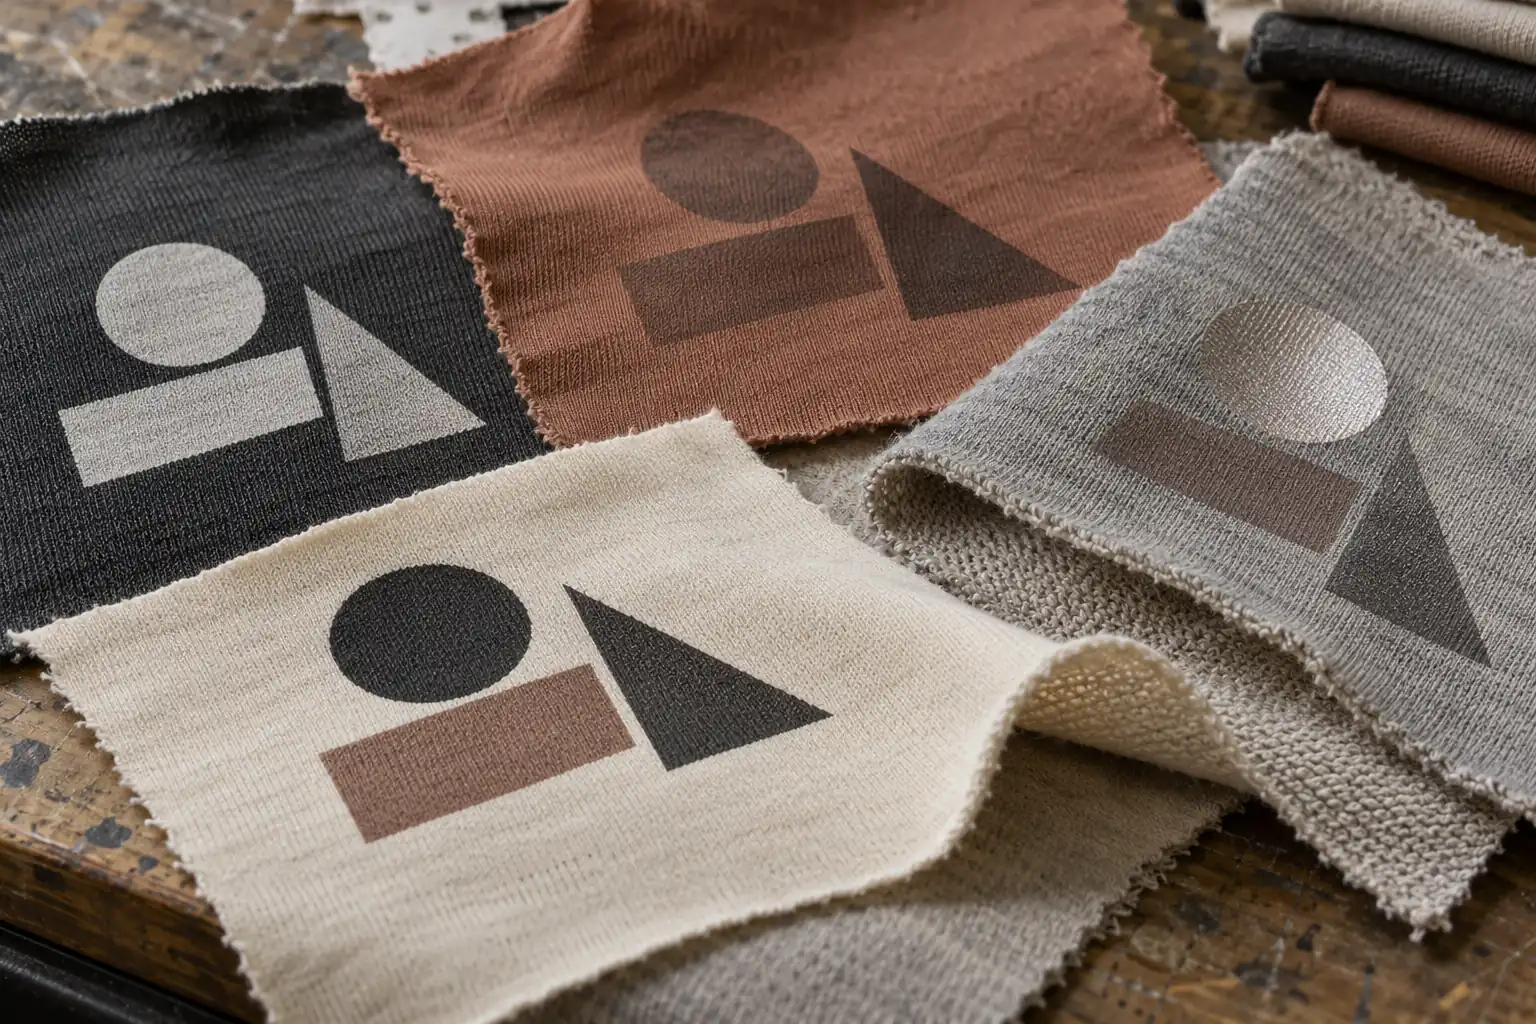
Screen printing, direct-to-garment printing and heat-applied transfers can produce different results from the same artwork. Suitability depends on fabric composition, surface texture, garment color, graphic detail and desired hand feel. Ask the supplier to explain the proposed method against those requirements, rather than selecting from a photograph alone.
For example, a fine-line illustration on a pale cotton tee raises different questions from a solid graphic on a dark stretch sweatshirt. The first may demand careful detail reproduction; the second may need attention to opacity, stretch recovery and surface weight. Neither can be validated reliably using an unrelated fabric scrap.
Evaluate strike-offs for color, edge definition, coverage and feel, then check performance after the agreed care procedure. Heat-sensitive fabrics may show pressing marks or distortion, and some dyed polyester materials can present dye migration risks. Confirm a suitable test approach with the supplier for the actual fabric and decoration system.
Freeze the decoration brief before commissioning the PP sample
Once the print trial is accepted, convert the decision into reproducible instructions. Include the artwork version, print dimensions, placement references, color targets, approved method and finish. State whether the graphic remains one size across the range or scales with garment size.
Connect those instructions to the approved fabric, garment color and construction details. If a sweatshirt will be washed after decoration, specify that sequence and evaluate the finished result. Moving washing before printing can change the appearance and positioning relationship, so it should not be treated as a silent production adjustment.
The PP sample should represent the intended bulk materials, trims, decoration and production route. Agree with the supplier how it will be made and disclose any exceptions. If a production trim is unavailable, separate approval of the verified elements from approval of the complete garment; avoid an unqualified “approved” message.
Inspect the complete PP garment before releasing bulk
A successful strike-off does not guarantee a successful finished piece. Inspect how decoration interacts with seams, fit and finishing, using the agreed tolerances and care conditions. Keep the approved reference and written comments together so later QC has a clear comparison.
- Artwork identity: Check the version, orientation, dimensions and fine details against the approved file.
- Placement: Measure from the specified references and check alignment when the garment lies naturally.
- Surface quality: Look for unwanted marks, uneven coverage, lifting edges or visible distortion appropriate to the method.
- Wear and care: Assess feel and flexibility, then compare appearance and dimensions after the agreed wash test.
- Garment integration: Review stitching, measurements, labels and any interference between decoration and construction.
- Release record: List accepted details, required corrections and the person authorized to approve production.
If the print method changes after approval, reassess the affected characteristics. A replacement process may alter color, handle or durability even when the artwork stays identical. Request the evidence needed to approve that change before it enters bulk production.
Questions buyers ask when print approval holds up the final sample
Can I approve fit while the print method is still undecided?
Yes, as a limited approval. State that fit is accepted and decoration remains open. If the eventual print or finishing process affects shrinkage, drape or measurements, revisit those characteristics on the completed garment.
Does every graphic need another full prototype?
No. A strike-off may resolve a color or finish question without rebuilding the garment. Changes involving seams, pockets or print access may require a garment trial because flat fabric cannot demonstrate assembly effects.
Can one PP sample approve every colorway?
Only approve what the evidence supports. Different ground colors can affect opacity and perceived print color. Agree which additional strike-offs or finished samples are needed for the remaining colorways and document their approval separately.
When is a seven-day sample realistic?
StitchQuote offers a seven-day sample for standard styles with confirmed specs and available materials. Complex styles, custom washes and custom-developed fabric take longer. Confirm the scope of that sample; its availability does not mean every development round and PP approval fits within seven days.
Turn placement approval into a measurable inspection sheet
Write measurement instructions that another inspector can repeat. For a front chest graphic, specify the vertical distance from the bottom edge of the neck seam at center front to the top of the printed artwork. Measure horizontal alignment from the garment center line to the artwork center, and record printed width and height separately. Lay the garment flat without stretching it, smooth loose folds, and state whether measurements apply before or after washing. A bounding box around the visible artwork prevents confusion when the digital file includes transparent margins.
As an illustrative starting point for discussion, a buyer might specify a 240 mm print width with a tolerance of plus or minus 3 mm, and a top position 80 mm below the neck seam with a tolerance of plus or minus 5 mm. These are proposed acceptance limits, not StitchQuote defaults or universal printing tolerances. Ask the supplier to confirm that the chosen process can consistently achieve them. Check the smallest and largest sizes before freezing one graphic size; an acceptable medium-size placement may crowd an armhole on the smallest garment.
Keep garment shrinkage separate from print placement variation. If body length changes from 700 mm before washing to 679 mm afterward, the reduction is 3 percent: divide the 21 mm difference by the original 700 mm. Record print width and height at the same stages to see whether the decoration moves with the fabric or distorts differently. Agree on wash temperature, drying method and number of cycles before testing.
Build a sample request around a worked order specification
Consider a hypothetical order of 100 cotton jersey tees in one style, with a single front graphic. A useful request would identify the intended size split, garment color, fiber composition, knit structure and target fabric weight, such as 180 GSM. That weight is an example specification, not a promise of fabric availability. GSM describes mass per square meter; it does not by itself establish softness, opacity or dimensional stability. Request a representative swatch and confirm acceptable weight variation, fabric finish and shrinkage requirements before approving sourcing.
Plan the approval sequence around unresolved risks: review the plain prototype for fit, approve a strike-off on the intended jersey, then inspect the complete PP garment with its labels and finishing. Give each submission a version number and retain its measurements, photographs and comments. If the fabric changes after the strike-off, repeat the affected decoration checks because surface finish and absorbency can change the result.
Ask the quotation to distinguish garment construction, decoration setup, per-piece decoration, labels, sample development and packing requirements. For screen printing, additional colors and print locations can introduce more setup and handling; a larger solid graphic can also change ink use and hand feel. Request a revised quotation when artwork dimensions, color count or finishing steps change. This makes the financial effect of a design revision visible before the buyer authorizes another sample or releases the order.
Prepare a request that makes the next sample useful
Send the garment specification, artwork, intended fabric, desired finish and outstanding decision with your request. StitchQuote provides cut-and-sew, private label, sampling, fabric and trim sourcing, branding including prints and embroidery, and QC before packing. MOQ for most categories starts from 50 pieces per style; denim starts from 100 pieces per style. Confirm the requirements for your specific project.
- Prepare the garment and decoration tech pack
- Review sampling and MOQ considerations
- Plan time for sample development
- Discuss your next sample with StitchQuote
Request a manufacturing quote
Share your product type, quantity range, and destination. We usually reply within one business day.