Custom Streetwear, Casualwear & Denim Manufacturer•MOQ 50 pcs•Denim MOQ 100 pcs•7-Day Sample Available


Screen Print vs Heat Transfer for Small Streetwear Runs
Understand screen print vs heat transfer streetwear through fit, fabric, decoration, and production logic so streetwear and premium basics buyers can make cleaner.

A graphic can look production-ready on a fresh sample and change after its first wash. Edges may lift, the fabric may shrink beneath an intact print, or a pale motif may pick up dye from the garment. For a small streetwear drop, those failures can affect a large share of the available stock. Decoration approval should therefore include a repeatable wash test before the bulk method is locked.
When comparing screen print vs heat transfer for small streetwear runs, start with the garment your customer will actually wash. The useful question is which specified ink or transfer system survives the intended care routine on your chosen fabric while preserving the finish you approved. This guide focuses on that sampling decision and the evidence needed to release production.
Write the wash requirement before ordering decoration samples
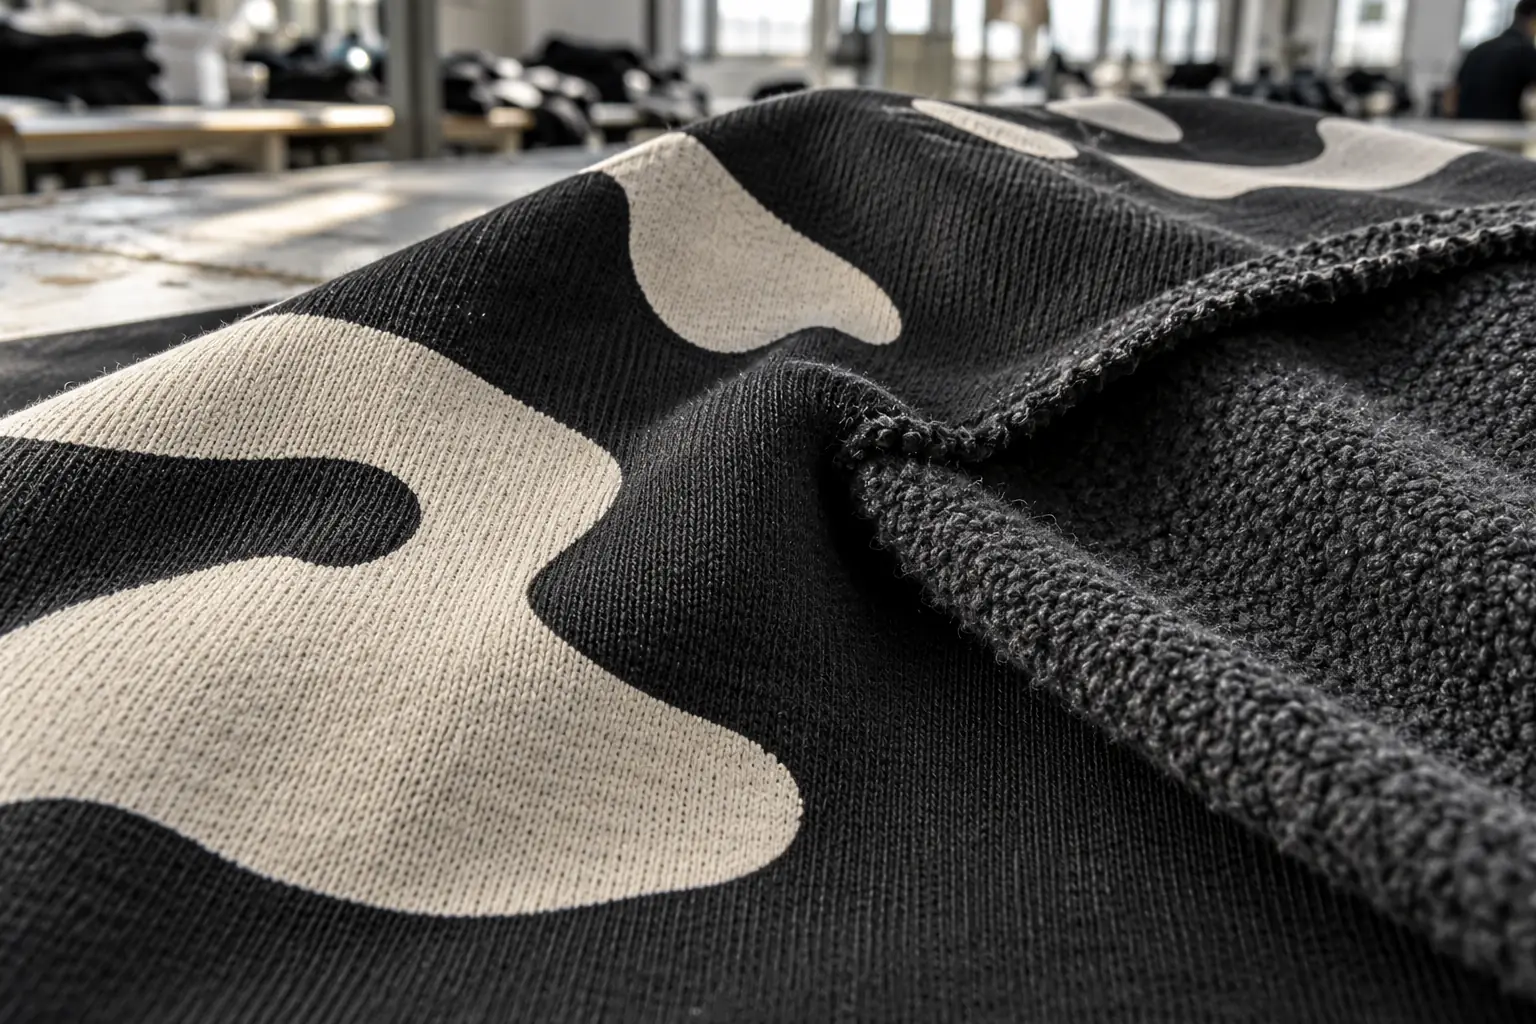
Define the intended care instruction first: wash temperature, cycle, detergent type, whether the garment is turned inside out, and drying method. A print that survives line drying has not demonstrated tumble-dry compatibility. Likewise, a cold delicate wash cannot support a care label allowing a warmer normal cycle. Confirm that the garment fabric, trims, and decoration can all tolerate the proposed instruction.
Write a short appearance requirement alongside it. For a clean collegiate graphic, the buyer might require no edge lifting, no new visible cracks when relaxed, and no obvious staining of the white areas. A deliberately distressed graphic needs a marked reference showing which gaps belong to the artwork. Otherwise, the supplier and buyer may disagree about whether new damage is intentional.
Choose evaluation checkpoints before testing. Reviews after one, five, and ten washes can provide useful internal screening, but these are proposed project checkpoints, not certification or proof of lifetime durability. If a retailer requires a named laboratory method, specify that method and acceptance criteria separately.
Make the two sample routes comparable
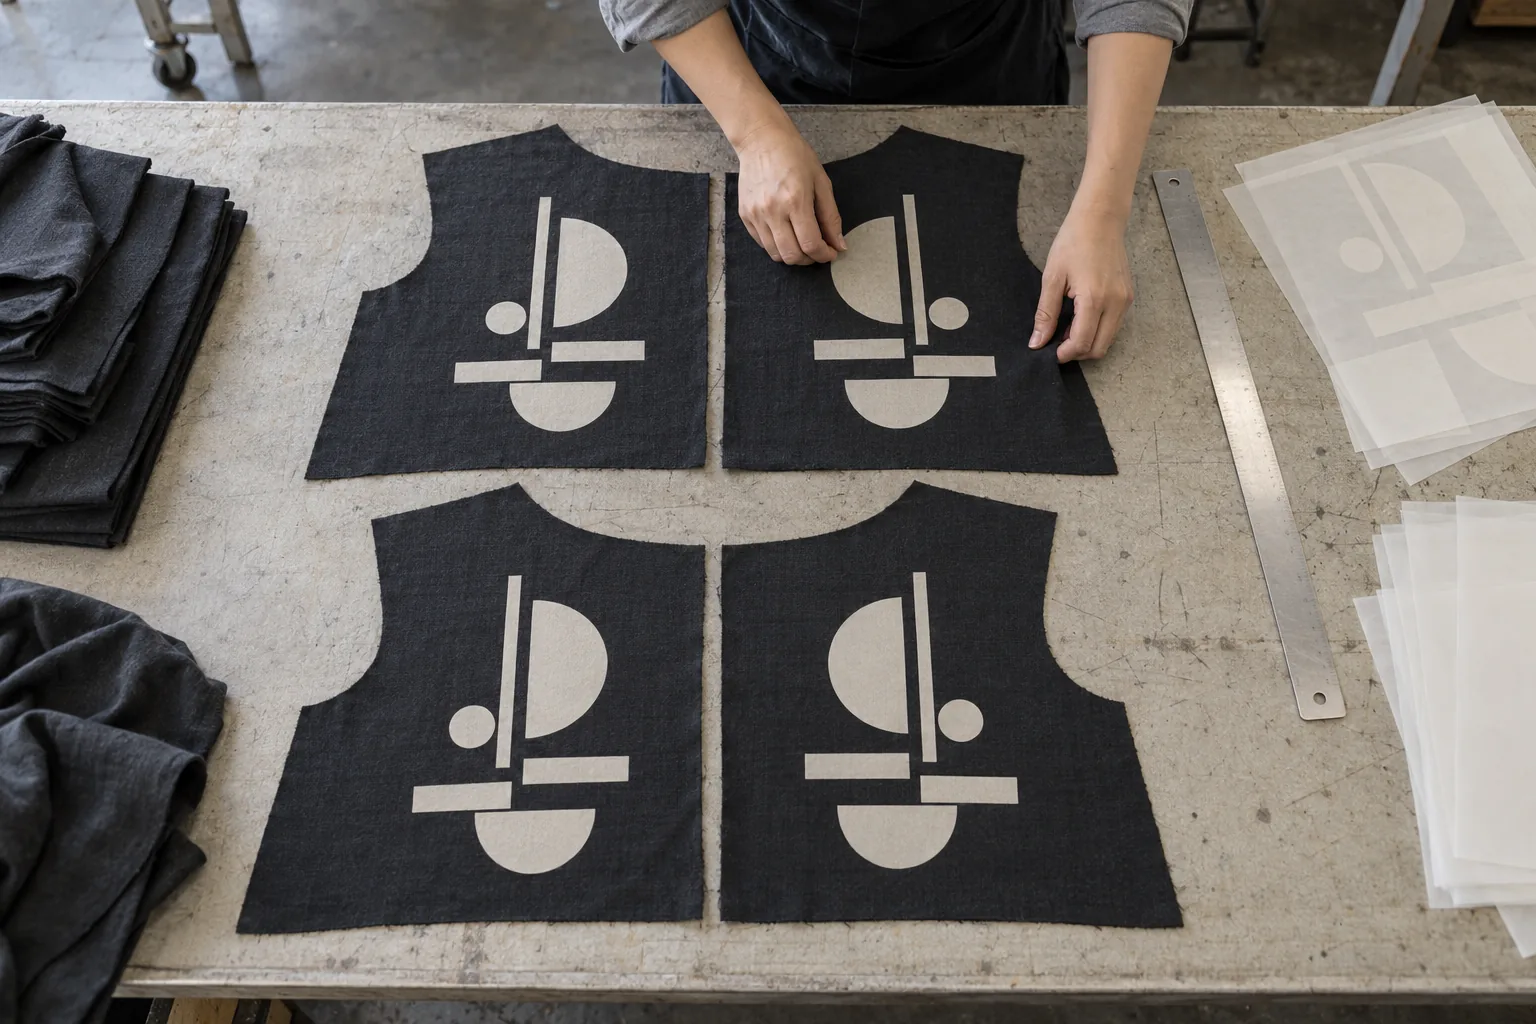
“Heat transfer” covers several constructions, including cut film, digitally printed transfers, and screen-printed transfers. Screen printing also varies by ink system, underbase, deposit, and curing conditions. Ask the supplier to identify the proposed systems rather than comparing two broad labels. Record whether the transfer uses a carrier that is peeled hot, warm, or cold, and retain the application instructions.
Use the same artwork size, placement, fabric lot, and garment color for both routes. A white graphic on black cotton jersey is a different test from the same graphic on a pale polyester blend. Dark polyester-containing fabrics can present dye-migration risks; stretchy jersey can expose a decoration system that cannot move with its substrate.
Prepare a retained unwashed reference and multiple wash specimens for each route where practical. Two washed examples can help reveal a one-off application fault, although that is still a small screening set. Use panels for early filtering, then confirm the selected route on a complete garment: seams, pockets, and uneven surfaces can change application pressure or handling.
Run a controlled sequence and preserve the evidence
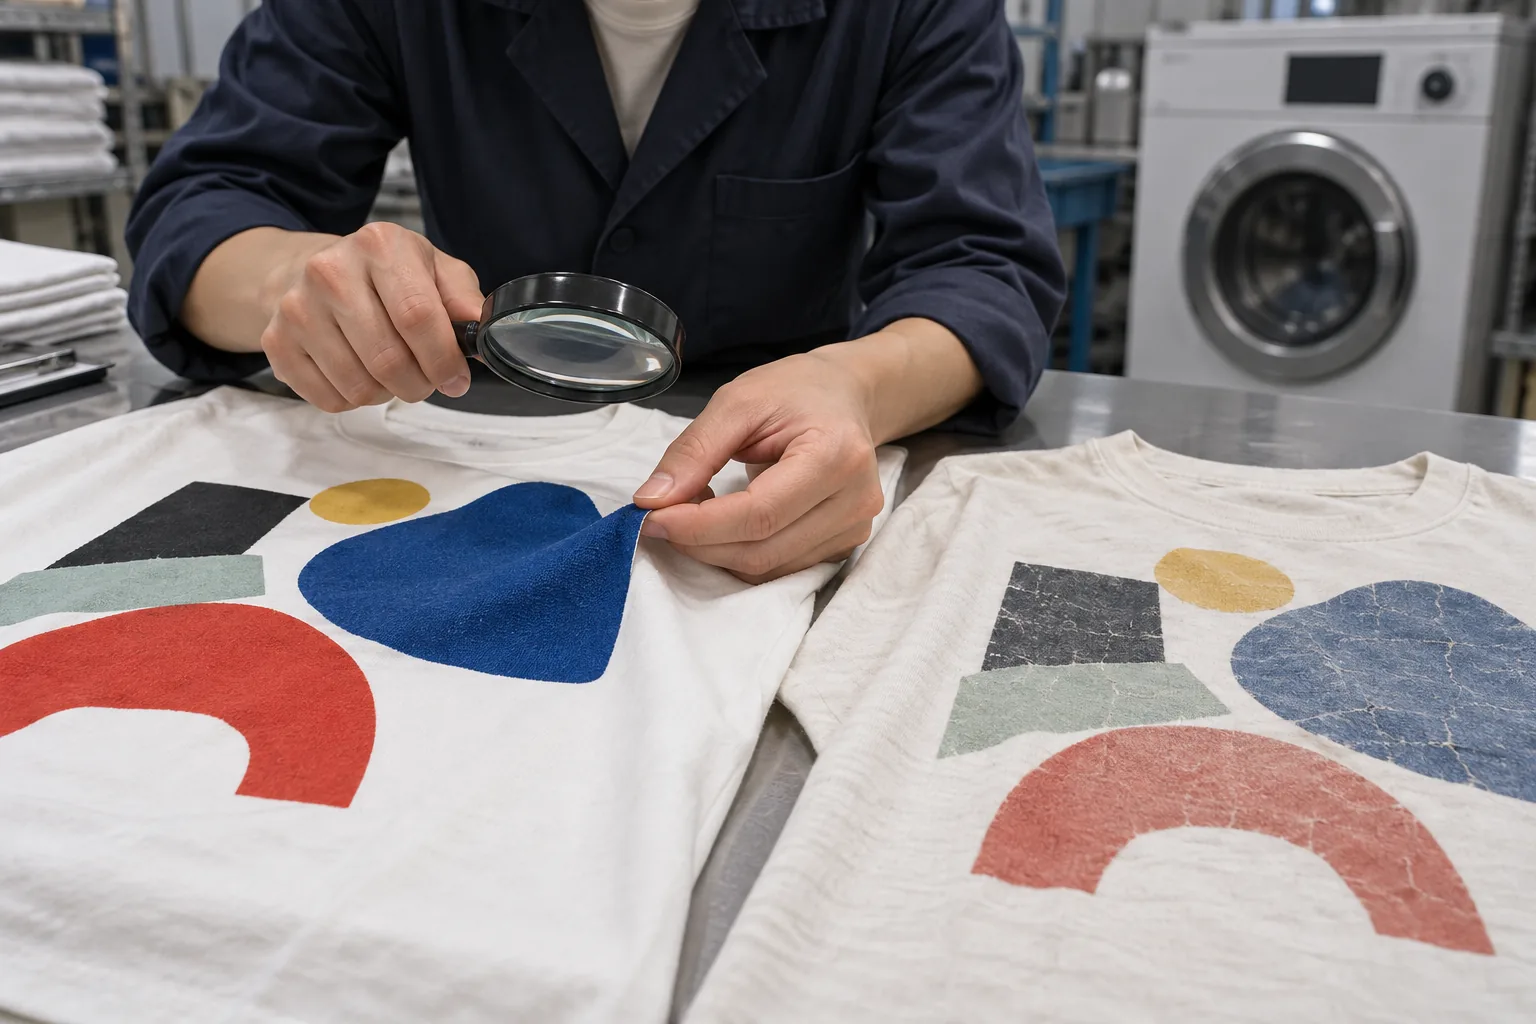
Assign each specimen an identifier tied to its fabric, decoration system, and application record. Photograph the full graphic and close-ups of fine lines, solid areas, and corners before washing. Include a ruler beside the graphic and use consistent lighting, camera distance, and garment positioning. Avoid stretching the fabric flat for one photograph and leaving it relaxed for another.
- Record the baseline. Measure garment width and length at agreed points, plus graphic width and height. Note initial hand feel, edge adhesion, surface texture, and existing artwork gaps.
- Wash consistently. Follow the proposed care routine with the same machine settings, detergent dose, and comparable load. Record ballast or other garments used in the load so abrasion conditions are reasonably repeatable.
- Dry and settle. Use the declared drying method. Assess specimens fully dry and after the same agreed resting period each time; damp fabric can distort both color and measurements.
- Review at each checkpoint. Photograph, measure, and log new changes. Keep testing the same specimens through the planned sequence, preserving the unwashed control separately.
- Issue a decision. Approve, reject, or request a specific adjustment. Any change to material or application conditions requires a new confirmation test.
Keep a simple wash log with cycle count and any deviations. An accidentally hotter wash is useful diagnostic evidence, but it should not silently replace the agreed test conditions.
Separate print damage from movement in the garment
A rippled graphic does not automatically mean poor adhesion. Cotton fabric can contract beneath a relatively stable decoration layer, leaving puckering around a large solid design. Compare fabric and print measurements before blaming the method. Calculate dimensional change as the post-wash measurement minus the original measurement, divided by the original measurement, multiplied by 100; a negative result indicates shrinkage.
For example, if a 300 mm graphic finishes at 291 mm, its measured width changed by minus 3%. That number alone is neither a pass nor a failure. Check the agreed tolerance, the underlying garment shrinkage, and whether the design remains visually acceptable. Establish measurement tolerances per project instead of treating an arbitrary percentage as a universal print standard.
Cracks through printed solids can suggest insufficient flexibility or a curing problem, among other causes. Lifting corners on a transfer can point toward adhesion or application issues. Neither symptom proves a root cause without checking the production record. Compare failures across specimens and ask whether temperature, time, pressure, or material compatibility was verified.
Also inspect color separately from physical damage. A white print turning pink on a red garment may reflect dye migration or staining. Photograph it beside the retained reference under neutral light and request a substrate-compatible solution, followed by retesting. Increasing pressure alone will not resolve every chemistry problem.
Use a release checklist that bulk QC can repeat
The approved washed sample should become a working reference, accompanied by the unwashed sample and its process record. Bulk QC before packing can compare appearance and workmanship against those references. Wash testing remains a separate planned check; a visual packing inspection cannot establish durability by itself.
- Edges and details: Inspect corners, narrow lettering, and isolated dots for peeling or missing material. Define whether any visible lifting is unacceptable.
- Surface integrity: Check relaxed fabric for new cracks, flaking, tackiness, or transfer of color onto adjacent fabric. Compare intended distressed areas with the marked artwork.
- Movement: Apply an agreed gentle extension appropriate to the garment and check recovery. Record the extension used; aggressive hand pulling is not a repeatable test.
- Dimensions and placement: Measure graphic size and position from stable garment landmarks. Agree tolerances in millimeters and account for garment shrinkage when reviewing washed samples.
- Color and feel: Compare opacity, staining, gloss, and stiffness with the retained control. Use agreed viewing conditions and a physical reference for subjective judgments.
- Traceability: Link test results to the decoration material and application settings. Confirm the bulk check plan, including what happens if a sampled item fails.
For a large back graphic on fleece, include the lower corners and any area near a seam in inspection photographs. For a small chest emblem, prioritize fine detail and registration. The checklist should follow the artwork’s vulnerable features.
Choose the route after reviewing the washed sample
If both methods pass, compare the actual order requirements: number of colors, artwork revisions, surface feel, and repeatability across sizes. A transfer may suit detailed multicolor artwork, while a screen-printed option may achieve a preferred finish for a bold graphic. Neither advantage overrides the tested performance of the specific combination.
Ask quotations to identify decoration setup, sample iterations, and any additional wash verification separately. StitchQuote’s MOQ for most categories starts from 50 pieces per style; denim starts from 100 pieces per style. Those garment minimums do not establish how every artwork, color split, or decoration setup will be quoted. Confirm the proposed breakdown before committing.
StitchQuote offers cut-and-sew, private label, sampling, fabric and trim sourcing, branding including prints, embroidery and woven labels, and QC before packing. A seven-day sample is available for standard styles with confirmed specifications and available materials. Complex styles, custom washes, and custom-developed fabrics take longer. Allow additional time for repeated laundering, drying, evaluation, and any corrective sample.
Questions buyers ask when wash results change approval
Can an undecorated fabric wash test replace the printed sample test?
No. It can reveal shrinkage or dye release, but cannot show adhesion, cracking, or interaction between fabric finish and decoration. Use it to investigate the substrate, then test the decorated garment.
What if only one of two transfer samples peels?
Hold approval and investigate the inconsistency. Compare application records and the location of the failure, then repeat with controlled settings. One successful specimen does not explain away another specimen’s defect.
Does changing the garment color require another test?
It can. Different dyes, finishes, and fiber compositions can affect performance even within one garment program. Agree which colorways need testing, prioritizing unverified materials and combinations with migration or staining concerns.
Can care instructions be changed after a failure?
Only if the revised care routine is practical for the product and validated on new specimens. Update the garment label and buyer-facing care information consistently. Do not approve using instructions customers will never receive.
Related reading and project planning:
- Document artwork and test requirements in your tech pack
- Plan sampling and minimum order quantities
- Explore custom hoodie manufacturing
- Discuss your garment and decoration test brief with StitchQuote
Request a manufacturing quote
Share your product type, quantity range, and destination. We usually reply within one business day.