Custom Streetwear, Casualwear & Denim Manufacturer•MOQ 50 pcs•Denim MOQ 100 pcs•7-Day Sample Available

Stone Wash vs Vintage Wash for Streetwear Denim
Understand stone wash vs vintage wash streetwear denim with more practical factory-side context around material behavior, product feel, stability, and how the.

A washed denim reference can look convincing until its metalwork changes the result. A pale leg, dark rivet rings, a scratched waistband button and a stiff zipper may all come from the same finishing route. For a streetwear buyer choosing between stone washing and a vintage effect, the useful comparison is how the fabric and hardware will age together—and whether that combination can be repeated in production.
Stone washing describes a treatment route; vintage wash describes an appearance that may involve several treatments, sometimes including stone washing. Neither label specifies what happens to a plated snap or zipper. Build the decision around a complete garment, with an agreed trim specification and attachment sequence, before approving the look.
Choose the metal-and-denim relationship before naming the wash
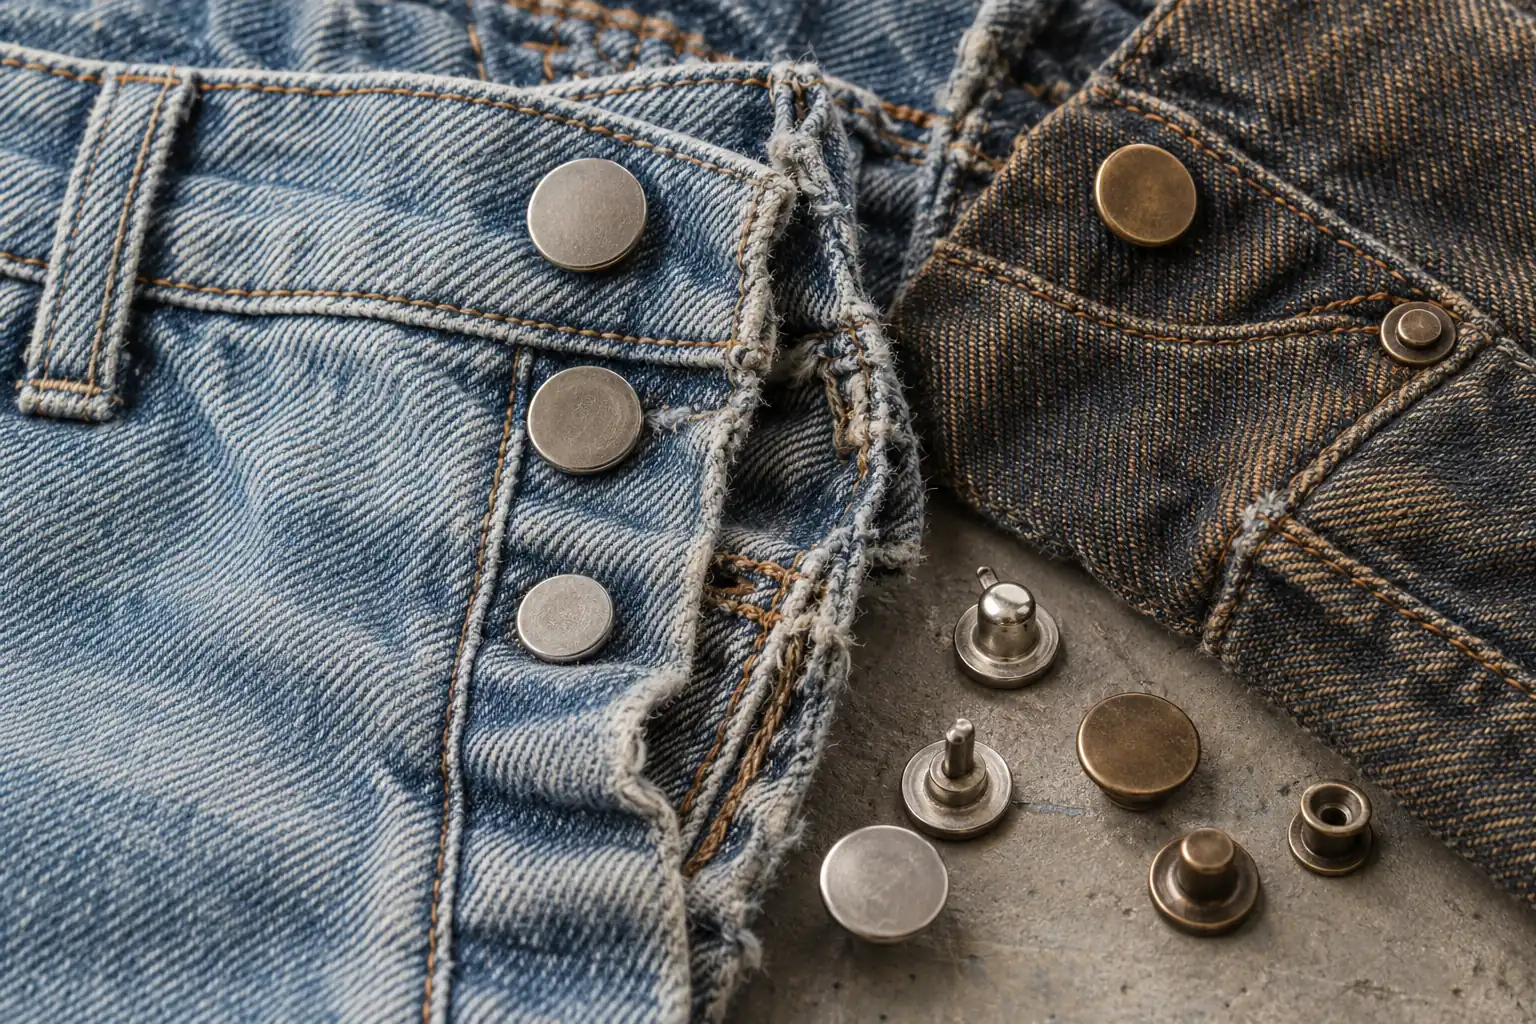
For a stone-washed direction, mechanical abrasion can soften denim and create irregular fading at raised areas. Depending on the recipe and equipment, attached metal parts may also receive impact and surface wear. A vintage direction might instead emphasize localized fading, tinting, crease effects or deliberately aged hardware. Its name alone does not reveal how demanding the process will be on trims.
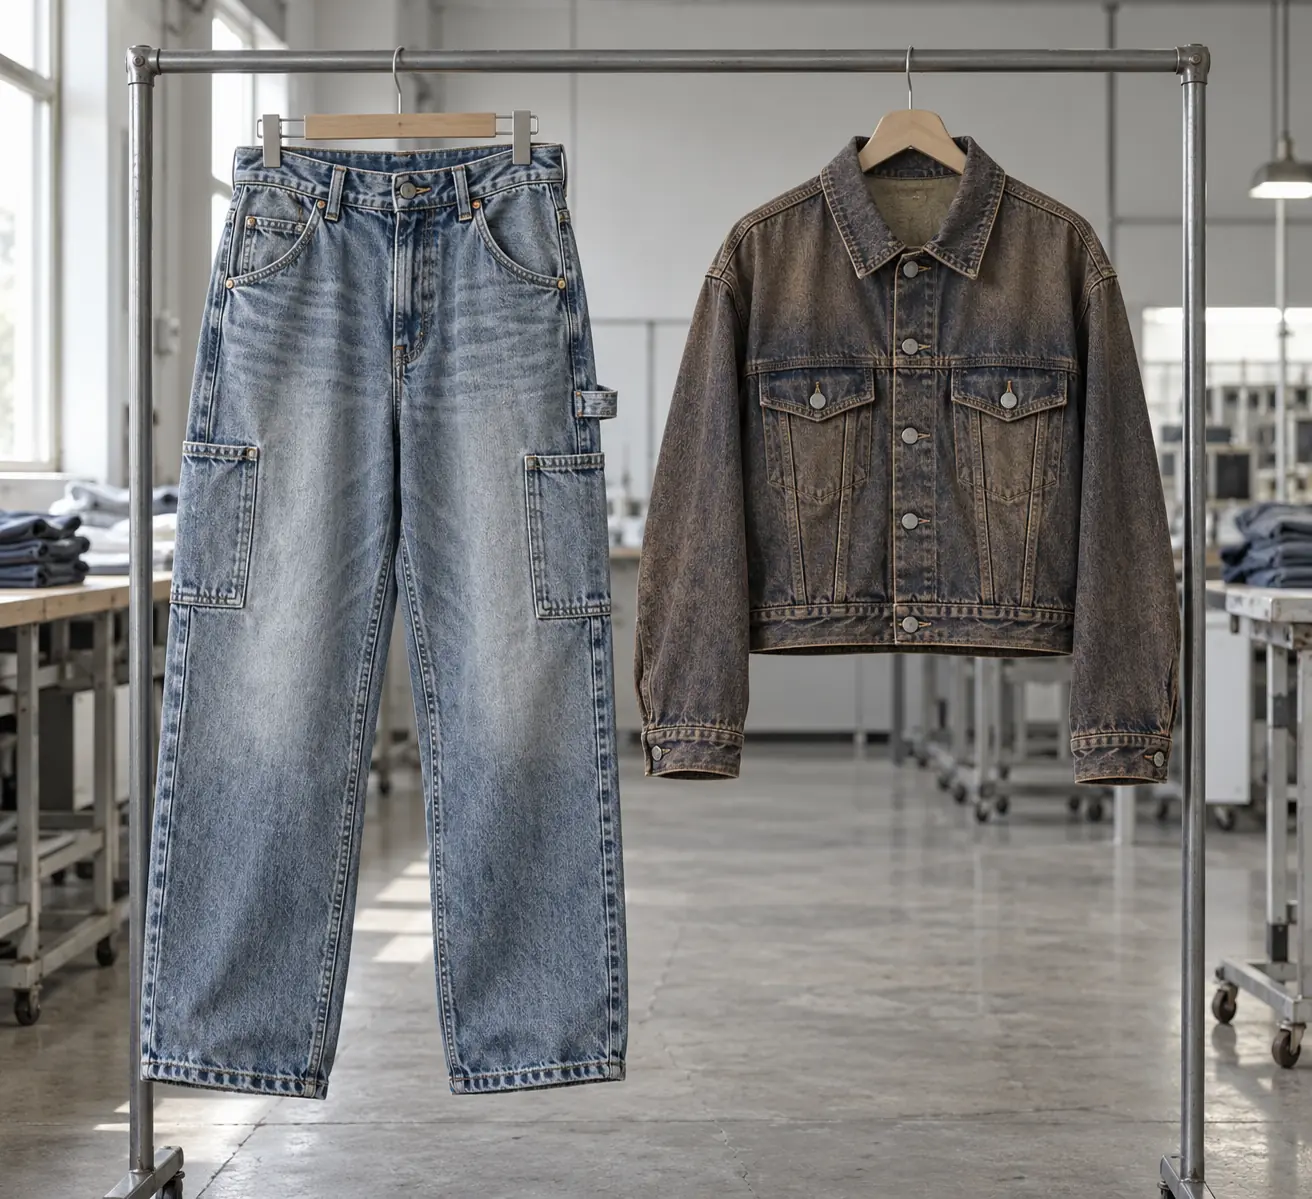
Consider two briefs. A loose carpenter jean could pair a chalky blue surface with relatively clean silver-colored rivets, emphasizing the pocket layout. A cropped denim jacket could pair brown-tinted indigo with muted buttons, creating a more uniformly aged appearance. These require different approvals even if both mood boards say “worn-in.”
Specify where contrast is welcome. A dark ring under a rivet might support the jacket reference but look like a stain on the carpenter jean. Record acceptable abrasion on button faces, whether recessed lettering must remain legible, and whether exposed base metal is permitted. Decorative wear should be intentional; it should never excuse a weakened fastening.
Make a trim map that the laundry can actually use
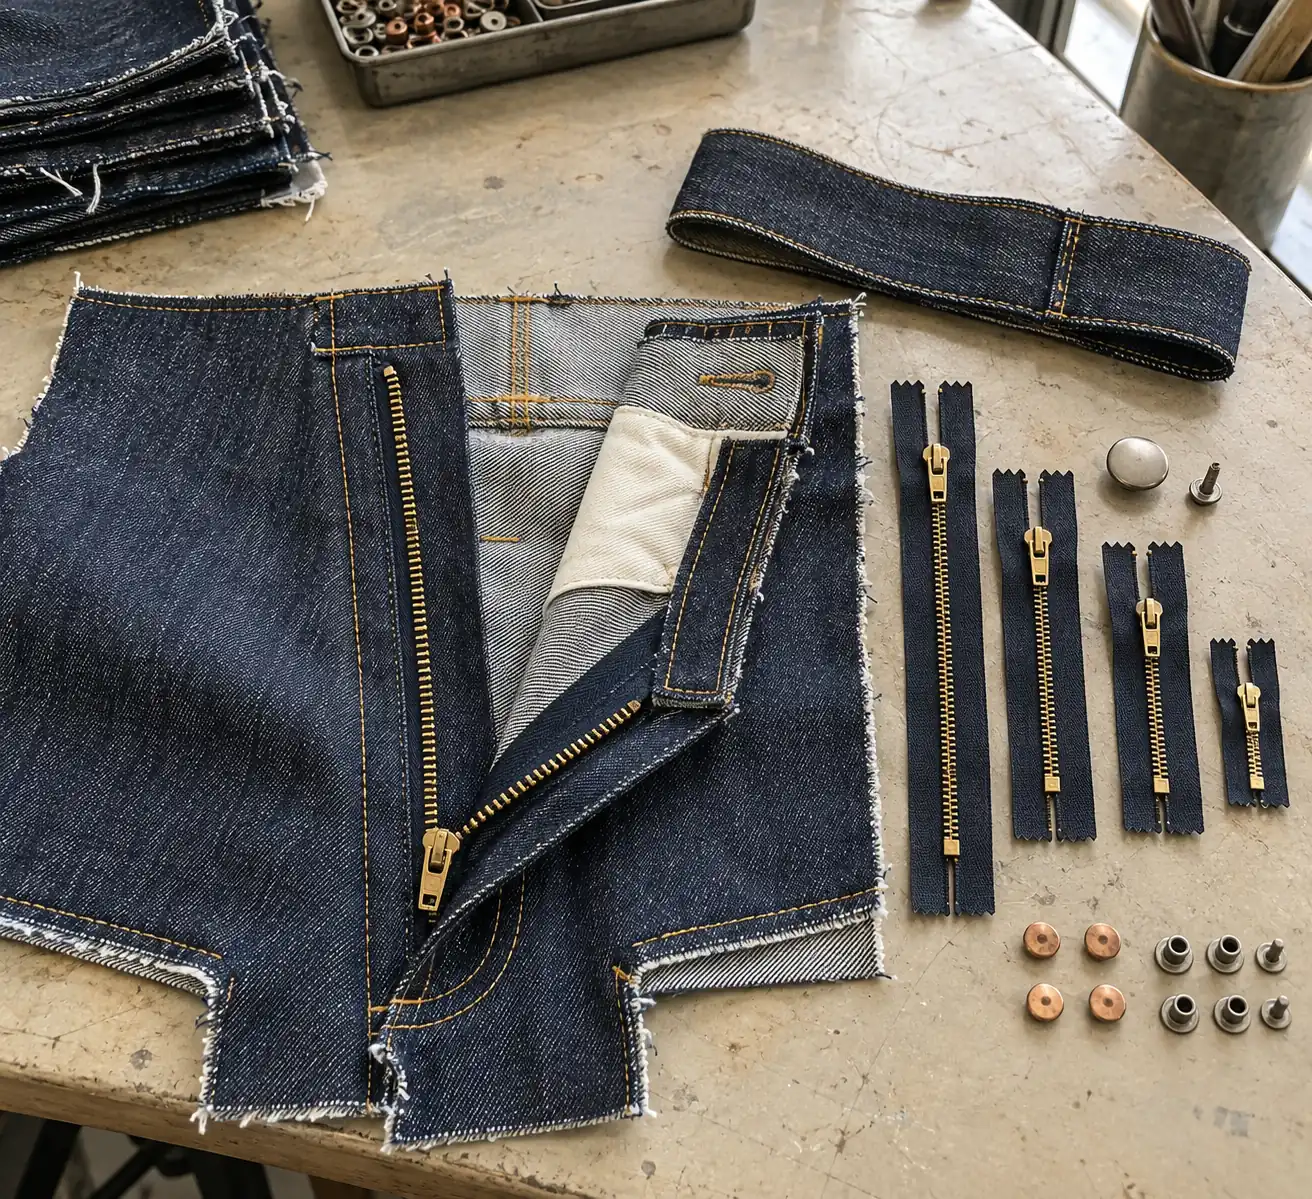
Start with every metal component, including hidden rivet backs, button tacks, zipper stops, snap sockets and any removable chain. “Antique brass” is a visual description, not a complete material specification. Ask the trim supplier to identify the base material, finish system, protective coating if present, and suitability for the proposed laundry process.
The wash team needs more than a color swatch. Share the intended chemical stages, approximate processing conditions and drying route with the trim supplier so compatibility can be assessed. Avoid assuming that a finish surviving one enzyme treatment will survive a different bleaching or tinting sequence. Confirm the actual recipe on assembled samples.
| Component | Brief must identify | Post-wash approval point |
|---|---|---|
| Waistband button | Face finish, shank and tack combination | Surface wear, secure attachment, buttonhole clearance |
| Pocket rivet | Cap and back dimensions, post length | Sharp edges, rotation, staining around the cap |
| Fly zipper | Chain, slider, tape and stop specification | Smooth travel, tape distortion, secure stops |
| Jacket snap | Complete mating set and finish | Opening action, closure retention, fabric damage |
Measure fabric thickness at the fastening location, including folded layers. Post length that works on an unwashed swatch may be unsuitable for a bulky pocket corner or a softened, compressed waistband. Approve the assembly on the intended construction rather than treating the metal cap as an independent accessory.
Decide which components travel through the wash

Hardware attached before washing experiences the garment’s finishing cycle. This can create a convincing relationship between metal wear and denim fading, but it also introduces contact points that may affect abrasion, leave marks or damage adjacent fabric. Inspect under caps and around edges, not only the visible button face.
Attaching selected parts after washing can preserve their finish and reduce their exposure to processing. It also changes the aesthetic: a pristine button on heavily distressed denim may look disconnected. A separately aged trim can be an option, provided its appearance and performance are approved. Do not assume “after wash” automatically means a better result.
Post-wash attachment also needs an executable assembly plan. Confirm access for the press, correct backing support and placement on the finished garment. For example, a buyer might propose a rivet center 10 mm from a pocket edge with a ±1 mm placement tolerance; these are illustrative targets to confirm with the factory, not universal standards.
A conventional fly zipper is usually integral to sewing construction, making late installation a larger change than adding a waistband button. Ask the factory to flag such constraints before fixing the sequence. If temporary protection is proposed, test whether it leaves uneven fading or residues. Approve the protection method as part of the process, not as an undocumented workaround.
Run a paired sample trial that isolates the real difference
Compare the two finishing directions on the same denim lot, pattern and construction wherever practical. Use the same approved trim specification for an initial comparison. Changing fabric, hardware supplier and wash recipe together makes it difficult to tell why one sample performed differently.
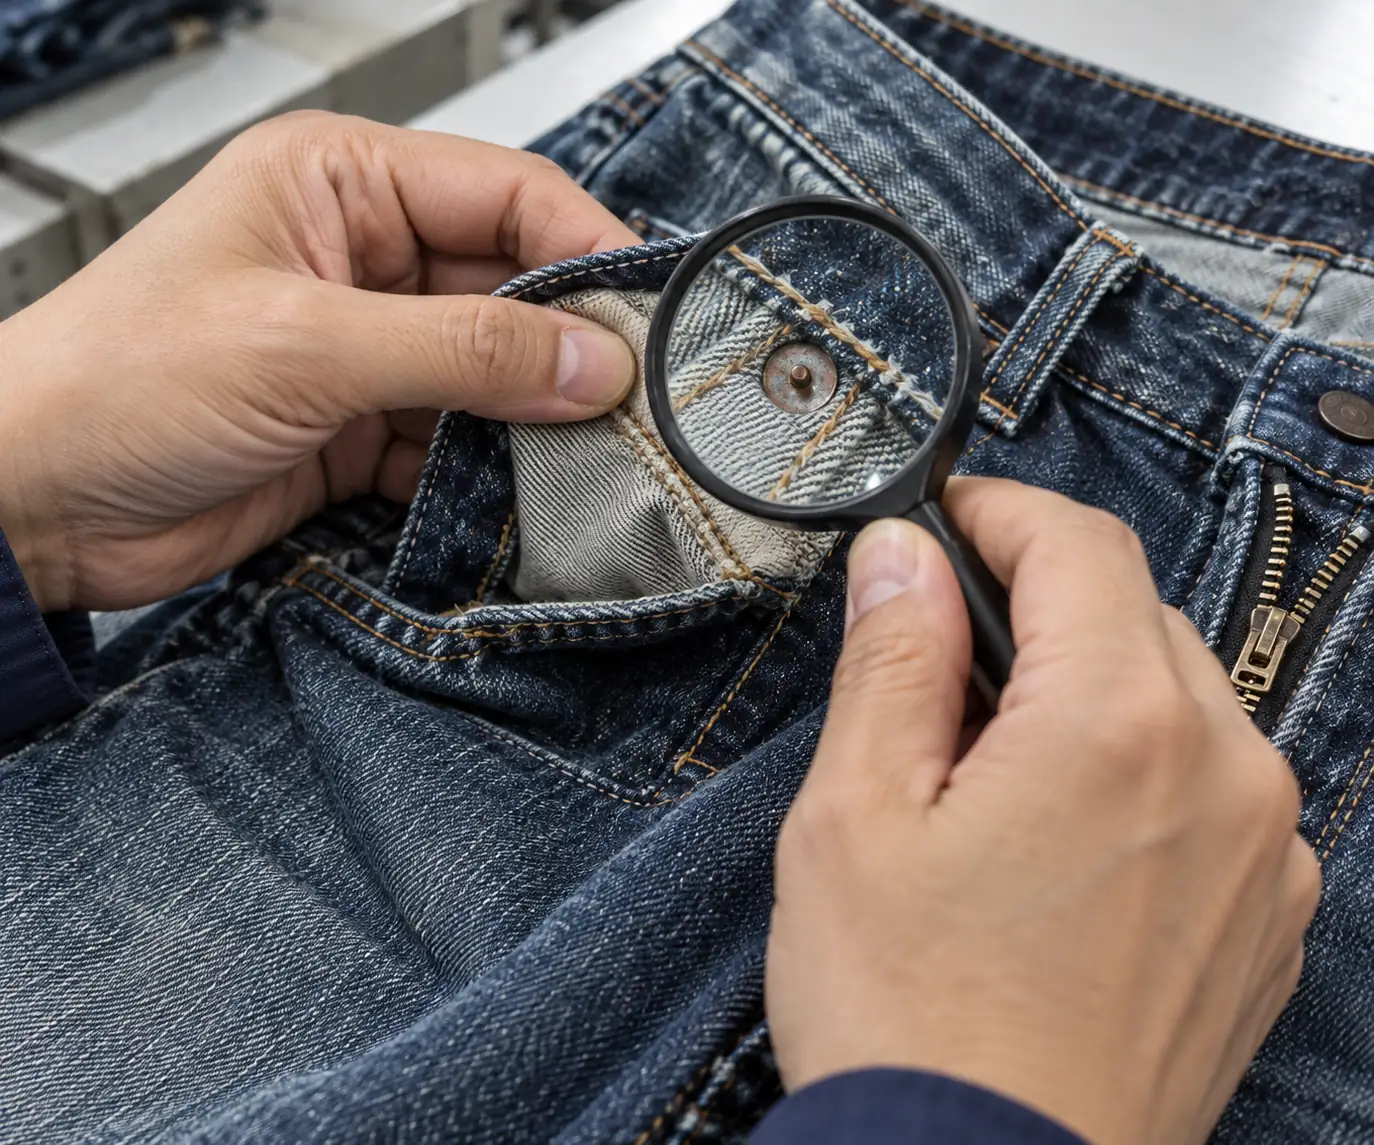
Retain an unprocessed trim set and photograph the assembled garments before finishing. After washing, compare them under the same lighting, with close views of button faces, rivet surrounds and zipper tape. Record garment measurements once the pieces have dried and rested under agreed conditions. Wet or freshly dried denim can give misleading fit comparisons.
Include the details that make the style difficult. On a utility jean, test the multilayer hammer-loop junction and reinforced pocket corner. On a jacket, include the cuff snap through the actual folded cuff construction. A flat panel can show color direction, but it cannot prove that a snap will remain secure in the garment.
StitchQuote offers sampling, fabric and trim sourcing, cut-and-sew, private label and branding services. A 7-day sample is available for standard styles with confirmed specifications and available materials; complex styles, custom washes and custom-developed fabric take longer. Treat a hardware-and-wash experiment as a development scope to confirm, especially when several finish combinations need evaluation.
Inspect fastening performance separately from intentional aging
Use a QC checklist with two decisions: whether the garment matches the approved appearance and whether each fastening still works. A visually successful wash cannot compensate for a rough zipper or a sharp rivet back. Keep an approved reference garment and close-up photographs showing the permitted degree of trim wear.
- Surface condition: inspect for flaking, burrs, unexpected exposed base metal and residue. Distinguish approved face abrasion from damage on skin-contact surfaces.
- Fabric around metal: check for tears, enlarged attachment holes and unwanted halos. Inspect both sides of pocket corners and waistband closures.
- Attachment security: check loose caps and unstable assemblies. Agree any instrumented pull testing, test method and acceptance value for the component and intended market; do not substitute hand tugging for a specified test.
- Operation: open and close zippers and snaps repeatedly using an agreed inspection procedure. Record binding, separation, inconsistent snap action or fabric caught in the mechanism.
- Delayed changes: reinspect dry samples after an agreed holding period for developing discoloration or transfer onto adjacent fabric. Confirm any additional laundering or corrosion testing required for the product.
Check pieces from different positions in the trial load where feasible. One attractive sample does not establish consistency. If failures cluster around a particular component, investigate its finish, attachment setting and wash exposure before changing the entire garment recipe.
Freeze the approved combination before booking bulk
Release a package that ties the wash reference to the trim codes, supplier references, attachment sequence and placement measurements. Include accepted variation photographs, especially where uneven aging is part of the design. A replacement button with the same apparent color can behave differently if its coating or base material changes.
Specify who must approve substitutions and what needs resampling. A new zipper finish, revised chemical sequence or different post length should trigger a review of the affected result. Keep comments precise: “reduce unwanted dark marking below pocket rivets” is actionable; “make it more vintage” leaves too much open.
StitchQuote’s denim MOQ starts from 100 pieces per style; most other categories start from 50. Confirm how alternative washes or hardware options affect the order plan. StitchQuote provides QC before packing, and the agreed checkpoints should make clear which appearance and fastening requirements are being checked.
Questions buyers ask about washed denim hardware
Can a stone-washed jean keep bright, clean buttons?
Potentially. Selected buttons can be attached after washing, or a compatible finish may be approved through trials. Decide whether clean metal suits the garment’s worn appearance and confirm that late attachment is practical for the construction.
Does a vintage effect require corroded metal?
No. Muted color and controlled surface variation can suggest age without functional deterioration. Specify the desired appearance separately from corrosion, flaking or weakened attachment, which should not be accepted simply because the design is vintage-inspired.
Can one zipper approval cover both wash directions?
Only if testing supports both actual processes. The same zipper may respond differently to changed chemistry, abrasion or drying. Identify each approved route in the specification so approval does not silently expand to an untested finish.
What if the denim passes but the rivets fail?
Hold approval of the complete combination. Investigate the rivet assembly and process, then repeat the affected checks on a representative garment. A revised trim may solve the problem, but its appearance and surrounding fabric still need review.
Related reading
- Prepare a tech pack with clear trim specifications
- Review sampling and minimum order planning
- Build the denim wash approval record
- Discuss your denim and hardware brief with StitchQuote
Request a manufacturing quote
Share your product type, quantity range, and destination. We usually reply within one business day.