Custom Streetwear, Casualwear & Denim Manufacturer•MOQ 50 pcs•Denim MOQ 100 pcs•7-Day Sample Available

Why Print Method Should Be Decided Before Final Sample Approval
Learn print method before sample approval through a clearer factory-side view that helps brands reduce rework, align sample goals, and move toward approval with.

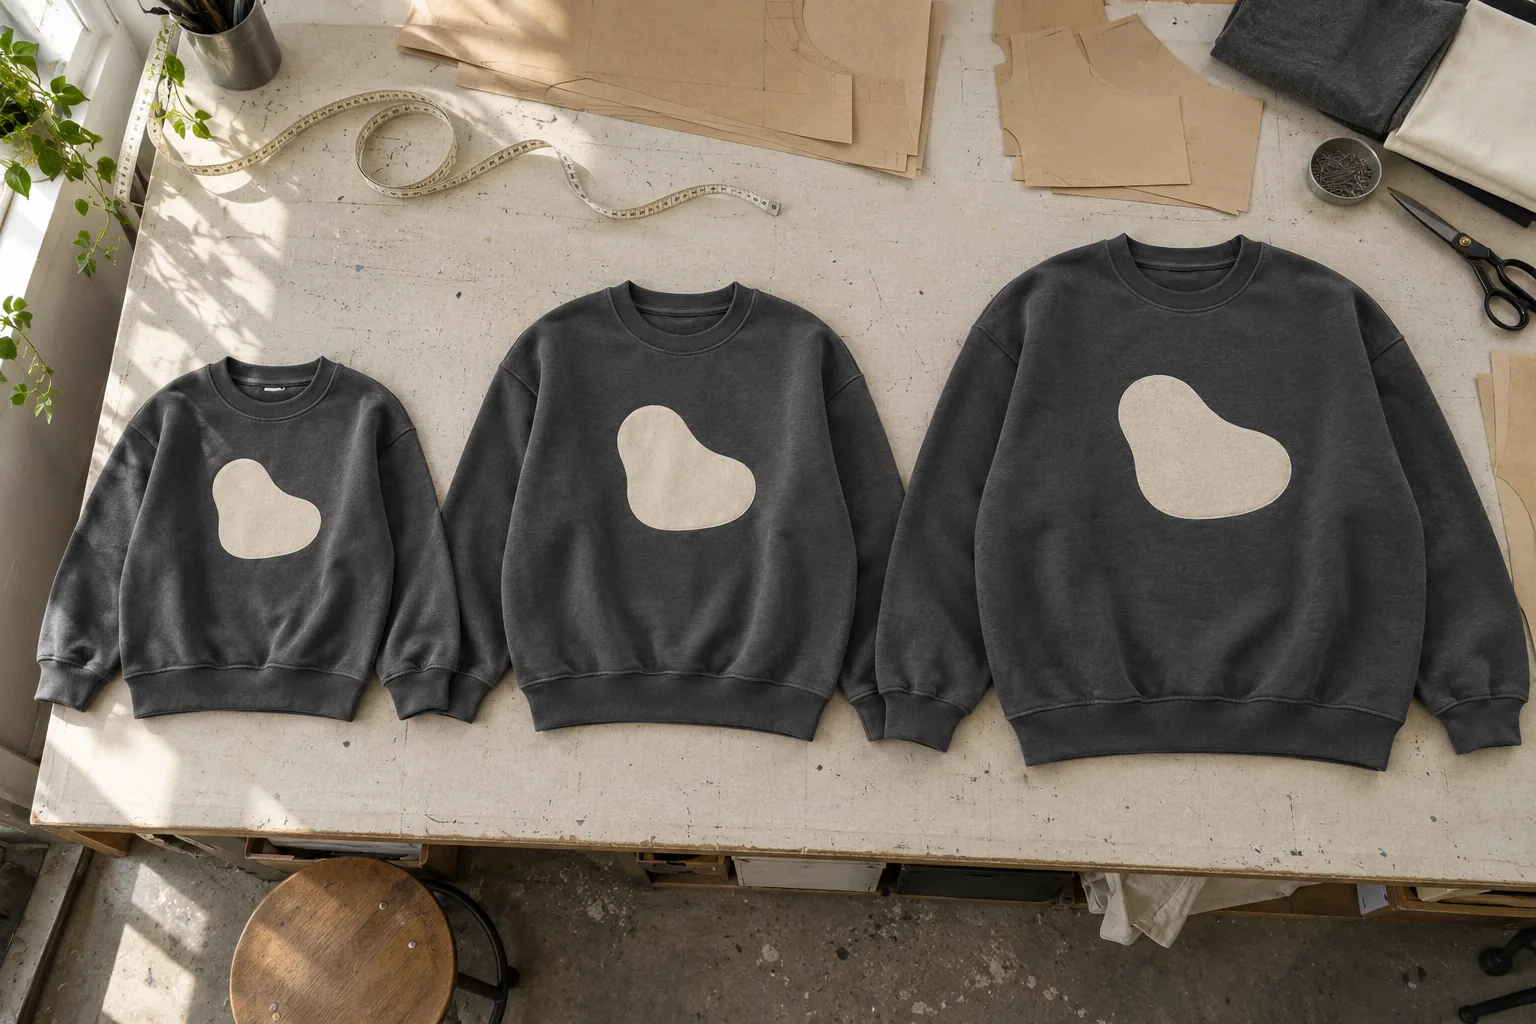
A size set can confirm that a sweatshirt fits across the range while leaving its most visible feature untested. If the approved garments are blank, changing the decoration afterward may alter stretch, surface feel, placement, and the way the chest hangs. The measurements may still pass, but the product the buyer approved is no longer the product being made.
Deciding the print method before final sample approval is therefore a scheduling decision as much as a design decision. For a brand preparing graded samples, the practical question is when to introduce production-representative decoration so that size approval covers the finished garment, without repeating every development round.
Give the size set a defined job before booking it
A size set checks how a pattern works beyond the base size. Agree which sizes will be made, what each must demonstrate, and whether the review covers fit alone or readiness for production. A blank size set can be useful during pattern development, but it should carry a clear limitation: decoration performance and placement remain open.
Separate preliminary grading approval from final decorated-garment approval in the sample request. If both decisions must happen in one round, the print route, artwork dimensions, substrate, and application sequence need to be ready before those samples enter work. Otherwise, the calendar contains an approval appointment without the evidence needed to approve.
Resolve the fabric and print combination ahead of graded cutting
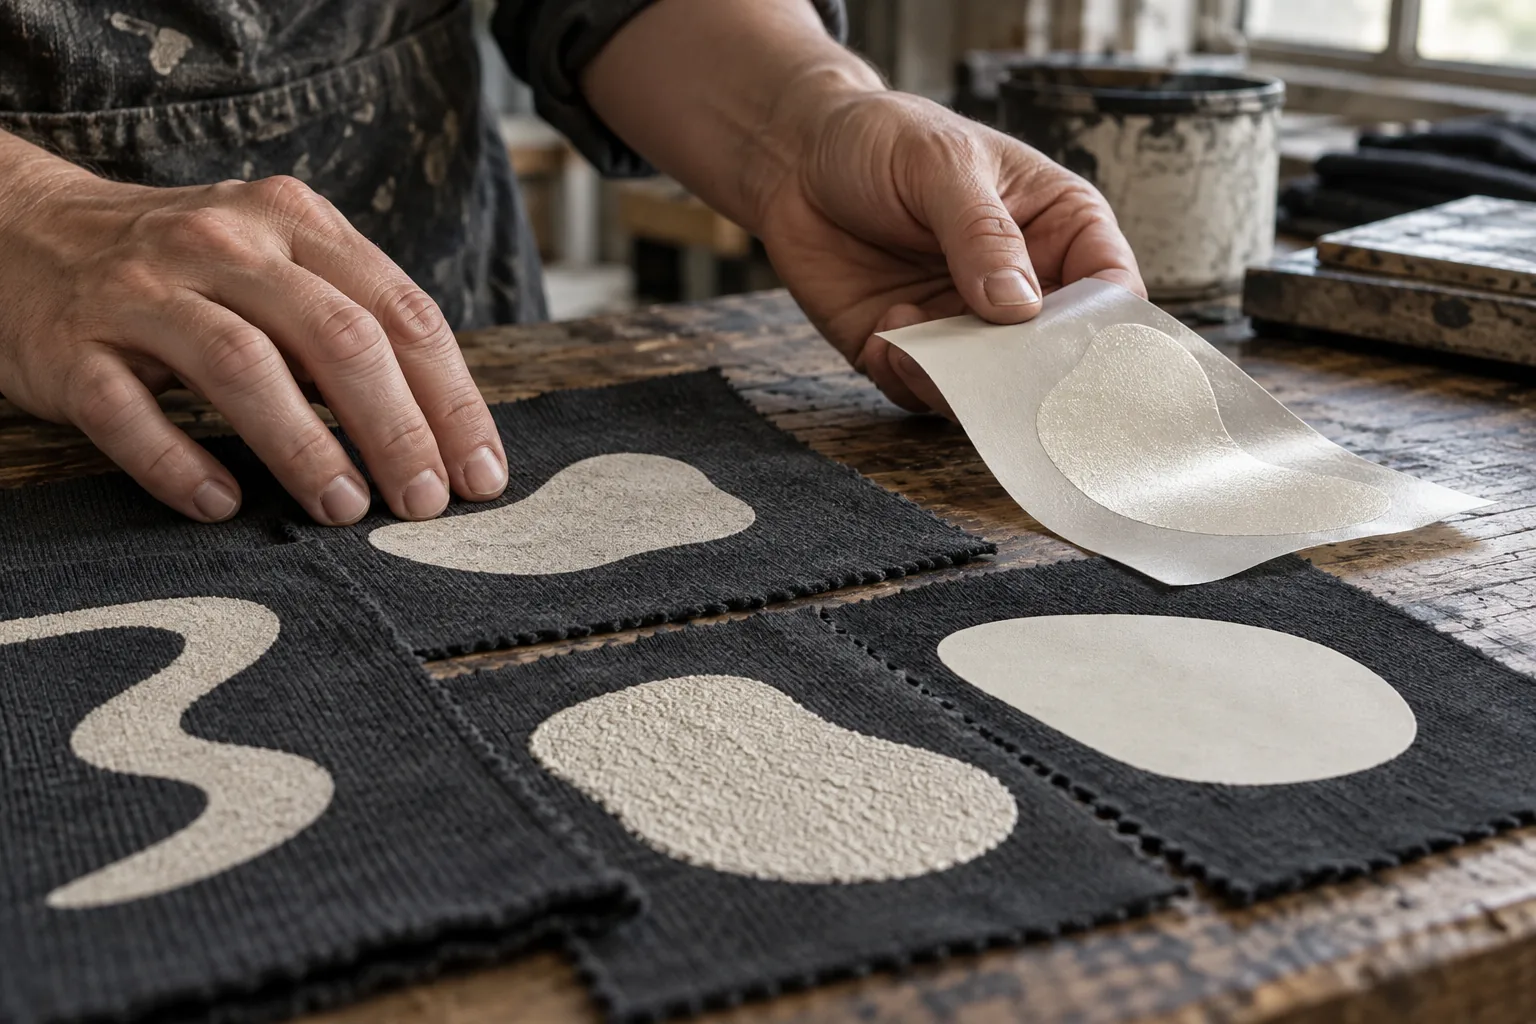
A print that looks convincing on a loose swatch may behave differently on a garment. Screen printing, direct-to-garment printing, and heat-applied transfers have different preparation and application requirements. Suitability depends on fabric composition, surface texture, color, artwork, and the intended hand feel; no method is automatically right for every jersey or fleece.
Use a strike-off on the intended fabric to narrow the choice before committing to decorated size samples. Review coverage, edge definition, stretch response, and appearance after the agreed care procedure. Where heat or curing is involved, check whether the actual application conditions change the fabric dimensions or surface.
Record the accepted method and sample reference together. Approval of an illustration or digital mockup does not establish how ink or a transfer will perform on the selected material. If the fabric changes later, assess whether the earlier print evidence still applies.
Test the smallest canvas before approving one graphic width
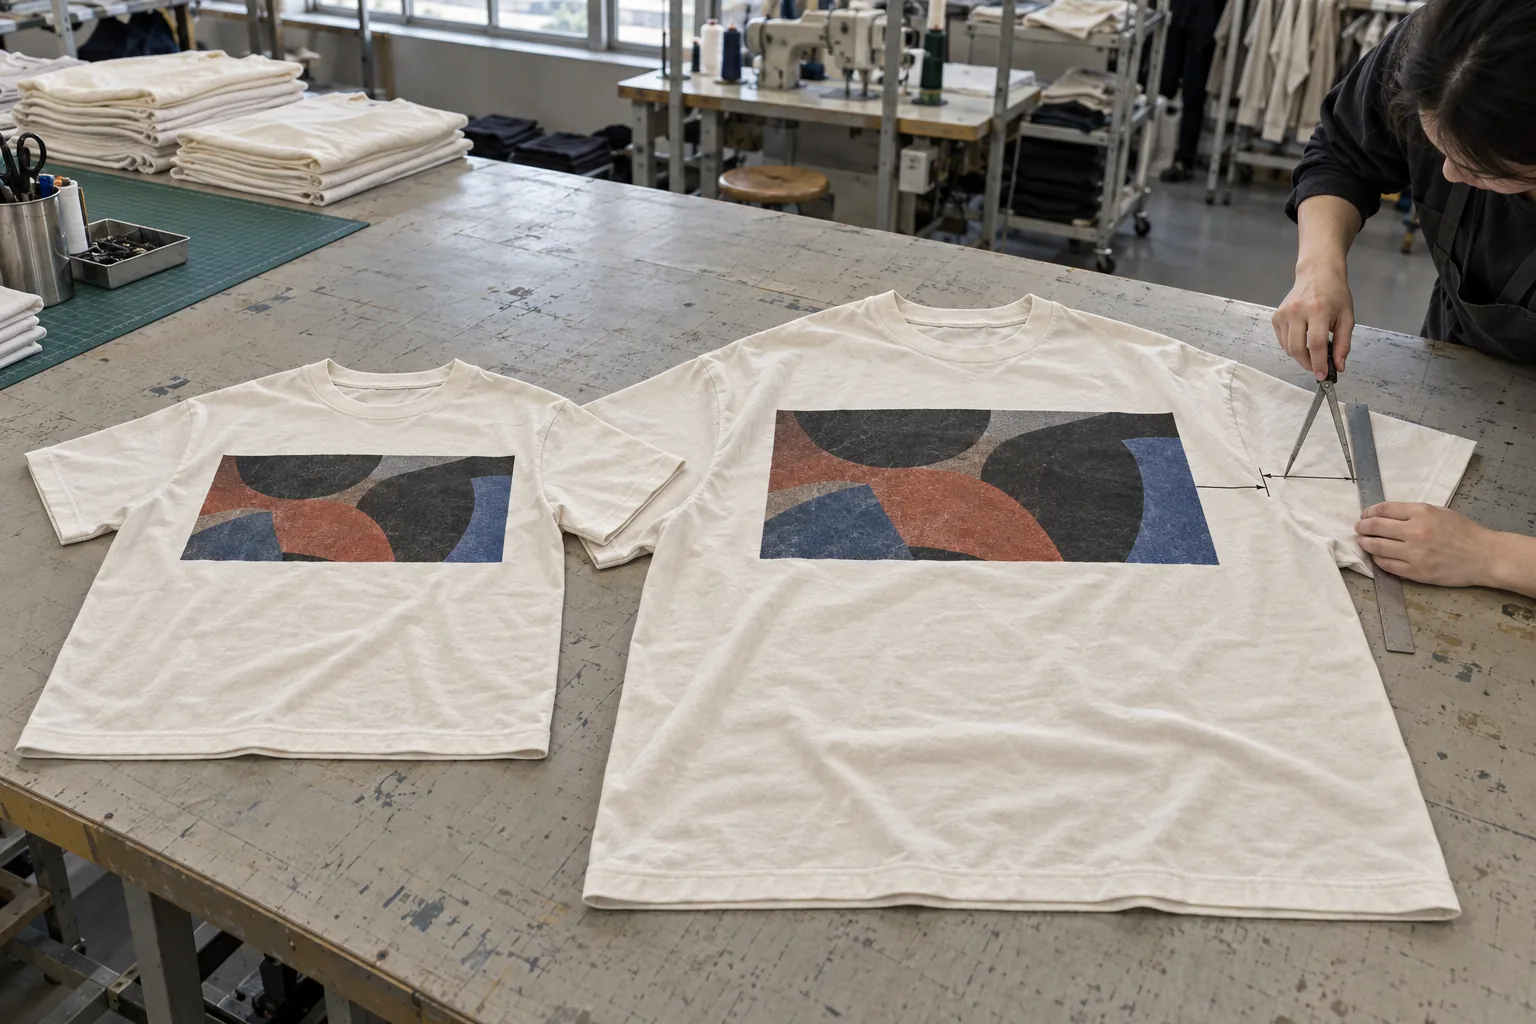
Consider a boxy tee with a wide abstract chest graphic. Keeping one artwork width across all sizes may work on the base sample but bring the edges too close to the armholes on the smallest size. Increasing artwork proportionally for every size creates a different production requirement and needs an explicit size-to-artwork mapping.
Choose between a common print size, grouped print sizes, or individual dimensions before the size set is decorated. Specify placement from repeatable garment reference points, such as the center front and a defined neckline point. Avoid relying only on a photograph, where camera angle and garment drape can disguise movement.
Review the smallest and largest sizes early when the graphic occupies a large area. This does not replace the agreed size set; it helps expose placement conflicts before the entire set receives decoration. Include seam clearance and whether printing happens on panels or assembled garments.
Put measurable limits on the decorated sample sheet
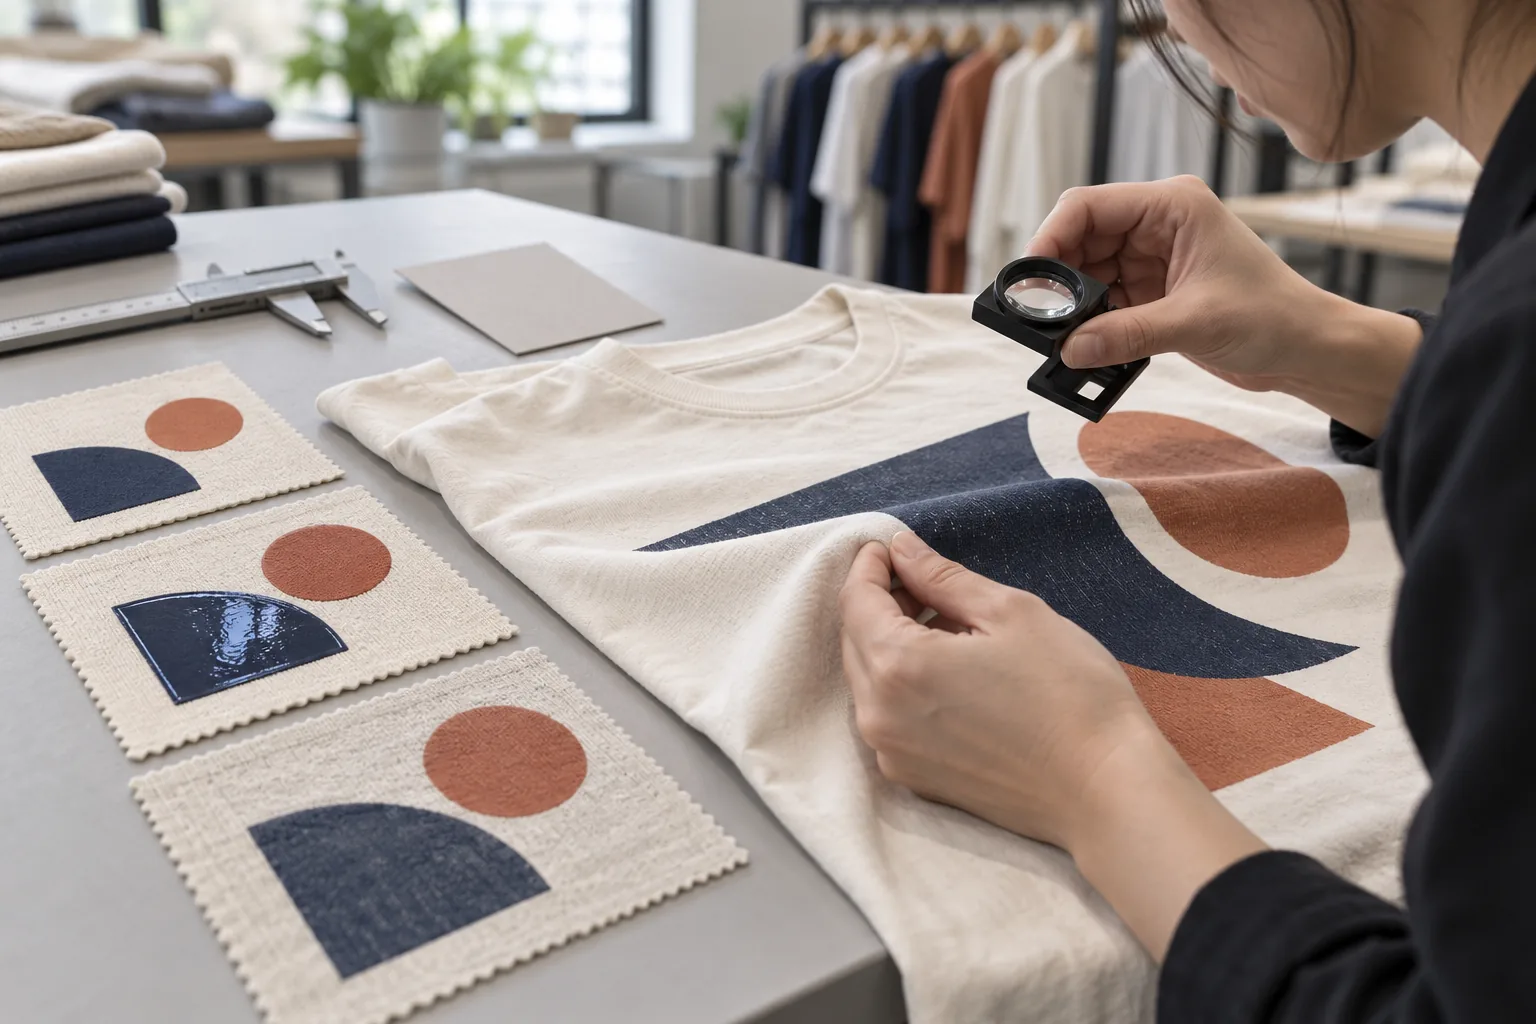
List garment measurements separately from decoration measurements so that a passing chest width cannot hide a misplaced graphic. For a sweatshirt, define half-chest width at a stated distance below the armhole, body length from the high shoulder point, sleeve length from a named seam, and hem width with the rib relaxed. Measure the garment flat without stretching it. For the print, record finished width and height, the vertical distance from the center-front neckline seam to the top of the artwork, and horizontal offset from the garment centerline.
Give each measurement its own agreed tolerance. As an illustrative buyer specification, a team might propose plus or minus 1 cm for half-chest width and body length, and plus or minus 0.5 cm for print placement. These are discussion values, not StitchQuote standards or universal production limits. Confirm that the selected construction and decoration process can achieve them before approval. State whether placement is assessed before washing, after washing, or at both stages; rib relaxation and fabric shrinkage can move the apparent neckline reference.
Identify the fabric beyond a color name: include fiber composition, knit construction, finished GSM, brushed or unbrushed back, and any finish affecting the print surface. A hypothetical 320 GSM cotton-polyester brushed fleece should be tested as that specific substrate; an approval on lightweight cotton jersey is not equivalent. With polyester-containing fabrics, ask the print team to assess dye migration under the proposed heat conditions. Record any color bleed, press marks, puckering, or loss of stretch beside the application settings used for the trial.
Use a small order example to expose hidden setup work
Consider a hypothetical order of 100 sweatshirts in one style and one color: 15 small, 35 medium, 35 large, and 15 extra-large. StitchQuote’s MOQ starts from 50 pieces per style, with denim starting from 100. For this sweatshirt brief, confirm the size split and decoration requirements together rather than assuming the style minimum settles every material or print constraint.
Suppose the buyer proposes a 26 cm chest graphic for small and medium, and a 30 cm graphic for large and extra-large. The artwork schedule now contains two widths, each covering 50 garments. Ask whether those widths require separate screens, transfer layouts, or file preparation, and request that sampling and setup work be identified in the quote. Ink colors, print locations, fabric preparation, and handling between applications can also affect cost. A grouped artwork plan may improve proportions, but its additional setup should be evaluated before the size set is commissioned.
At the sample review, check the smallest garment in each artwork group for seam clearance and the largest for visual balance. After approval, attach the size-to-artwork table to the production instruction and retain a labeled reference for each width. During QC, compare garment size labels with the assigned artwork dimensions as well as checking print appearance. This catches a specific packing risk: a clean, correctly positioned graphic can still be the wrong width for the labeled size.
Build the approval calendar around evidence dependencies
Schedule backward from the final review rather than treating each sample as an interchangeable milestone. The sequence below lets pattern work advance while keeping unresolved decoration decisions visible. Some work can overlap, but final approval should depend on completed checks.
| Checkpoint | Evidence needed | Decision enabled |
|---|---|---|
| Before decorated size sampling | Accepted fabric strike-off and artwork dimensions | Release the agreed print specification |
| During size set review | Graded garments with representative decoration | Accept fit and placement across the range |
| Before final sign-off | Care-test results and closed sample comments | Confirm the finished standard for bulk |
StitchQuote offers a 7-day sample for standard styles with confirmed specifications and available materials. Complex styles, custom washes, and custom-developed fabrics take longer. That availability should not be interpreted as a promise that strike-offs, a complete size set, care testing, and revisions all fit within the same seven days. Confirm the scope and timing for the particular project.
Close the size set with a decorated-garment checklist
Review the finished samples against one controlled specification. Assign a reviewer for measurements and another for artwork if needed, but consolidate their comments before sending the next instruction. A garment should not receive unconditional approval while a print-related fit or placement issue remains unresolved.
- Identity: Match fabric, artwork revision, print method, and size to the approved records.
- Placement: Measure graphic dimensions, distance from the agreed reference point, and clearance from seams on each requested size.
- Wear: Check whether the decorated area restricts stretch or changes drape during the intended movement.
- Care: Compare measurements and print appearance before and after the agreed wash and drying procedure.
- Repeatability: Document acceptable placement tolerances and visible defects using the approved sample as a reference.
Keep dated photographs and measurement records with the physical approval sample. StitchQuote provides QC before packing, but buyers still need a defined acceptance standard: an inspection cannot resolve a design choice that was never closed.
Questions buyers ask when the size review is already scheduled
Can we approve the blank size set while print trials continue?
Yes, as a limited approval of the pattern and grading. State that finished decoration remains pending and identify the decorated samples still required. Do not let a fit-only sign-off become an automatic release for finished production.
Does every size need a separate print trial?
Not necessarily. A shared fabric and print process may allow material performance testing to support several sizes. Placement and garment behavior still need review across the agreed size set, especially where artwork dimensions or seam clearances change.
What happens if we switch methods after the size set passes?
Reopen the checks affected by the change. A transfer replacing a softer print could require renewed stretch, drape, care, and placement checks. Agree which representative sizes need resampling and revise the approval date before treating the substitution as accepted.
Prepare the next sample request with the open decisions attached
Send the size range, grading information, artwork dimensions, fabric reference, proposed print method, and review deadline together. Highlight any unresolved choice and specify the sample that will close it. This gives the sampling team a clear basis for planning the next round.
Use these references to assemble the brief and confirm the project scope:
- Prepare the technical pack for your decorated size set
- Review sampling and minimum order considerations
- Plan time for sample development
- Discuss your sample brief with StitchQuote
Request a manufacturing quote
Share your product type, quantity range, and destination. We usually reply within one business day.