Custom Streetwear, Casualwear & Denim Manufacturer•MOQ 50 pcs•Denim MOQ 100 pcs•7-Day Sample Available

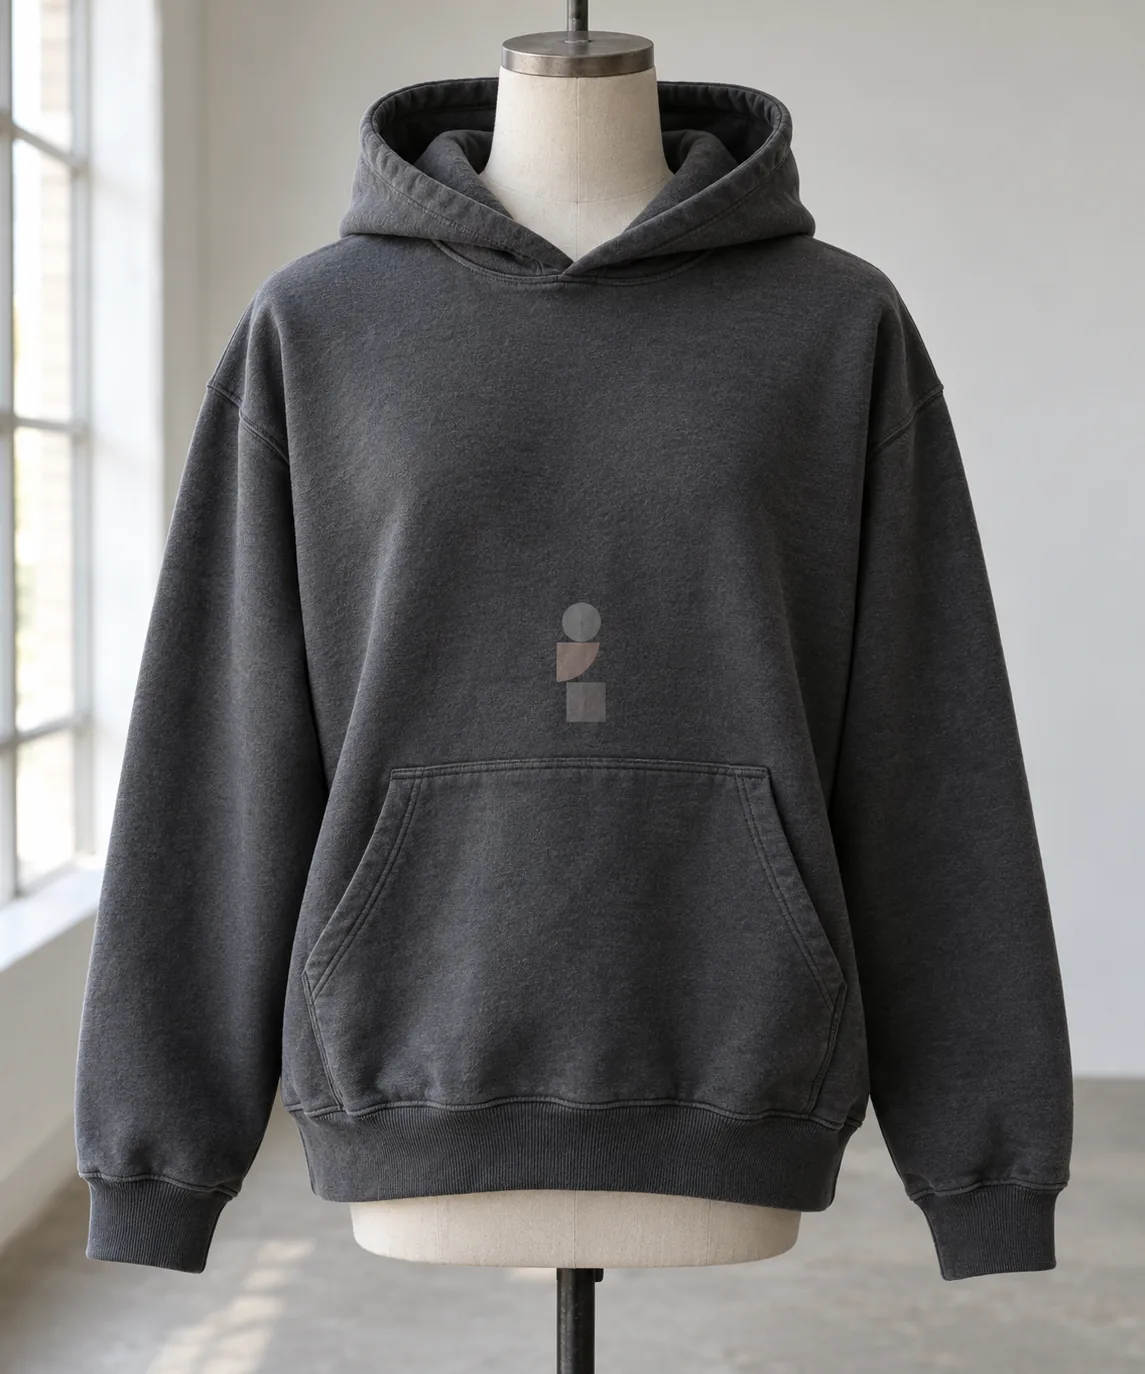
How to Plan Hoodie Decoration Before the Sample Stage Ends
Understand hoodie decoration planning sample stage through fit, fabric, decoration, and production logic so streetwear and premium basics buyers can make cleaner.

A hoodie graphic can look balanced on a screen and crowded on the first sewn sample. The kangaroo pocket is often the reason: its top edge, curved openings and raised seams occupy space that a flat artwork mockup treats as empty. Moving the print alone may leave the pocket awkwardly low or the artwork too close to the neckline.
Before the sample stage ends, approve pocket position and decoration as one layout. This guide focuses on the final placement review: what to measure, which construction choices to test and what evidence a brand buyer should request before releasing the hoodie for production.
Make the pocket the first boundary on the artwork map
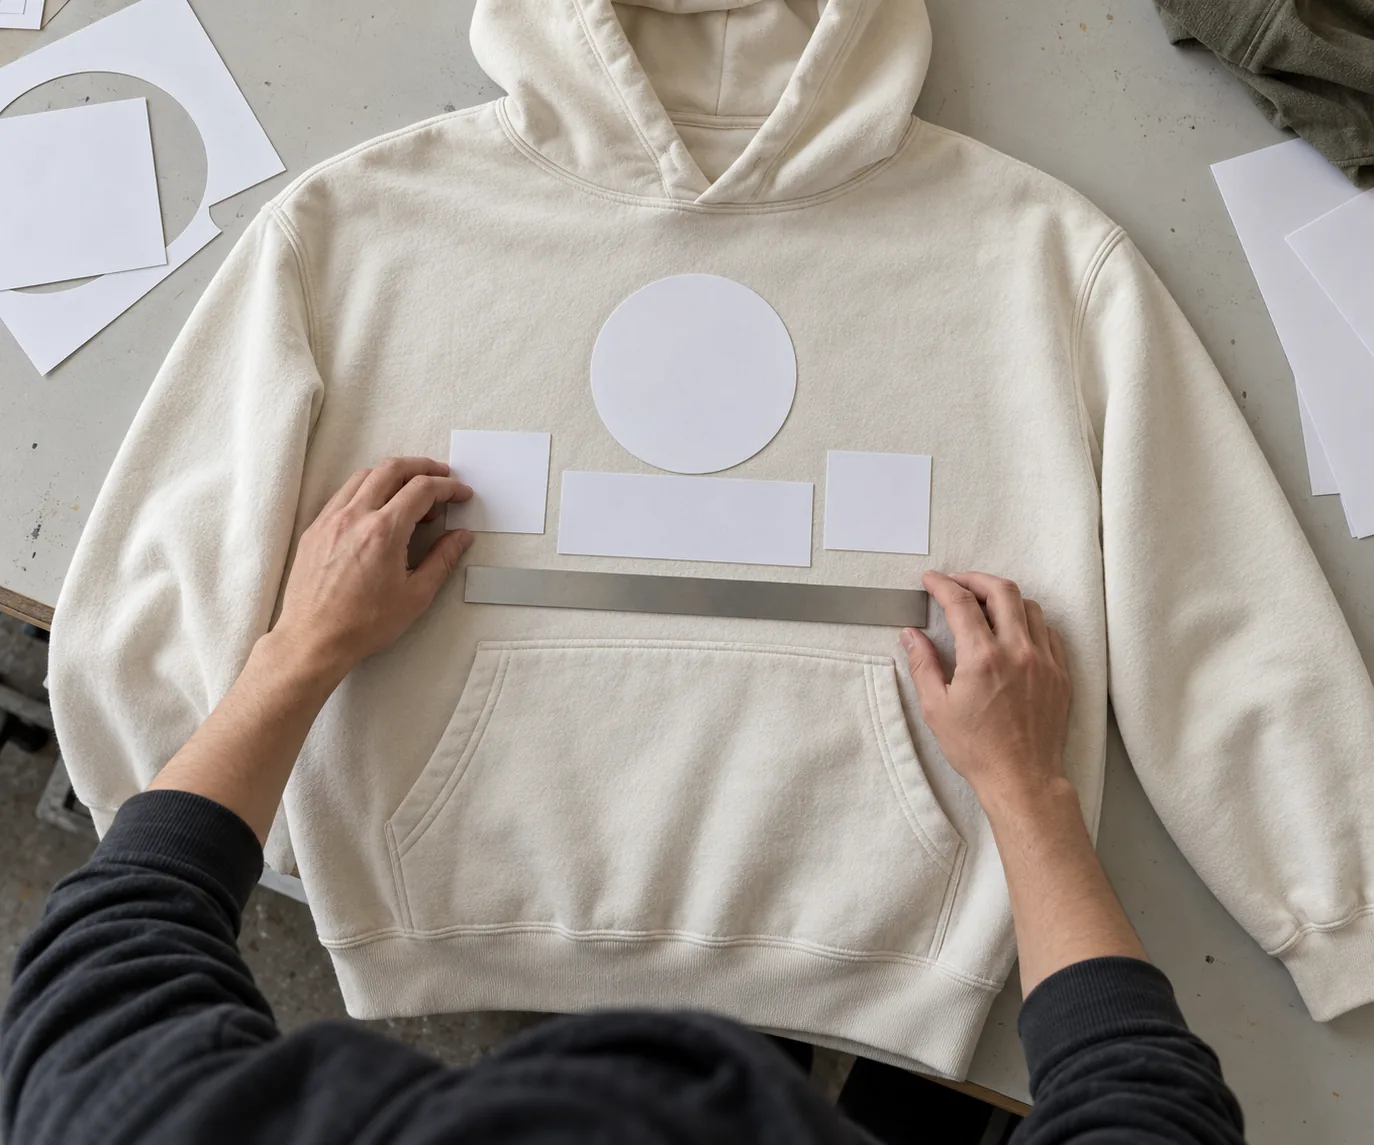
Start with the approved front pattern and the latest sewn sample. Identify the pocket top, opening curves, bottom corners and any reinforcement stitching. These features define where decoration can sit comfortably and where thickness changes may interfere with application. A rectangle drawn around the pocket is insufficient if the artwork approaches a curved opening.
Choose a clear reference for each measurement. Locate the pocket from the garment center front and a documented vertical reference, such as the high shoulder point. Locate the artwork from the same garment references, then record its clearance from the pocket. This avoids making a misplaced pocket the sole reference for a misplaced print.
For example, a wide landscape illustration above a kangaroo pocket needs a different review from a small embroidered symbol beside one opening. The illustration depends on a consistent horizontal gap; the symbol depends on local seam clearance and whether the opening pulls it out of shape.
Resolve hand access before moving the graphic
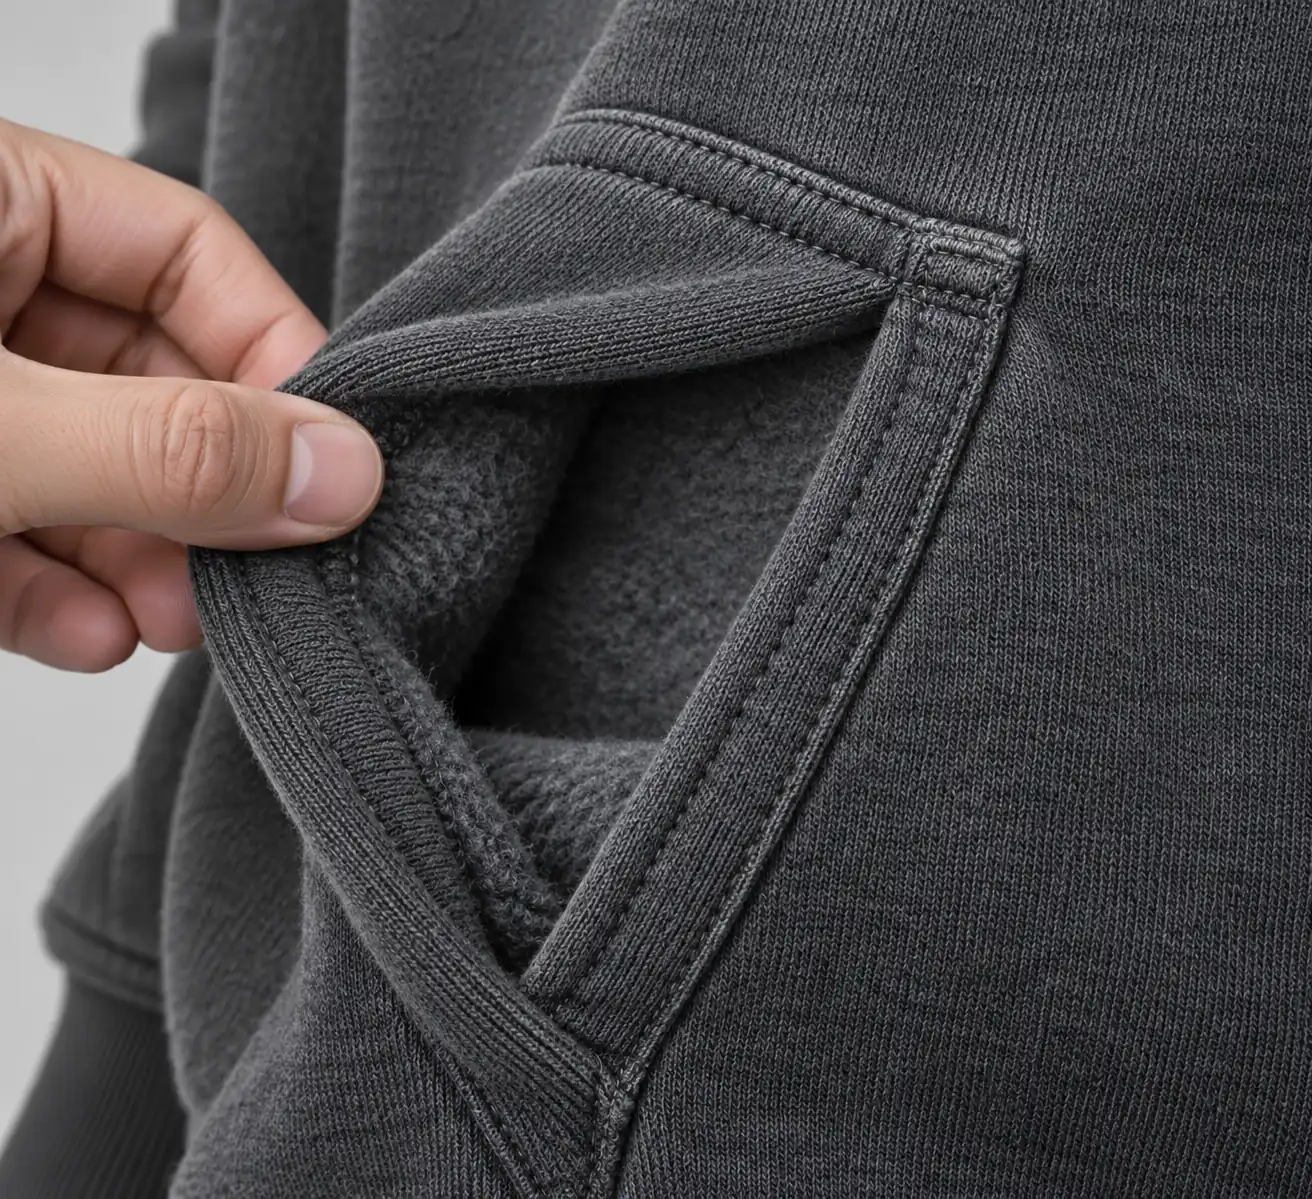
A pocket is a working component. During fitting, ask the wearer to insert both hands, remove them and sit down. Check whether the opening feels restricted, whether the pocket sags and whether the upper edge rolls. Photograph the hoodie both relaxed and with hands inside; decoration that appears level on a table may distort during ordinary use.
If the design team requests more space for a graphic, do not automatically lower the pocket. Review hand reach, the distance to the waistband and the intended silhouette first. On a cropped hoodie, reducing artwork height may preserve usability better than pushing the pocket toward the hem.
Decoration on the pocket itself also needs a comfort check. Embroidery backing, dense stitching or a thick print can change how the pocket bends against the body. Ask for the inside to be shown during sample review, especially when decoration sits near a hand opening.
Choose the application sequence at the pocket seam
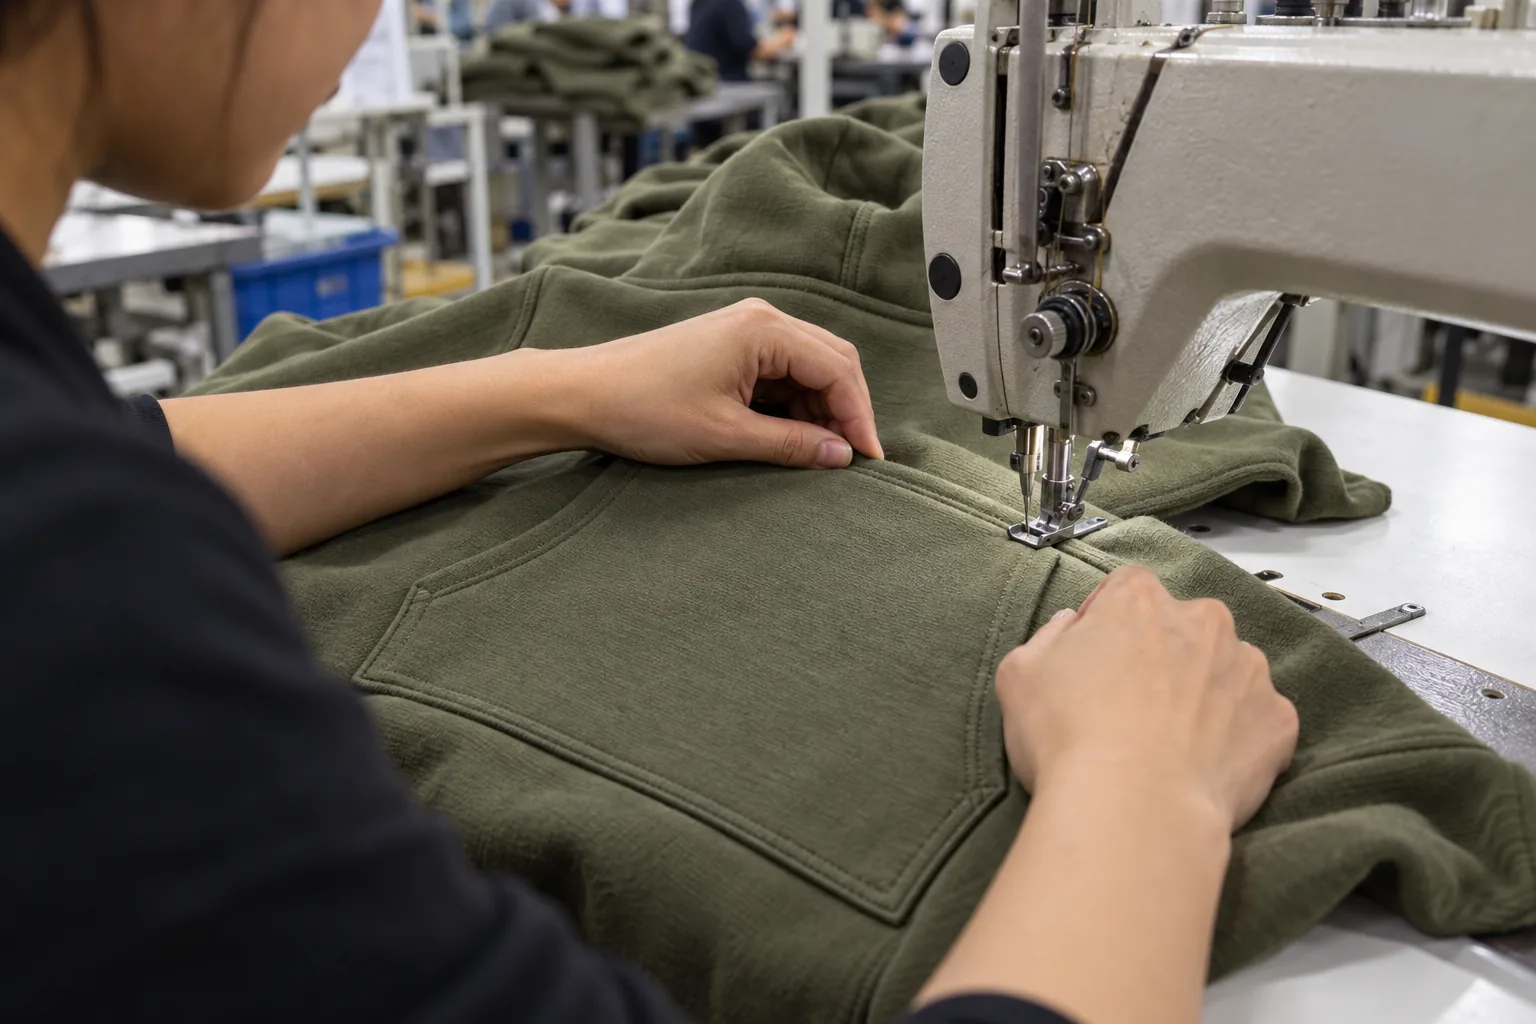
Ask whether the artwork will be applied to an open front panel, a separate pocket panel or the assembled hoodie. Each route creates different handling and alignment requirements. An open panel can offer a flatter working surface, while later pocket attachment must still preserve the approved relationship between stitching and artwork.
A graphic designed to continue across the body and pocket requires a specific trial. Separate applications can introduce alignment differences when the pocket is sewn on. Application over an assembled pocket must accommodate raised seams and multiple layers. Neither approach should be approved from a digital composite alone.
| Artwork position | Sample evidence to request |
|---|---|
| Above the pocket | Full-front view and measured clearance at both ends |
| On the pocket face | Exterior appearance, interior finish and usable pocket depth |
| Across a pocket edge | Close-up of continuity, edge coverage and seam distortion |
| Beside an opening | Hand-access check and reinforcement clearance |
Confirm any required spacing with the manufacturer for the actual method and materials. There is no universal seam-clearance number that works for every screen print, transfer or embroidery design.
Check the layout where size and fabric change it
One attractive sample does not establish placement across a size run. Ask whether pocket dimensions, artwork dimensions and vertical position stay constant or change by size. Review the smallest and largest planned sizes on pattern layouts; request physical verification where the available space becomes tight.
Consider a compact hoodie with a fixed-width print. On the smallest size, the print may approach the pocket openings even though it looks restrained on the development size. Record an explicit decision to resize the artwork, adjust its position or retain the layout after checking it.
Use the intended production fabric for placement approval whenever possible. Fabric weight alone does not describe how the front will hang: structure, stretch and finishing also matter. A softer fabric may let a loaded pocket pull downward, while a firmer fabric can make a raised seam more prominent beneath decoration.
If the hoodie will be washed after sewing or decoration, evaluate the layout after that process. Compare pocket shape and artwork clearance before and after the agreed wash or care trial. A substitute fabric sample can help explore composition, but unresolved material differences should remain clearly documented.
Turn the final sample review into measurable QC checks
The approval package should contain the sample identifier, artwork revision, placement drawing and agreed measurement tolerances. Use a consistent measuring condition, such as the garment laid flat and relaxed. Separate pocket sewing tolerances from decoration tolerances so the combined variation can be assessed.
- Pocket position: Check centering, height and left-to-right balance against garment references.
- Artwork clearance: Measure the closest points to the pocket edge and opening reinforcements.
- Application quality: Inspect seam-adjacent areas for incomplete coverage, unwanted marks or puckering.
- Pocket function: Confirm that openings remain free and decoration has not accidentally joined pocket layers.
- Finished appearance: Compare flat, worn and post-treatment views against the approved sample.
Close comments with a specific revision or approval, rather than “move slightly higher.” StitchQuote provides sampling, cut-and-sew, private label, fabric and trim sourcing, branding and QC before packing. Its 7-day sample option applies to standard styles with confirmed specifications and available materials; complex styles, custom washes and custom-developed fabric take longer. Set the review schedule around the evidence your pocket layout needs.
Specify measurement points and combined placement tolerances
Add a measurement diagram to the approval sheet. Define the high shoulder point as the shoulder and neckline seam intersection, and measure vertical distances parallel to center front. Record pocket width between its outer sewn edges, pocket height at center front and the height of both upper corners from the same reference. For artwork, identify the visible ink boundary rather than the transparent margin in the supplied file. This prevents operators from using different edges when setting the same placement distance.
Check how sewing and decoration allowances combine. For example, a nominal 30 mm gap between the print and pocket could fall to 20 mm if the pocket moves 5 mm upward and the print moves 5 mm downward. These numbers are illustrative allowances for discussion, not StitchQuote specifications. Agree the actual tolerances with the manufacturer and verify that the smallest resulting gap still suits the decoration method. If it does not, increase the nominal clearance or establish tighter process controls before release.
After the agreed care trial, measure pocket corner heights, opening length and minimum artwork clearance again under the same flat, relaxed conditions. Checking body length alone can miss differential shrinkage between the pocket and front panel. Keep before-and-after photographs tied to the sample identifier, fabric reference and artwork revision so a later review can distinguish shrinkage from an original positioning error.
Build an order brief that makes cost drivers visible
For an illustrative enquiry covering 50 hoodies in one style, provide the size breakdown, intended fiber composition, target GSM, knit construction and finish alongside the placement diagram. A request for 320 GSM brushed fleece is more useful than “heavy cotton,” but it still needs a defined blend and an approved material reference. Equal GSM does not guarantee equal thickness, stretch or surface texture. Ask for substitutions to be identified before sampling, and confirm the proposed color and size allocation with the manufacturer.
List decoration dimensions, print colors, application locations and embroidery coverage separately. Artwork divided between the body and pocket may need separate positioning operations and additional alignment checks. Dense embroidery increases stitching time and can require backing that changes pocket comfort. Custom pocket shapes, extra reinforcement and branded trims also introduce sewing or sourcing requirements. Request a quotation against one defined specification so changes in cost can be linked to particular design decisions without assuming a standard price.
Use a documented release sequence: confirm materials and artwork, review the sewn and decorated sample, close measurement comments and approve the production reference. Ask for the first completed garments to be checked against the pocket-to-print measurements before the remaining run advances. During final inspection, insert a hand into each opening and check that decoration has not caught the pocket against the body. A clean exterior photograph alone cannot establish that the pocket remains usable.
Questions buyers ask at pocket-placement sign-off
Can we approve the pocket while artwork is still being revised?
You can approve its function and construction provisionally. Keep final placement approval open if artwork dimensions or application method may change, because those decisions can alter clearance and production sequence.
Should the graphic follow a slightly tilted pocket?
First check whether the pocket meets its approved sewing specification. Aligning artwork to a sewing error can make the complete front look worse and establish an unreliable production reference.
Is a paper artwork cutout enough for final approval?
A full-size cutout helps assess proportion and position. It cannot demonstrate seam coverage, embroidery distortion or pocket comfort. Use an applied sample for those decisions before approving production.
Does a small order remove the need for placement specifications?
No. A short run still needs repeatable instructions. StitchQuote’s MOQ for most categories starts from 50 pieces per style; confirm the hoodie project requirements and the placement evidence needed before ordering.
Related reading for your sample approval file
- Prepare a tech pack with clear placement references
- Review sampling and MOQ considerations
- Understand hoodie GSM and fabric weight
- Discuss your hoodie pocket and decoration brief
Request a manufacturing quote
Share your product type, quantity range, and destination. We usually reply within one business day.