Custom Streetwear, Casualwear & Denim Manufacturer•MOQ 50 pcs•Denim MOQ 100 pcs•7-Day Sample Available

What Factories Need Before They Can Price a Custom Hoodie Correctly
Understand custom hoodie quote information through fit, fabric, decoration, and production logic so streetwear and premium basics buyers can make cleaner development.

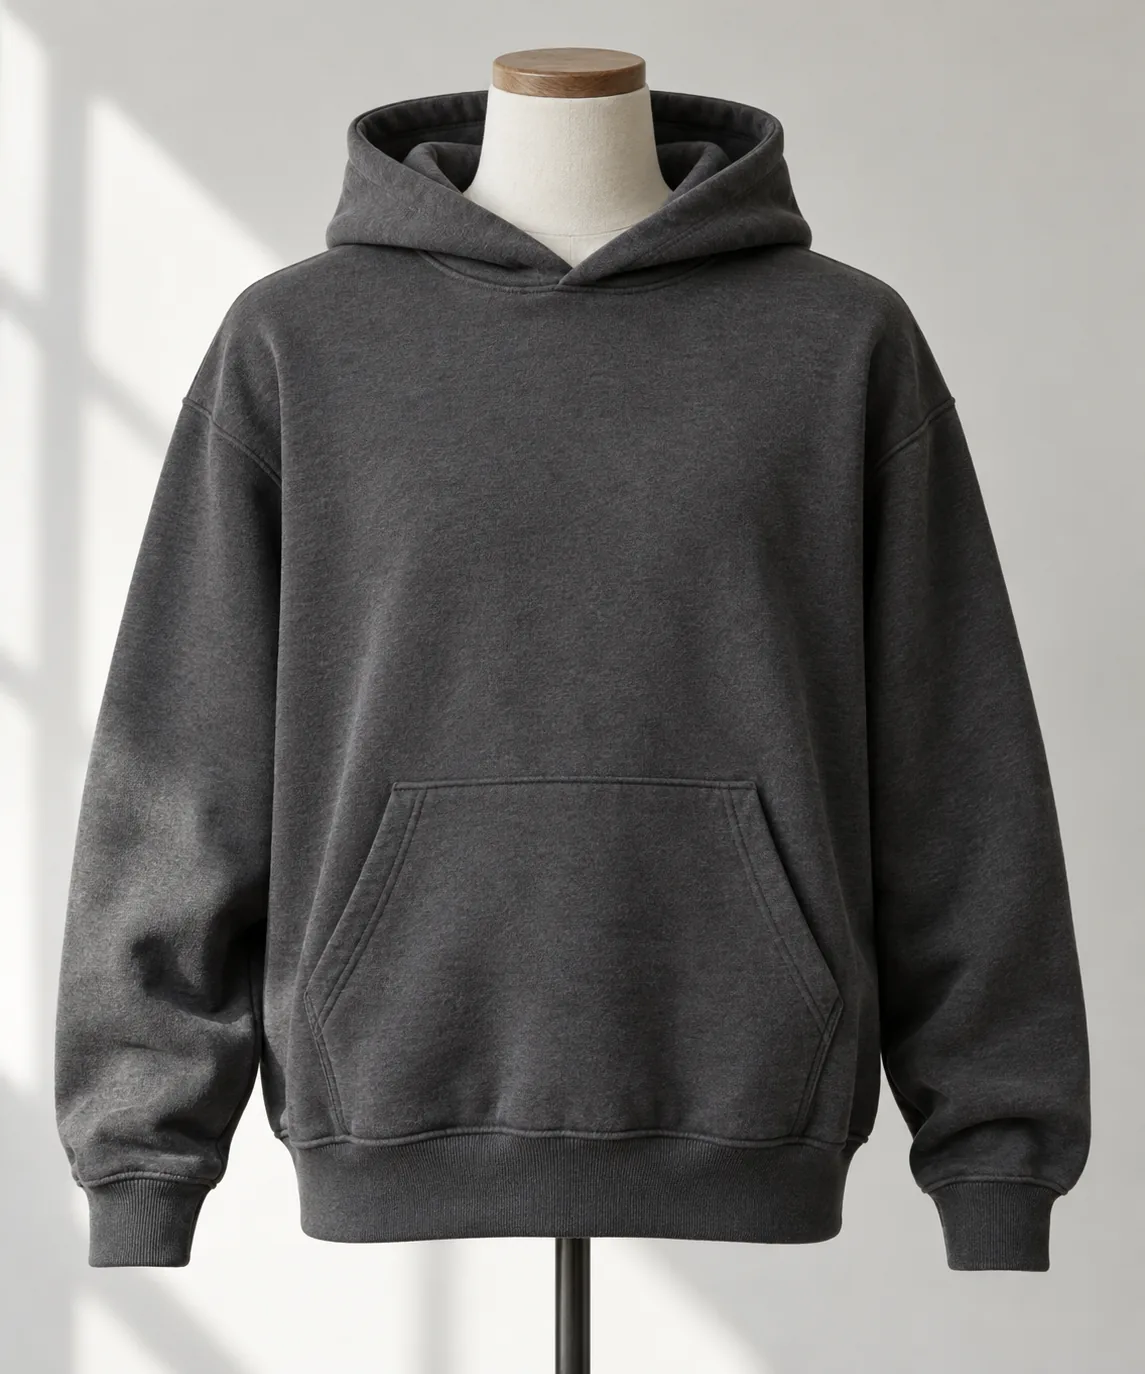
A hoodie reference photo can show the mood of a collection while leaving its most important pocket decisions invisible. Is the pouch centered on the body or on the artwork? Does its lower edge finish above the waistband or disappear into the joining seam? Those choices affect pattern pieces, sewing operations, decoration access and the reliability of a factory quotation.
Before requesting a price, turn pocket placement into a measurable instruction. The goal is to let every supplier cost the same garment, then make sample approval a check against that instruction. A useful brief explains where the pocket sits, how hands enter it, what supports the openings and which dimensions change across sizes.
Make the pocket drawing part of the quotation request
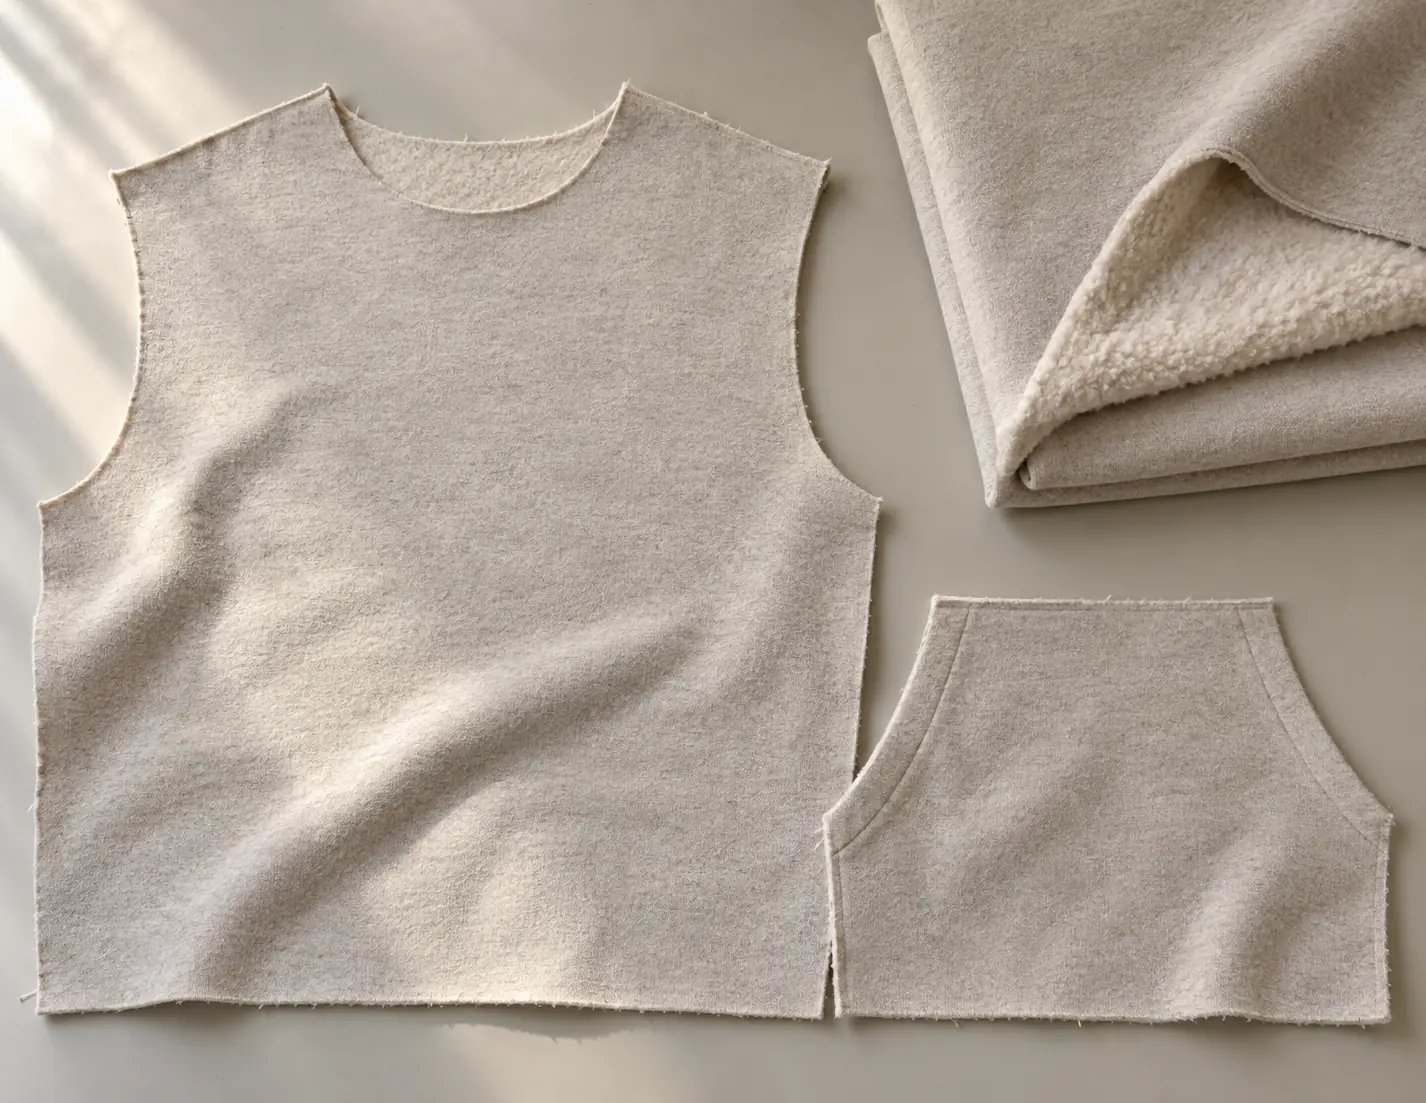
Start with front and inside views. Identify whether the design uses one applied kangaroo pouch, two separate patch pockets or concealed openings feeding into an internal bag. A zipper hoodie with two pockets needs a different placement plan from a pullover: the zipper becomes a visible alignment reference, and the two sides must match when it is closed.
Mark the attachment route as well as the outline. A pouch sewn onto a finished front panel requires its own bottom attachment seam; one caught into the waistband seam changes the assembly sequence and seam thickness. Neither instruction can safely be inferred from a dark product image.
Send the remaining commercial basics alongside the pocket sheet: order quantity by color and size, body fabric, rib specification, decoration method, labels and intended finish. Ask suppliers to list unresolved assumptions. If pocket construction remains undecided, request separately identified options so a simpler proposal does not appear cheaper merely because it omits the intended work.
Choose reference points that survive a sample revision
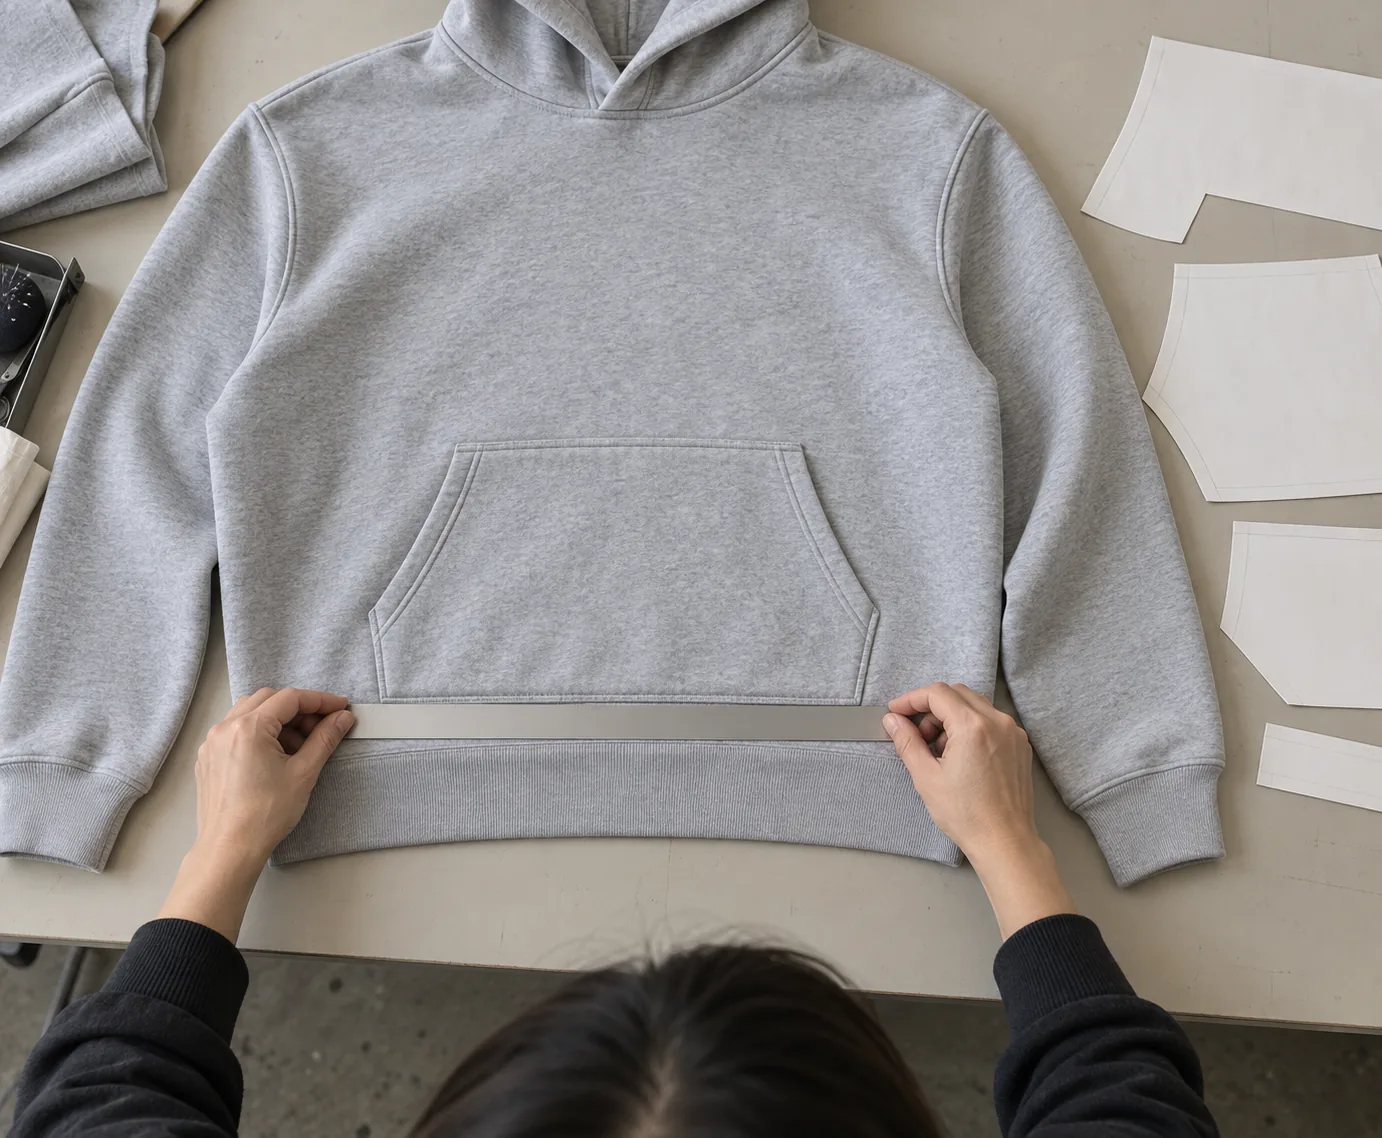
Specify placement on the finished garment, laid flat without stretching. For a centered pullover pouch, define its horizontal center relative to the body center front. Define its vertical position from a named reference, such as the waistband joining seam, rather than writing “slightly lower.” State whether measurements apply before or after the intended wash.
The following example illustrates a quotation sheet for one adult base size. These are proposed design values, not universal hoodie standards; approve dimensions and achievable tolerances through sampling.
| Item | Example instruction | Pricing relevance |
|---|---|---|
| Finished pouch outline | 34 cm wide, 20 cm high at center | Defines visible size; cutting size also needs seam allowances |
| Vertical position | Bottom edge 3 cm above waistband joining seam | Confirms a separately attached lower edge |
| Horizontal position | Pouch center aligned with body center front | Establishes the alignment inspection point |
| Hand opening | 16 cm along each finished slanted edge | Defines opening finish and reinforcement length |
Distinguish finished edges from stitch lines on the drawing. A measurement to the outer fold cannot be substituted for one to an inset topstitch line. If body length changes later, explicitly decide whether the pocket follows the waistband or retains its distance from the upper body. Otherwise, a fit correction can quietly become a pocket redesign.
Price the opening and reinforcement, not just the pouch outline
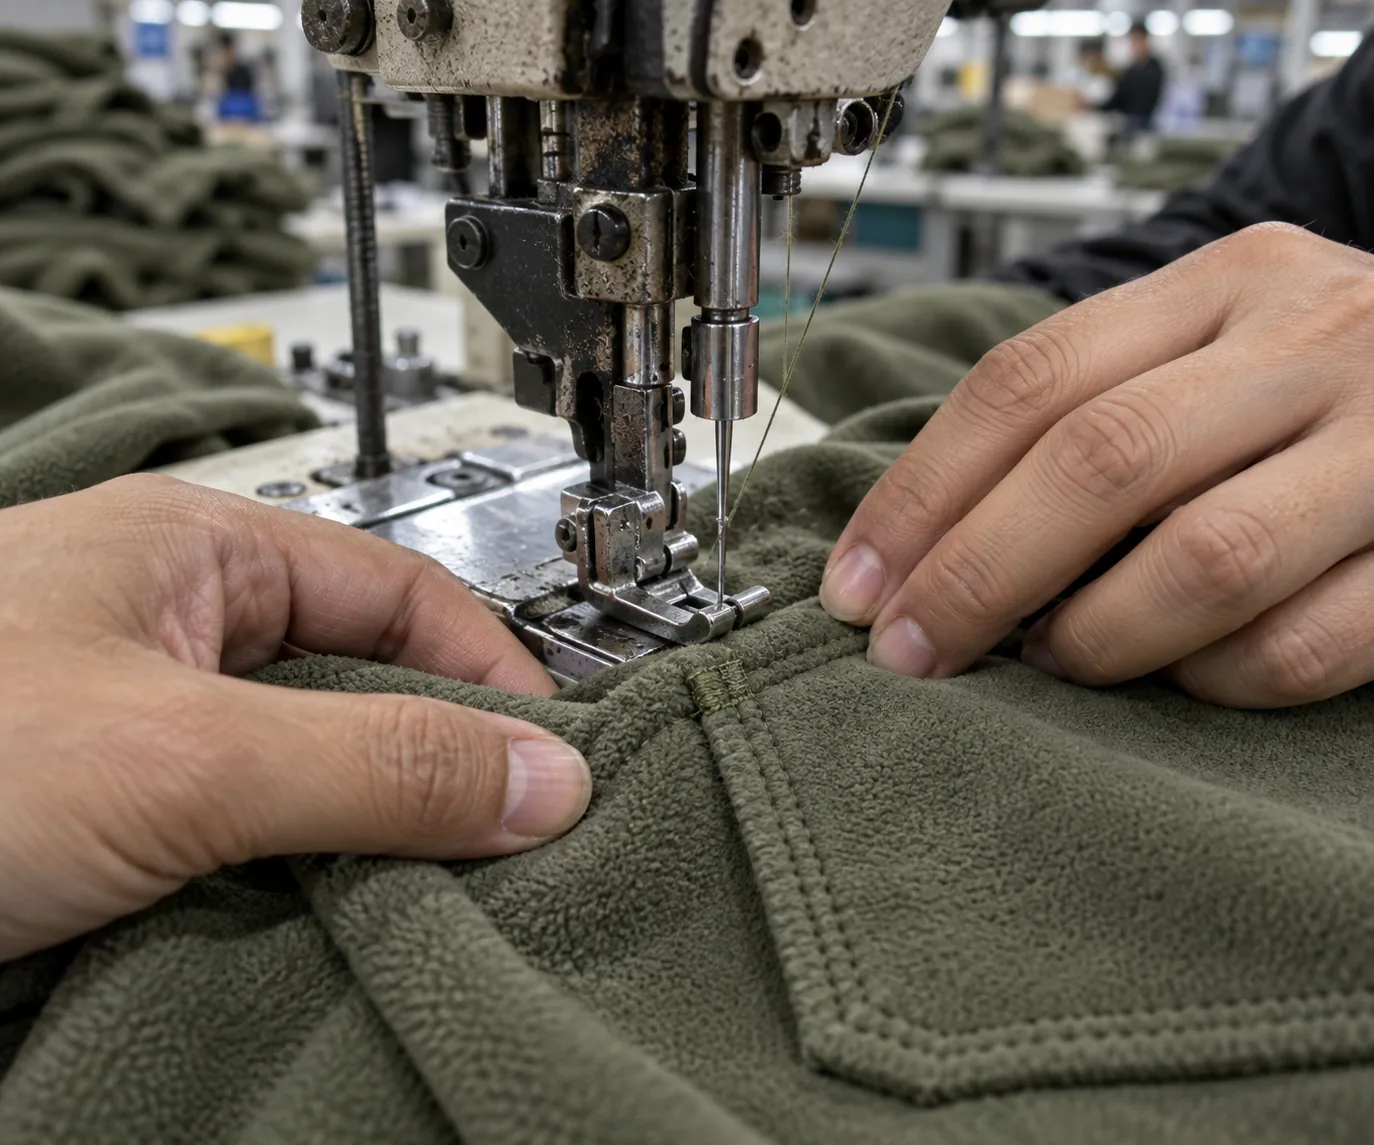
Two pockets with identical placement can require different labor. An opening with a simple turned edge differs from one finished with a separate facing, binding or rib strip. Provide a close view or cross-section showing the chosen finish, its finished width and the number of visible stitch rows.
Specify reinforcement at the points where hands pull against the opening. A bar tack, short backstitched section and stitched reinforcement patch are different instructions. Ask the factory to propose the stitch arrangement for the selected fabric, then approve its appearance and function on the sample. Excessively dense stitching can damage some fabrics rather than improve durability.
Include internal features in the first request. A phone compartment inside a kangaroo pouch adds a piece, an attachment operation and an access requirement. State its usable dimensions and opening position. If it is added after sampling, the original price no longer describes the same pocket. Request an updated quotation with the revised construction identified.
Resolve collisions with fabric behavior and decoration
Pocket position cannot be approved independently of the front graphic. A screen print that ends above the pouch needs a defined clearance; artwork crossing onto the pouch needs separate alignment and production planning. Embroidery through an already attached pocket may restrict access or accidentally close part of the pocket if the assembly sequence is not planned.
For example, a proposed 20 mm gap between a print and the pocket top is a design target, not a guarantee of visible separation. Print placement variation and pocket attachment variation both consume that gap. Ask the supplier to review their combined effect before approving a layout with very little clearance.
Fabric weight alone does not predict pocket behavior. A brushed fleece, compact jersey and loopback fabric at a similar weight can differ in stretch, thickness and edge stability. Confirm fiber composition, structure and intended finish. The supplier needs those details to assess whether the opening requires support and whether stacked layers will sew cleanly.
If the garment receives a wash, inspect placement afterward. Different shrinkage between a pocket, facing and body can produce puckering or a tilted appearance. Agree on the finished condition used for acceptance, and confirm that the sample materials represent the proposed bulk materials before treating the quotation as settled.
Use size grading to protect reach and proportion
Do not assume every pocket dimension should increase at the same rate as chest width. A wider body may need a wider pouch for visual balance, while the hand opening may remain unchanged over several sizes. A cropped silhouette may need a revised vertical position to keep the pocket from crowding the waistband.
Ask for a size-by-size placement schedule showing pouch width, center height, opening length and distance above the waistband seam. Where measurements remain constant, say so. This prevents a pattern grader from having to invent a rule that the buyer later rejects.
Review the smallest and largest offered sizes when the range or silhouette makes pocket access uncertain. Check that hands enter comfortably and that the pouch does not pull awkwardly when worn. For a zipper style, close the zipper before comparing the two pocket tops. Additional size samples should be included in the sampling scope rather than assumed to be covered by one base-size approval.
Turn sample comments into a pocket acceptance checklist
Record numerical corrections and keep an approved sample version. “Make it cleaner” is less useful than identifying a twisted opening, an offset center or uneven topstitching. Placement tolerances should describe what the factory must measure, not simply how the buyer wants the garment to look.
- Position: Measure from the agreed reference seam. As a discussion starting point, propose ±5 mm for vertical placement and confirm feasibility with the supplier.
- Balance: Check left-to-right symmetry separately. A proposed maximum 3 mm height difference between matching points is a distinct criterion from overall placement.
- Access: Check both openings and any internal compartment; confirm no attachment or decoration stitching obstructs them.
- Construction: Inspect skipped stitches, unsecured ends, corner reinforcement, raw-edge containment and puckering on the inside and outside.
- Finished condition: Recheck shape and dimensions after the agreed wash or care test, using the same flat measurement method.
These example tolerances require project approval; they are not stated StitchQuote production standards. Separate visual inspection from durability testing, and define any test method before relying on its result. StitchQuote provides QC before packing. For this project, supply the approved pocket sheet and checklist so the required inspection points are clear.
Questions buyers ask before releasing the pocket specification
Can a reference hoodie replace the measurement sheet?
It helps communicate shape and hand feel, but it may be worn, stretched or washed. Record which features to copy and which to change. Measure the reference under agreed conditions, then turn those measurements into a controlled specification.
Does moving the pouch always change the price?
A small move may leave sewing operations unchanged, but it can affect graphic clearance, assembly access or attachment to the waistband. Have the supplier confirm the effect against a numbered revision rather than carrying forward an earlier price automatically.
Can this pocket be checked in a seven-day sample?
StitchQuote offers a seven-day sample for standard styles with confirmed specifications and available materials. Complex styles, custom washes and custom-developed fabric take longer. Confirm the pocket construction and material availability before planning an approval date around that option.
What should accompany the final request for a quote?
Send the pocket drawing, size schedule, construction details, artwork placement and quantity breakdown with the complete garment specification. StitchQuote offers cut-and-sew, private label, sampling, fabric and trim sourcing, and branding including woven labels, prints and embroidery. MOQ for most categories starts from 50 pieces per style; confirm the proposed hoodie order details.
Related reading and project enquiries:
- Prepare an apparel tech pack
- Review sampling and MOQ
- Understand hoodie fabric weight
- Discuss your hoodie specification with StitchQuote
Request a manufacturing quote
Share your product type, quantity range, and destination. We usually reply within one business day.