Custom Streetwear, Casualwear & Denim Manufacturer•MOQ 50 pcs•Denim MOQ 100 pcs•7-Day Sample Available

How Many Details Should Be Approved Before Moving to Bulk Fabric
Learn approve before bulk fabric through a clearer factory-side view that helps brands reduce rework, align sample goals, and move toward approval with better timing.

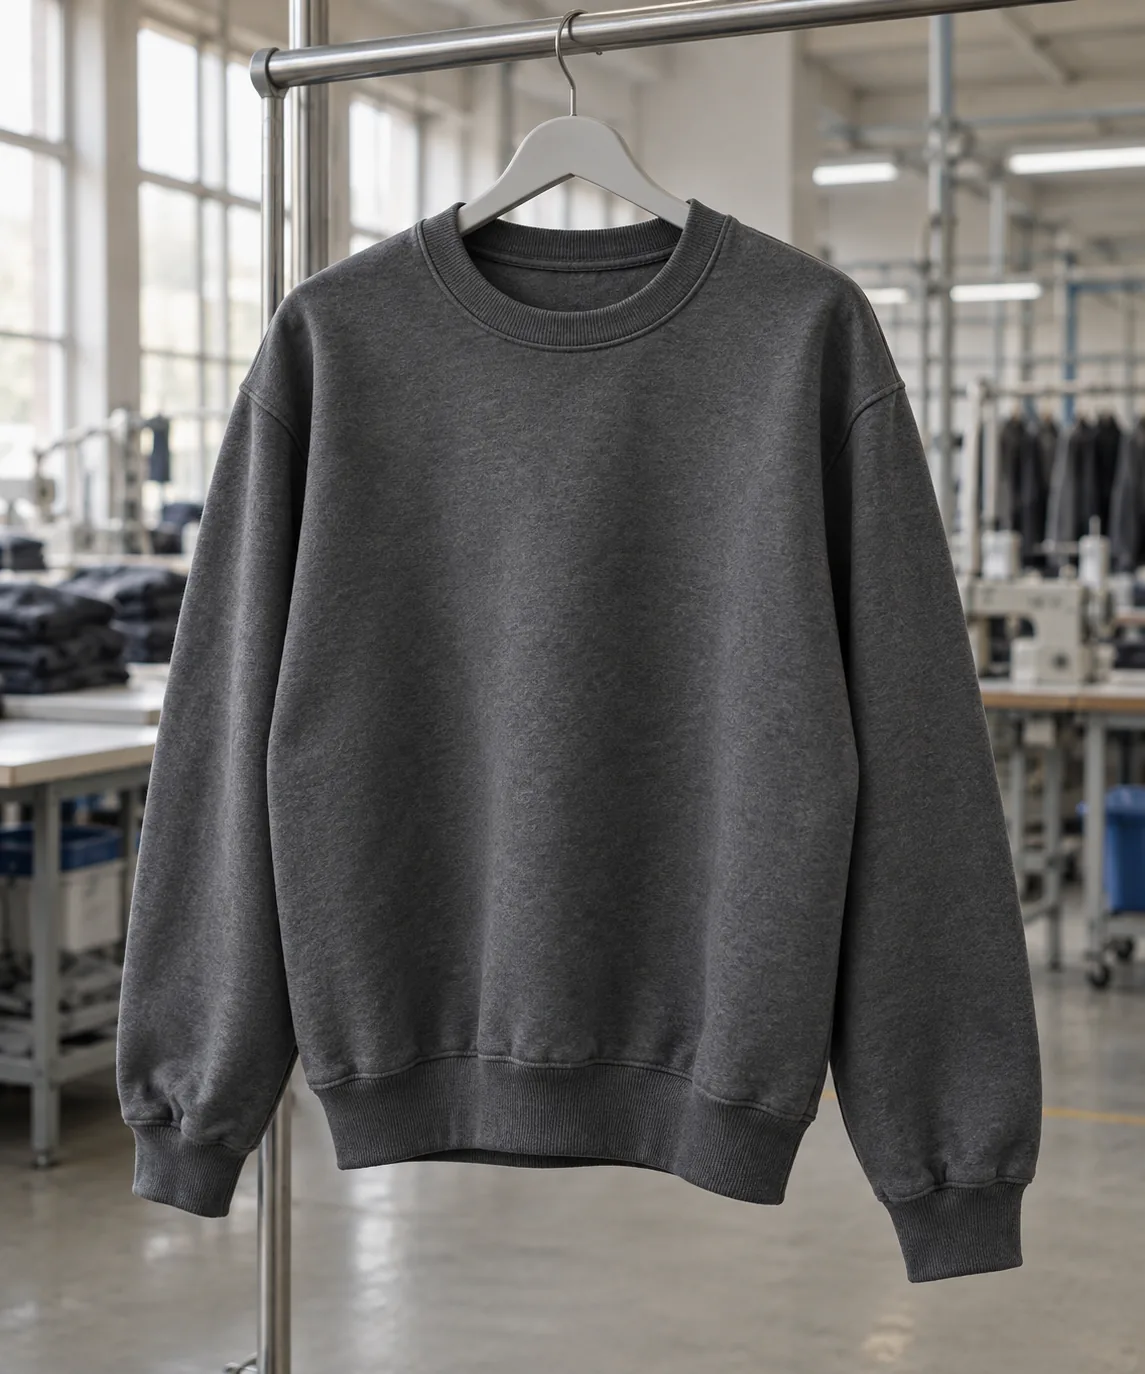
A sweatshirt can have the right body fabric and still feel wrong because its cuffs stretch out, its waistband pulls upward, or its neckline ripples after washing. Before committing to bulk fabric, treat rib as a separate material approval with its own construction, dimensions, recovery expectations, and relationship to the garment shell.
How many details need approval? For a practical rib-focused release, close seven approval groups: composition, knit construction, weight and thickness, stretch recovery, wash behavior, color compatibility, and attachment specifications. The number is a working framework, not a universal industry rule. Each group needs evidence tied to an identified sample, plus a written acceptance limit where measurement is possible.
Give every rib component its own material identity
Start with a component map: neckline, sleeve cuffs, waistband, and any rib inserts. Do not assume one rib can serve all four. A narrow jersey tee neckband needs a different balance of flexibility and support from a deep sweatshirt waistband. Even when components share a yarn blend, their finished dimensions and attachment requirements may differ.
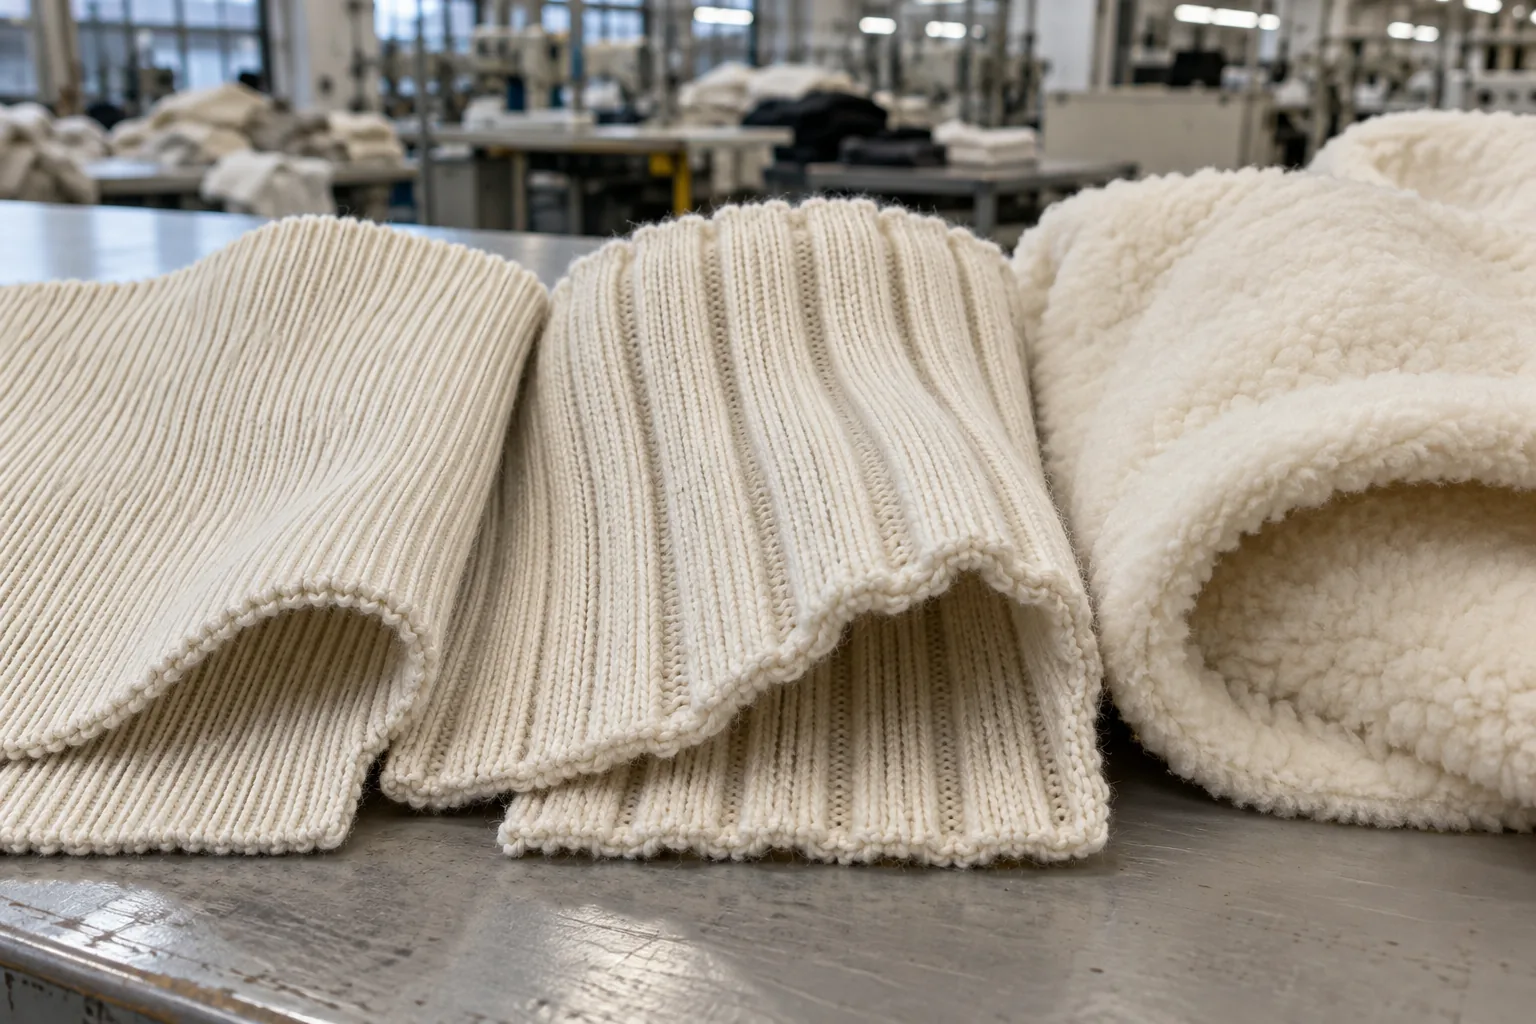
Record fiber percentages, elastane content if used, knit construction such as 1×1 or 2×2, color reference, supplier material code, and whether the material is tubular or open width. Specify usable width in the supplied form; confusing flat tubular width with opened circumference can distort consumption calculations. Keep a labeled physical swatch because a material code alone cannot communicate surface texture.
Approve weight and thickness separately. Two ribs with similar GSM can differ in bulk, compression, and edge definition. On a heavyweight fleece sweatshirt, a bulky cuff may produce an uncomfortable seam even if its weight seems appropriate. Conversely, a thin waistband may collapse beneath the shell. Select against the intended garment, not a rule that rib must always weigh more than body fabric.
Turn “good recovery” into a repeatable sample check
Stretch describes how far rib extends; recovery describes how well it returns. A loose cuff may stretch easily yet remain enlarged after the hand passes through. A firm cuff can recover well but feel restrictive. Approve both the required opening and the behavior after extension, using the same sample preparation each time.
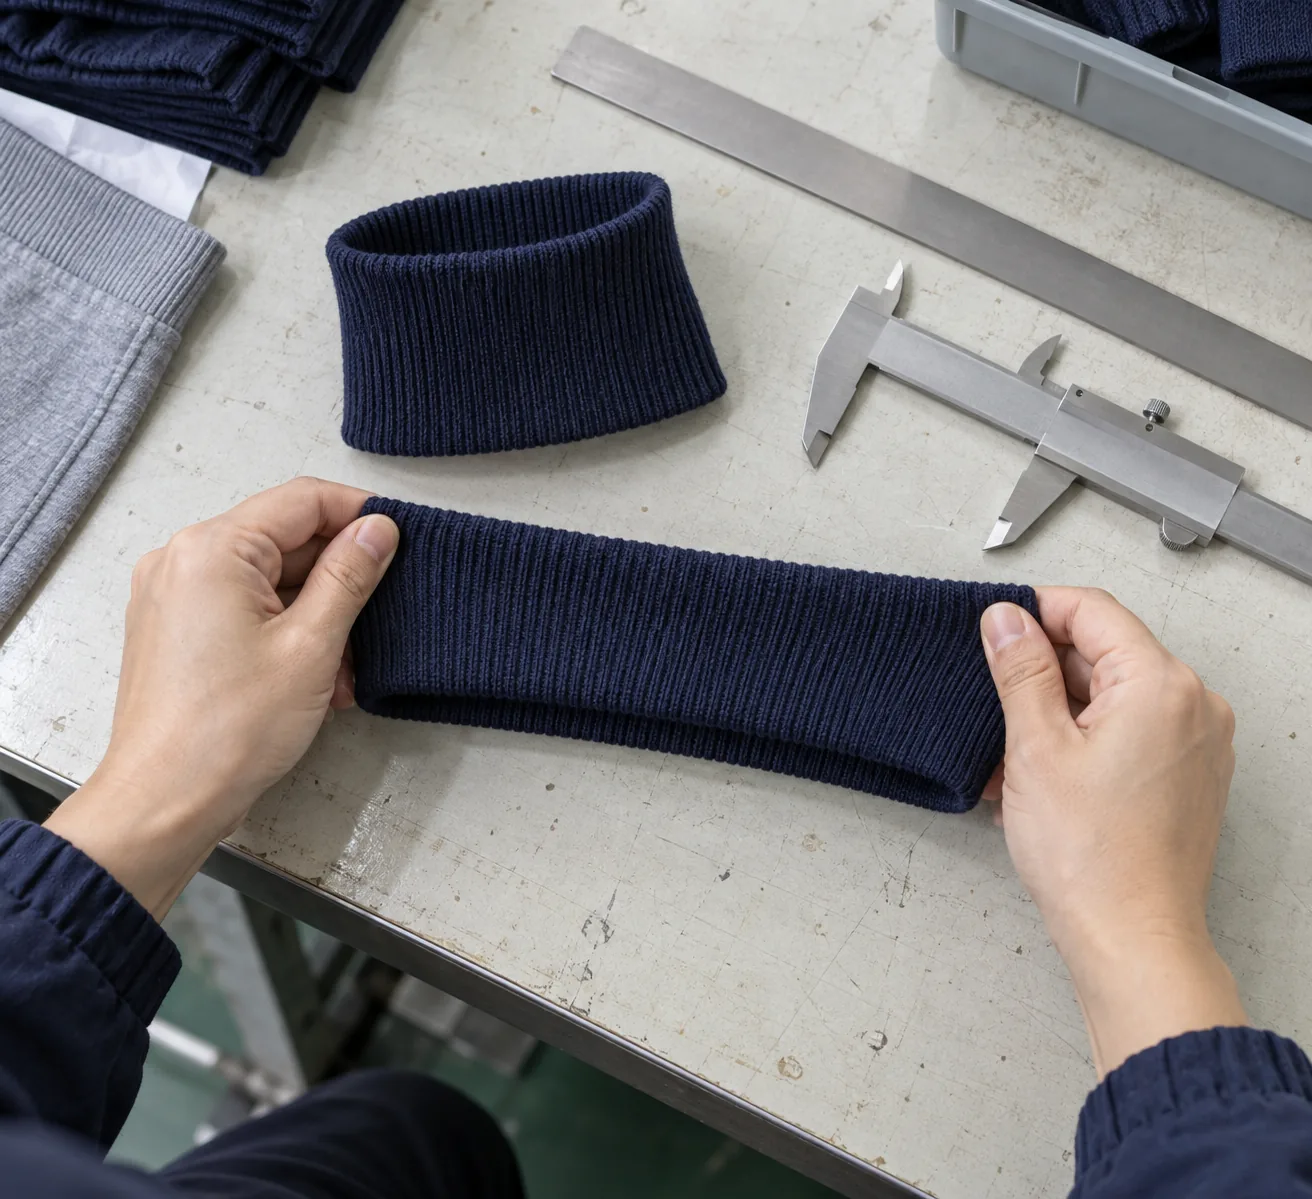
For a development comparison, mark a relaxed 100 mm span across the stretch direction. Extend it to an agreed length, hold for an agreed duration, release, and measure after a defined rest. For example, a buyer and supplier might compare five cycles to 150 mm with ten-second holds and a one-minute final rest. This is an illustrative screening method, not a certified test or a universal pass threshold.
If the final span measures 104 mm, residual growth is 4% of the original length. Agree the allowed growth and extension force for the project before judging results. Manual stretching without force control is useful for comparison but cannot establish equivalent resistance between materials. For formal requirements, ask the supplier or test laboratory to identify an appropriate test method and report its conditions.
Repeat the comparison after the intended wash and drying route. Also try the sewn cuff on the relevant fit model: a flat strip cannot reveal whether the seam restricts entry or whether a folded cuff feels excessively tight.
Approve the rib-to-shell relationship on a sewn junction
A standalone swatch does not establish how rib behaves once attached. Request a sewn junction using the proposed shell, rib, seam allowance, stitch type, and thread. For a crewneck, this can be a neckline mock-up; for a sweatshirt hem, use a sufficiently long section to reveal gathering and seam waviness.
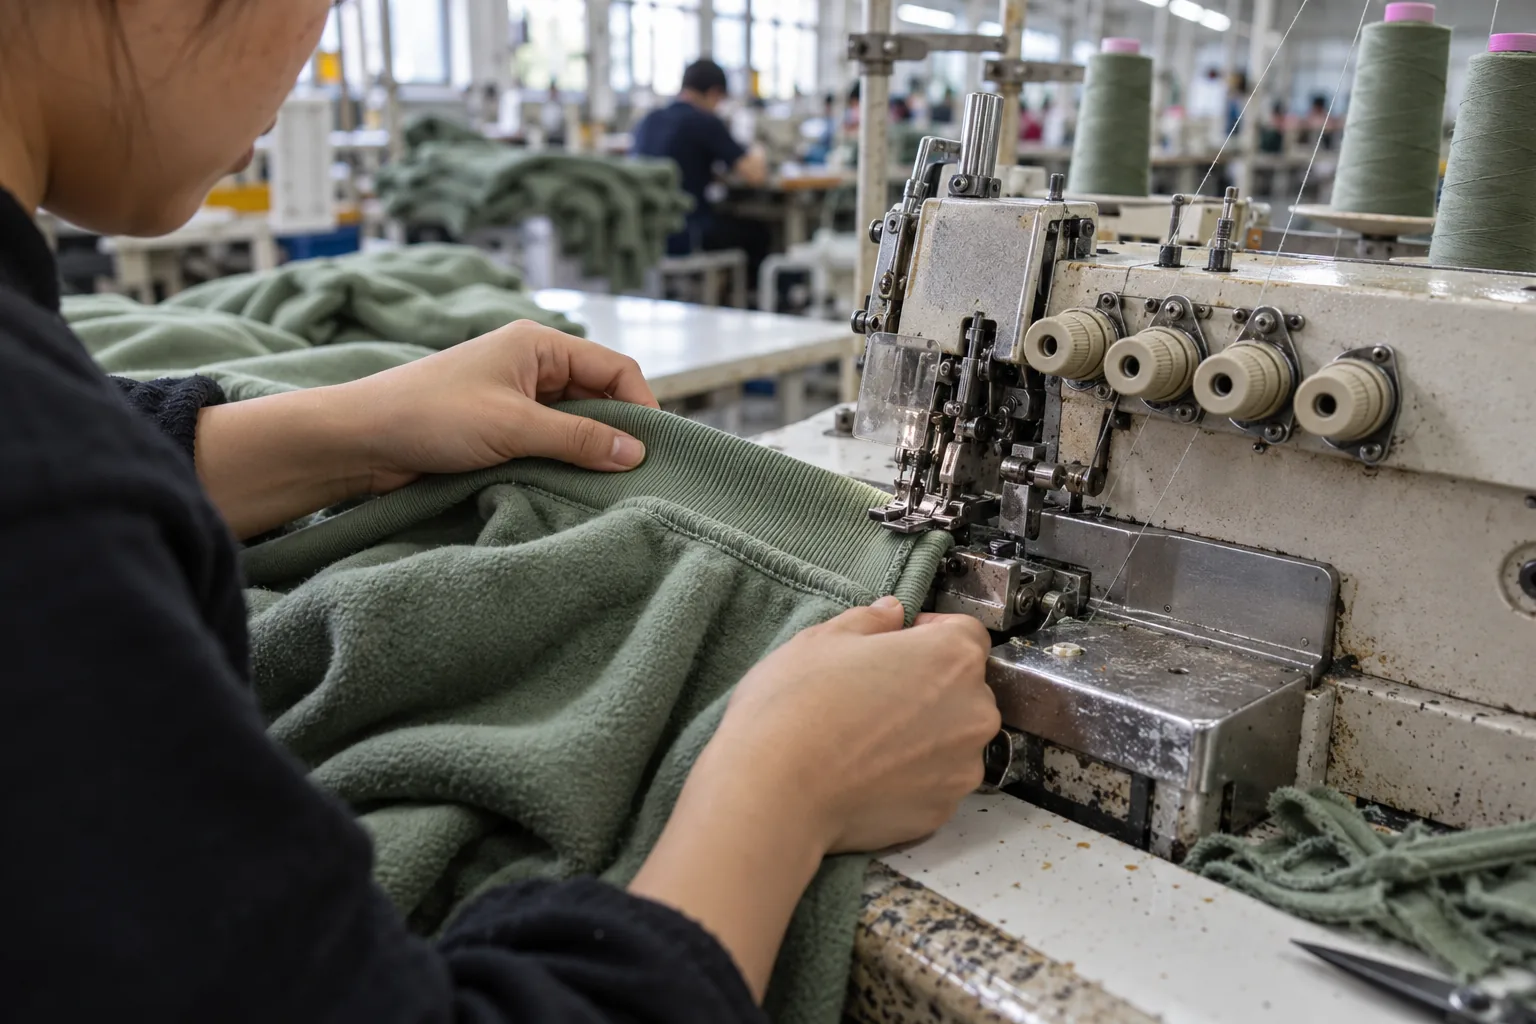
Record the rib seam-line length relative to the shell opening seam-line length. If a trial uses 450 mm of rib around a 500 mm opening, its ratio is 90%. That example is arithmetic, not a recommended ratio for every neckline. Construction, stretch resistance, opening geometry, and desired gathering determine the working value. Exclude seam allowances consistently when calculating it.
Confirm finished band depth, fold position, joining-seam placement, seam allowance, stitch density, and feeding settings that produced the approved appearance. Check for skipped stitches and seam cracking during extension. A seam that looks neat while relaxed can fail when the wearer pulls the cuff over a hand.
Evaluate relaxed appearance and worn balance. A waistband that pulls the body into an unwanted blouson shape may need a pattern adjustment rather than softer rib. Record whether the accepted solution changed material, band length, or sewing setup so production does not recreate an earlier combination.
Close seven approval groups before authorizing material volume
Use a compact release sheet to separate material selection from permission to commit volume. The following groups cover rib quality without turning every comment into a separate approval gate. Assign an owner and revision date to each entry; an unanswered item stays open even if the overall sample looks acceptable.
| Approval group | Evidence to retain | Decision to record |
|---|---|---|
| Composition | Fiber specification and material identity | Accepted blend and substitution restrictions |
| Knit construction | Labeled swatch and supply format | Structure, usable width, and component assignment |
| Weight and thickness | Measurements and sewn comparison | Target values and project tolerances |
| Stretch recovery | Before-and-after readings | Method, extension, and residual-growth limit |
| Wash behavior | Washed swatch and garment measurements | Care route and dimensional limits |
| Color compatibility | Paired shell and rib color references | Accepted relationship before and after washing |
| Attachment | Approved sewn junction or garment | Band dimensions, ratio, and seam specification |
Distinguish permission to order material from approval of the delivered production lot. Development evidence supports the first decision; incoming verification supports the second. If ordering must happen before a check is complete, document the specific unresolved point and who accepts the exposure. Avoid a blanket “approved” message that obscures what was actually reviewed.
Make washing and shade checks a paired exercise
Wash shell and rib together under the proposed care instructions, then measure each component after the same drying and relaxation conditions. Record lengthwise and widthwise change separately. A rib band can shrink less than the body and leave a flared edge, or shrink more and create excessive gathering. An acceptable standalone shrinkage result does not guarantee an acceptable garment.
For example, if a 200 mm reference span becomes 192 mm, shrinkage in that direction is 4%. Treat this as a calculation example, not a pass limit. Set acceptable dimensional change and finished-garment tolerances around the style’s fit requirements. Include the number of wash cycles because first-wash behavior may differ from repeated-care behavior.
Assess shade with shell and rib touching, both flat and folded as worn. Different textures can appear different even when dyed toward the same reference. Agree whether the design requires a close match or deliberate tonal contrast. Check under agreed daylight and retail-type lighting, and retain the accepted pairing. Recheck after washing for unequal fading, staining, or a changed contrast.
Use incoming QC to protect the approved rib standard
Before cutting, compare the production rib with the retained approval reference. Sample across delivered rolls and dye lots using an agreed inspection plan; a single clean cutting cannot represent an entire delivery. Keep roll and lot identities connected to the garments they enter so a mismatch can be isolated.
- Identity: Verify the material code, declared composition, construction, color, and supply format against the release sheet.
- Dimensions: Measure usable width, weight, and cut-band dimensions under the agreed relaxed conditions.
- Surface: Look for dropped stitches, holes, uneven rib columns, barré, stains, and edge damage.
- Performance: Repeat agreed recovery and wash checks on production material, retaining the results with lot references.
- Assembly: Check an initial sewn garment for opening size, seam extension, twisting, waviness, and finished band depth before continuing.
Write measurable limits where they matter. A proposed finished cuff-depth tolerance of ±3 mm, for example, should be confirmed for the design and measurement method rather than copied automatically. If a lot fails an agreed requirement, hold the affected material, identify its scope, and review corrective options before cutting. Changing the attachment ratio to disguise weak recovery needs fresh approval.
Questions buyers ask when rib approval holds up release
Can one rib approval cover every garment color?
It can establish the base construction, but it does not approve every shade pairing. Review each rib-and-shell color combination, and confirm whether dyeing or finishing changes affect hand feel or recovery. Keep color acceptance separate from the shared material specification.
Can a stock rib be substituted after sampling?
Only after checking the properties the original sample established. Match construction, thickness, recovery, wash behavior, and color, then verify the sewn result. A visually similar stock option can change neckline tension or cuff comfort enough to require a revised pattern.
Does a seven-day sample include custom rib development?
StitchQuote offers a seven-day sample for standard styles with confirmed specifications and available materials. Complex styles, custom washes, and custom-developed fabrics take longer. Confirm rib availability before treating that sample window as the development schedule.
Does a small garment order remove material approval steps?
No. StitchQuote’s MOQ for most categories starts from 50 pieces per style; denim starts from 100 pieces per style. Confirm material sourcing constraints per project. StitchQuote provides sampling, fabric and trim sourcing, cut-and-sew, private label, branding, and QC before packing; agree the rib checks within the project brief.
Related reading and project support:
- Document component specifications in your tech pack
- Plan sampling and minimum quantities
- Compare hoodie fabric weights
- Discuss your rib approval requirements with StitchQuote
Request a manufacturing quote
Share your product type, quantity range, and destination. We usually reply within one business day.