Custom Streetwear, Casualwear & Denim Manufacturer•MOQ 50 pcs•Denim MOQ 100 pcs•7-Day Sample Available

Private Label vs White Label Clothing: MOQ, Branding, and Margin
Compare private label vs white label clothing through brand control, MOQ, sampling workload, speed to market, and the margin trade-offs buyers often miss.

Comparing private label vs white label clothing starts with the supplier quote, but it should end with the cost of putting a sellable garment into your warehouse. A lower unit price can disappear into relabeling, freight, import charges, defects, or stock that only sells at a discount.
For brand buyers approving a first purchase order, the useful question is which route produces the healthier margin under realistic sales conditions. Build both options around the same destination, quality requirements, size mix, and delivery window before deciding how much customization to fund.
Define the delivery boundary before comparing prices
White label generally describes an existing garment offered for sale under different brands. Private label generally involves production for a particular brand, potentially with specified fit, fabric, construction, and branding. Suppliers use these terms differently, so neither label tells you exactly what a quote includes.
Ask for a written scope covering the base garment, decoration, sewn labels, packaging, inspection, and delivery responsibilities. Confirm whether the price stops at the factory, includes transport to a port, or covers further delivery stages. Record the named location and agreed Incoterm; a shipping label alone is not a complete allocation of costs.
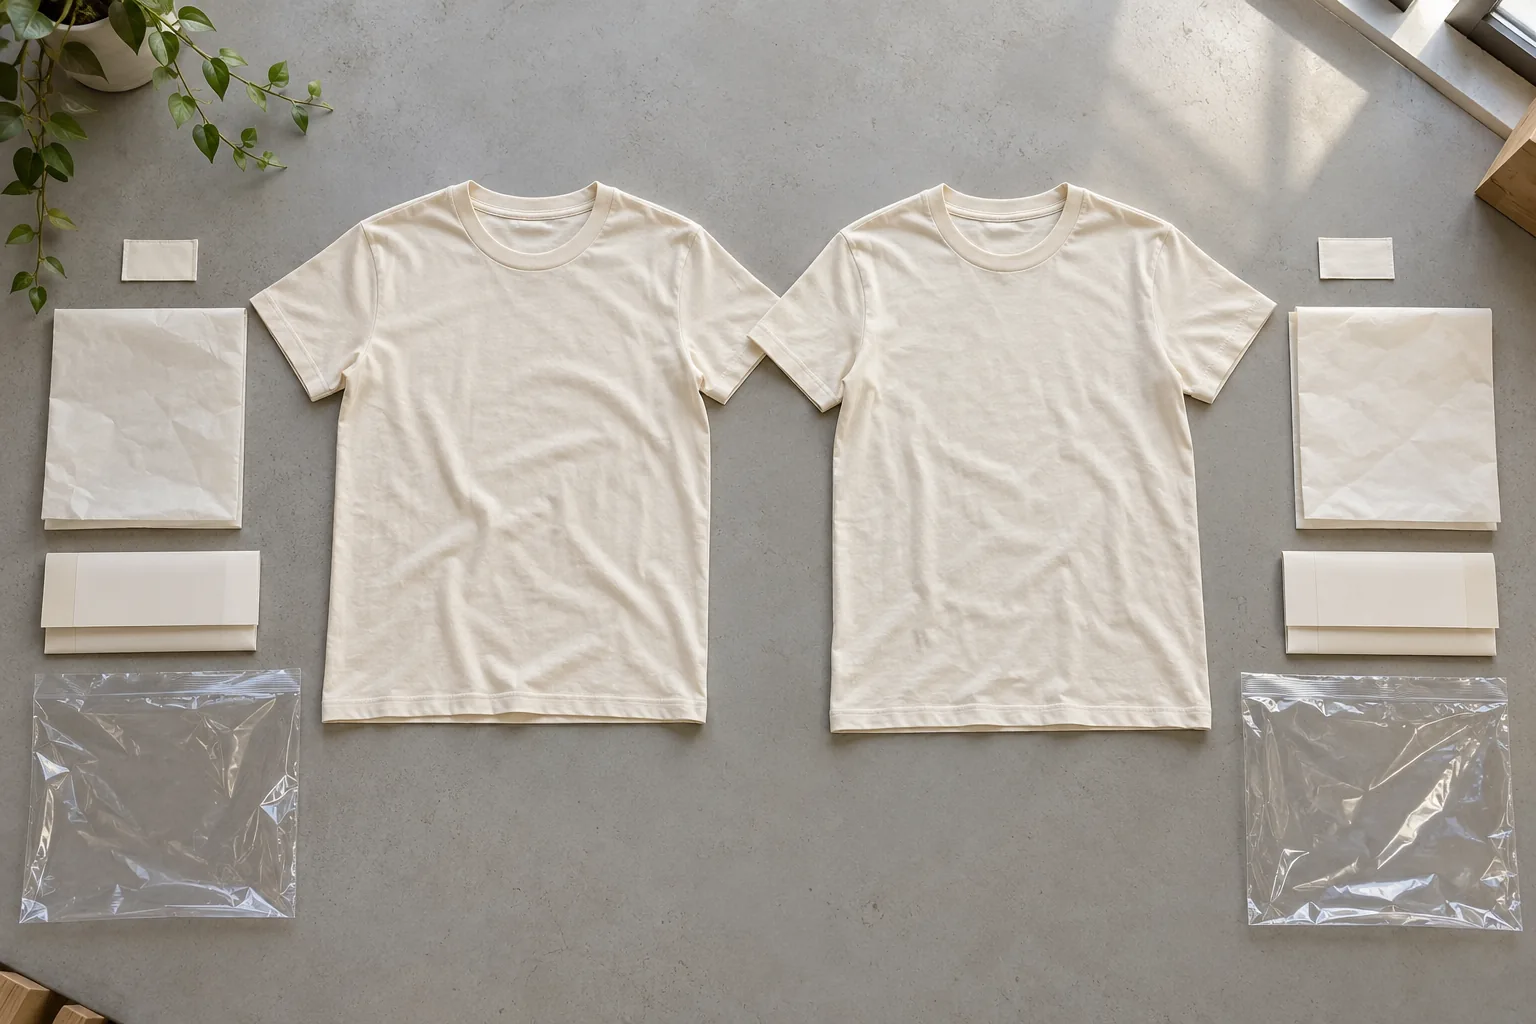
For example, an existing jersey tee might need its original neck label removed and a new label sewn in. A custom tee might include that operation in production. Treat the extra handling as a cost difference, even if both finished products carry identical branding.
Build a landed-cost sheet with a sellable-unit denominator
Use one costing sheet for both routes. Keep development spending visible rather than hiding it inside a vague contingency. The following buckets make omissions easier to spot:
| Cost bucket | What to confirm |
|---|---|
| Goods and branding | Garment, labels, decoration setup, application, and packaging |
| Development | Samples, revisions, pattern work, and sample shipping where charged |
| Transport | Origin handling, freight, insurance, and destination delivery |
| Import clearance | Duty, brokerage, and nonrecoverable taxes or fees |
| Receiving and correction | Warehouse intake, inspection, and expected rework |
Landed cost per sellable unit = total attributable costs to warehouse receipt ÷ units available for sale. Track development separately in the sheet, then show a launch-cost view that allocates it to the first order. This prevents a repeat-order calculation from disguising first-launch spending.
As an illustrative assumption, receiving 120 garments does not mean you have 120 units to sell. If six are reserved for photography and customer service and four require repair, only 110 are immediately sellable. Use that quantity for the initial availability calculation, then update it when repairs are accepted.
Ask a broker to confirm classification, origin treatment, and destination charges. Recoverable import taxes may belong in the cash requirement rather than the final expense total; confirm treatment with your accountant.
Translate MOQ into inventory exposure
Minimum order quantity matters because it commits cash before demand is proven. At StitchQuote, MOQ for most categories starts from 50 pieces per style; denim starts from 100 pieces per style. Confirm the actual project minimum and how colors, sizes, fabrics, and trims affect the order.
Do not assume a style minimum guarantees every requested color split. A garment order can also depend on material or trim purchasing requirements. Ask whether unused custom labels or fabric remain yours, whether storage is available, and whether any balance must be paid upfront.
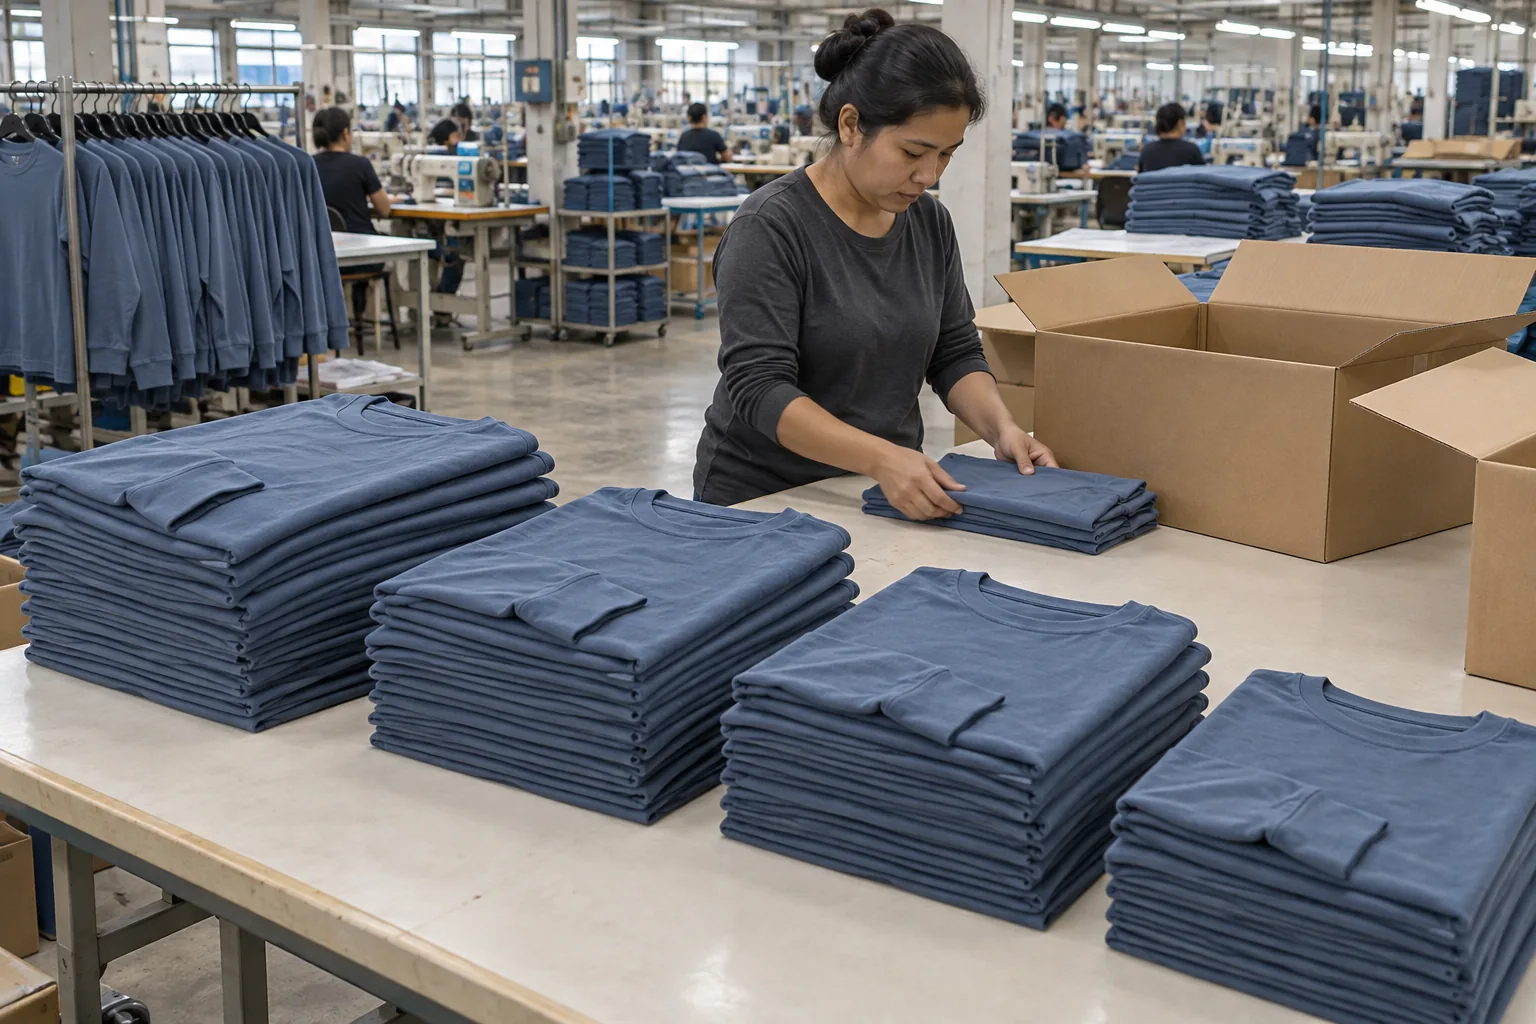
Consider a launch centered on one relaxed-fit long-sleeve tee. Adding three colors may create more slow-moving size combinations than spending the same development budget on one consistent fit. Compare expected full-price sales and clearance units for each assortment, rather than assuming a larger order earns a better outcome.
Approve customization against its total cost consequence
Separate changes customers can recognize from changes that mainly add operations. A distinctive sleeve proportion might support your product positioning. A special packing insert may add purchasing, assembly, and carton volume without improving the garment experience. Neither is automatically worthwhile; assess each against the intended selling price and sales channel.
For every proposed change, request its unit-cost effect, one-time charges, minimums, and schedule impact. Embroidery can require setup and placement approval. A fabric substitution can change shrinkage behavior and trigger another fit review. Extra packaging can raise freight costs if it increases shipment volume.
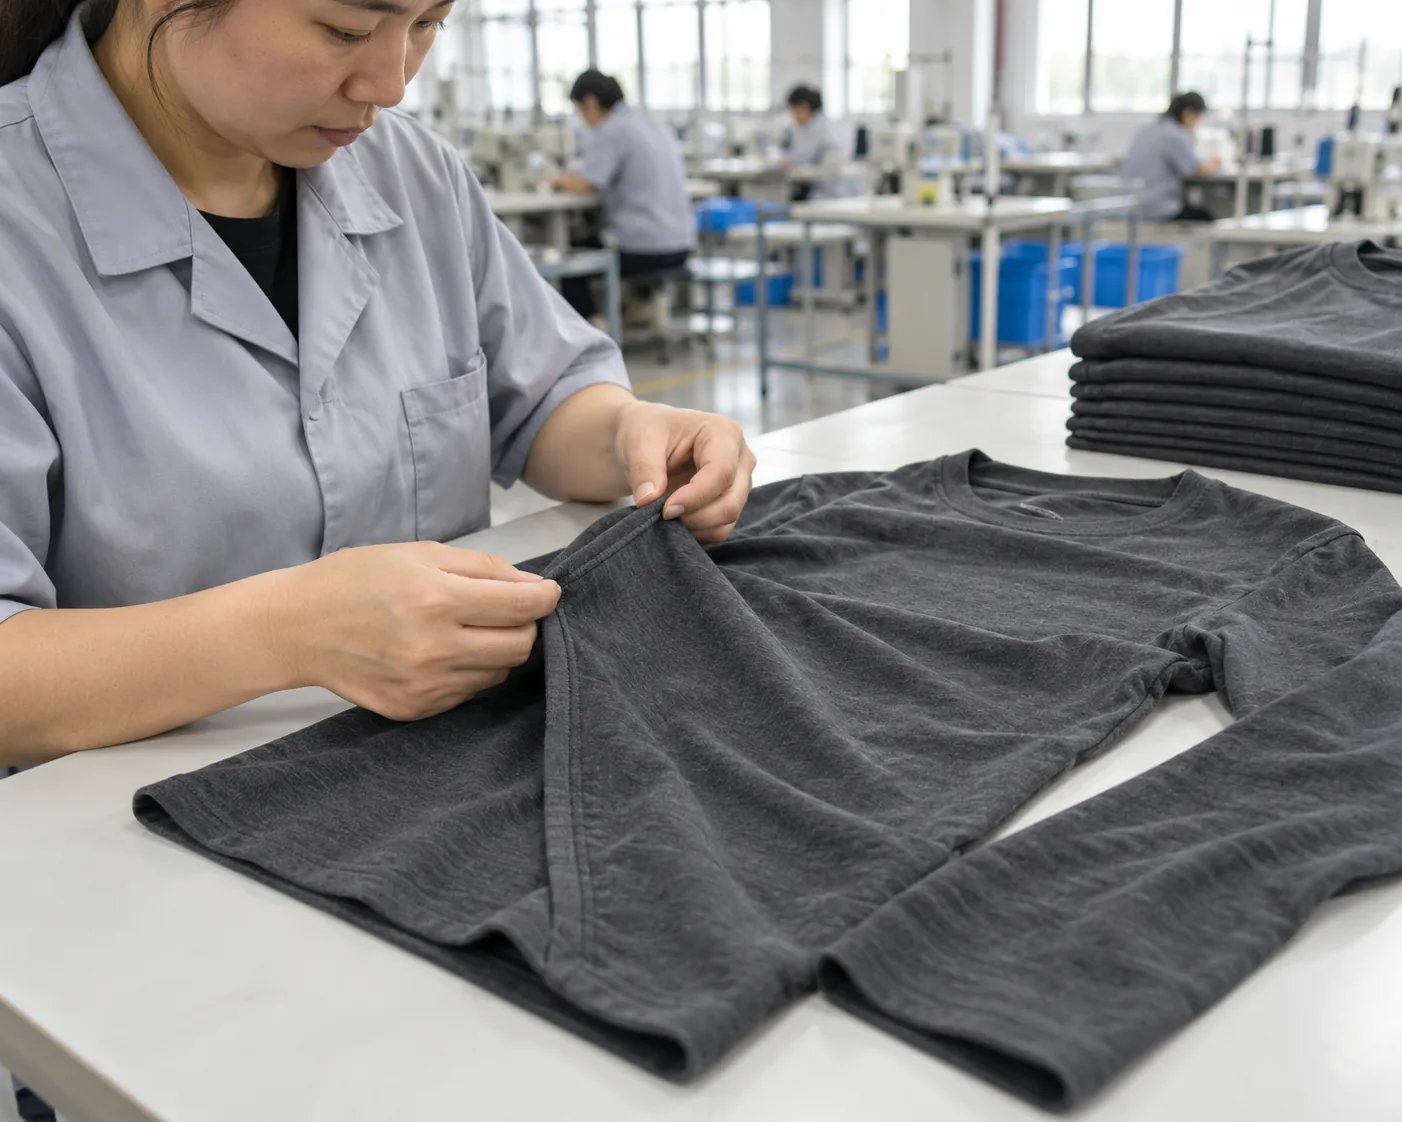
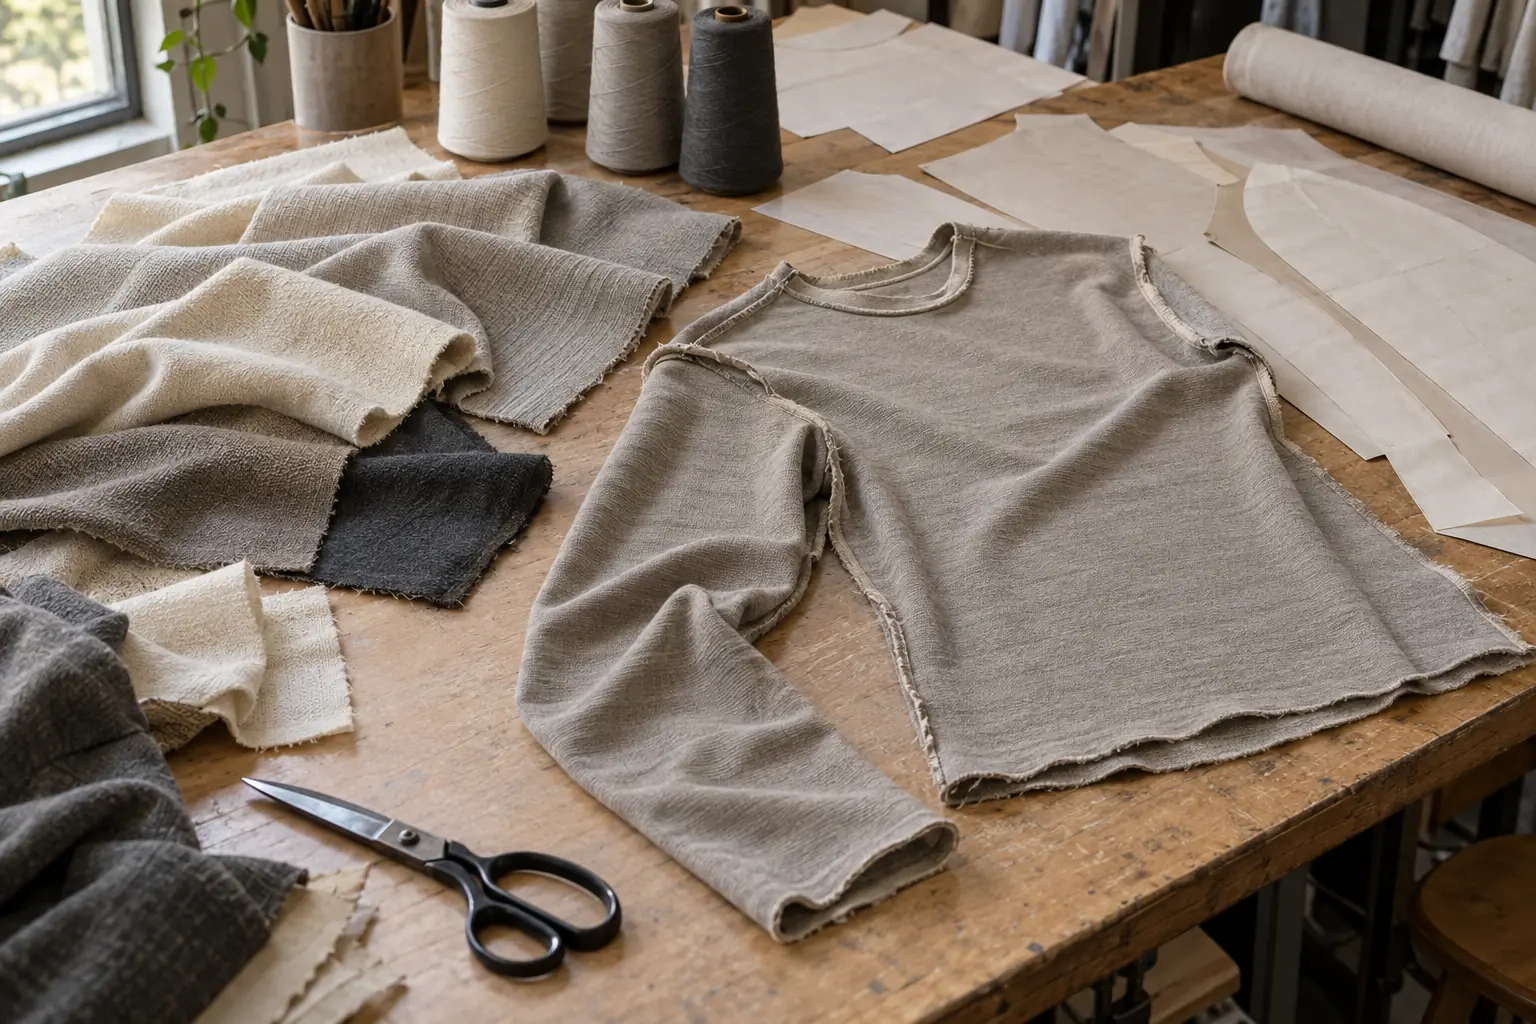
StitchQuote provides cut-and-sew, private label, sampling, fabric and trim sourcing, branding through woven labels, prints, and embroidery, and QC before packing. A 7-day sample is available for standard styles with confirmed specifications and available materials. Complex styles, custom washes, and custom-developed fabrics take longer. Sample timing should not be treated as the bulk delivery promise.
Specify measurable fit and fabric requirements before sampling
A comparable tee quote needs more than a size name and a reference photograph. Define half-chest width with the garment laid flat, body length from the high shoulder point to the hem, shoulder width between seam intersections, and sleeve length from the shoulder seam to the cuff. State whether ribbing is included in each measurement and show the measurement paths on a sketch. A dropped shoulder changes the meaning of sleeve length, so use the same method for both an existing blank and a custom sample.
Set tolerances by measurement point rather than applying one allowance to the entire garment. As an illustrative buyer specification, you might propose plus or minus 1 cm for half-chest and body length, with plus or minus 0.5 cm for neck-rib depth. These are negotiation examples, not StitchQuote acceptance standards. Confirm that the factory can achieve the proposed limits with the selected fabric and construction, then record the agreed values before bulk cutting.
Specify fabric composition, knit structure, finish, and target GSM, meaning grams per square meter. For a hypothetical jersey tee, compare a 180 GSM option with a 220 GSM option while holding composition and construction constant. The heavier option may change drape, material consumption by weight, and packed shipment weight; GSM alone does not establish softness, opacity, or durability. Ask for swatches and record an agreed weight tolerance instead of accepting descriptions such as “premium cotton” as a complete material specification.
Measure the sample before and after washing according to the proposed care instructions, using the same measurement method and drying conditions. Calculate dimensional change as the original measurement minus the washed measurement, divided by the original measurement, multiplied by 100. A body length moving from 70 cm to 68.6 cm represents 2% shrinkage. Review twisting, neckline recovery, print appearance, and seam puckering alongside the numbers; an acceptable length result does not resolve a visibly distorted garment.
Turn a trial order into a traceable approval sequence
For a hypothetical 50-piece, single-color tee order, a buyer could propose 10 small, 20 medium, 15 large, and five extra-large units. This is a planning example subject to confirmation of the project minimum and size split. Put those quantities beside the size chart, fabric specification, label artwork, and packing instructions so that sourcing and costing refer to one revision of the order.
First, confirm material availability and the quoted scope. Next, review the sample for fit, construction, and branding, recording each requested correction against a specific measurement or photograph. Approve a dated specification and reference sample once the revisions are resolved. Before production, confirm whether any unresolved change requires another sample and who authorizes substitutions; a similar-looking fabric can behave differently after washing.
Before packing, request inspection results tied to the approved revision, with measurements identified by size and defects documented clearly. Agree whether checks cover every piece or a defined sample, and how a failed check triggers sorting, repair, or further inspection. Reconcile accepted quantities against the size assortment before updating the sellable-unit denominator in the cost sheet. This makes a shortage in a key size visible even when the total shipment quantity appears close to plan.
Use a pre-packing checklist to protect the cost estimate
A spreadsheet assumes the delivered goods match the approved product. Turn that assumption into agreed checks before production, including which measurements, tolerances, and appearance standards govern acceptance.
- Fit and construction: Verify key measurements against the approved specification and check seams, hems, and stress points.
- Fabric performance: Agree suitable wash and shrinkage checks for the material and intended care instructions.
- Branding: Confirm label content, placement, print appearance, and embroidery execution against approved references.
- Order accuracy: Reconcile style, color, and size quantities with the purchase order and packing list.
- Shipping readiness: Confirm packing method, carton quantities, dimensions, and weights before final freight booking.
- Exceptions: Document how rejected pieces, repairs, shortages, and any repeat inspection will be handled.
Pre-packing QC helps identify problems before freight is spent on them. It does not replace clear acceptance criteria or establish a guaranteed zero-defect shipment. Keep any expected correction allowance visible until inspection results justify revising it.
Stress-test margin before releasing the purchase order
Landed cost is only one input to profit. Build a second view that subtracts payment fees, fulfillment, outbound shipping subsidies, returns, and other channel costs from expected net sales revenue. Avoid calling the remainder profit before marketing and overhead are accounted for.
Run a base case and a downside case. In the downside case, increase freight, reduce full-price sell-through, and add a realistic return assumption. Use your own history where available; otherwise label the inputs as planning assumptions. The preferred production route should still leave enough cash to operate if launch sales arrive slowly.
Questions to settle during quote approval
Should sample costs sit entirely on the first order?
Show them in the first-launch cash budget. You can also model allocation across repeat orders, but keep that scenario separate until reorders are credible. Confirm whether any sample charges are credited rather than assuming they will be.
Does an existing garment always cost less to land?
No. Relabeling, local decoration, additional handling, and separate shipments can offset a lower garment price. Compare the finished, received product using the same costing boundary.
What changes when the second order repeats the first?
Some development charges may disappear, while fabric availability, freight, minimums, and quality expectations still need confirmation. Obtain a fresh quote rather than applying the first order’s margin automatically.
Related reading and project planning
- Prepare the specifications behind a comparable quote
- Review sampling and minimum order planning
- Explore hoodie manufacturing cost inputs
- Discuss your garment scope with StitchQuote
Request a manufacturing quote
Share your product type, quantity range, and destination. We usually reply within one business day.