Custom Streetwear, Casualwear & Denim Manufacturer•MOQ 50 pcs•Denim MOQ 100 pcs•7-Day Sample Available
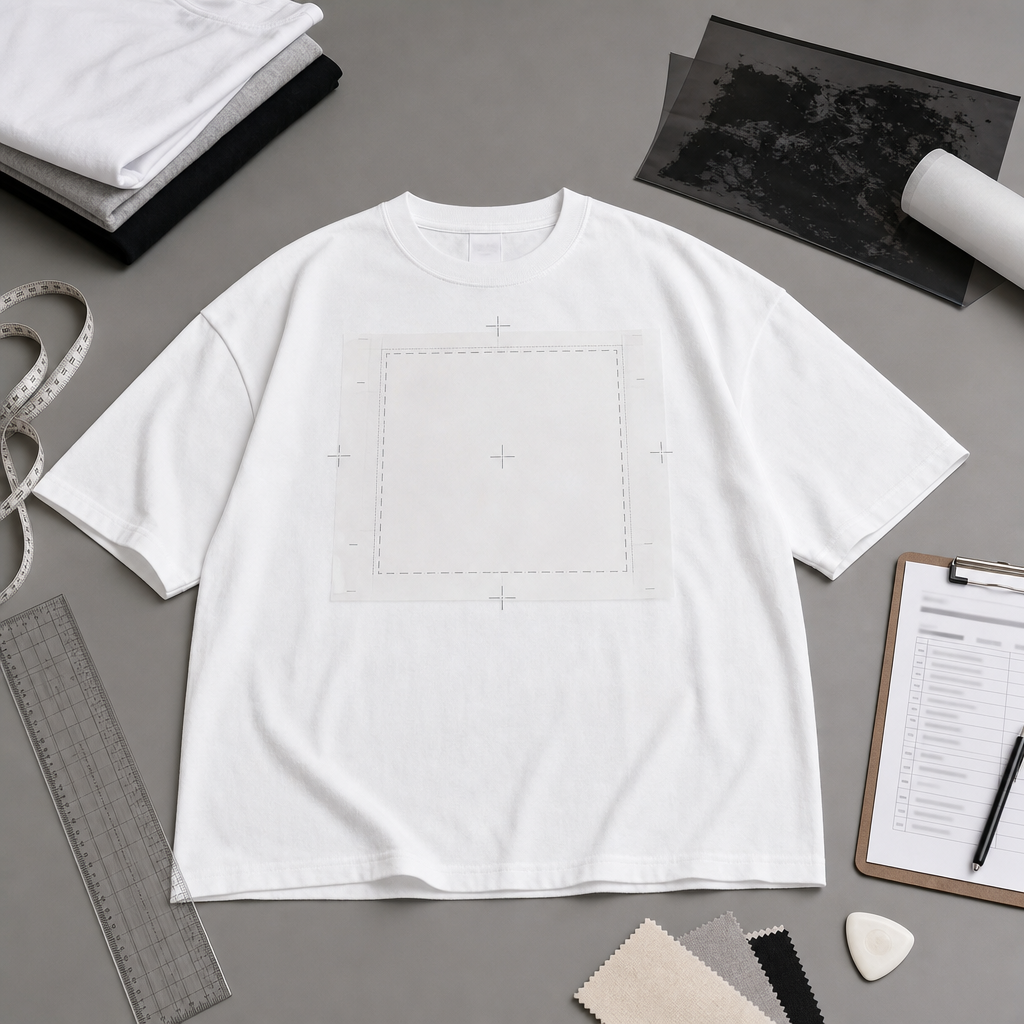
Screen Print Placement Tolerance Checklist for Streetwear T-Shirts
A practical approval checklist for streetwear buyers who need screen print placement to stay consistent from sample to low MOQ bulk production.
Screen print placement tolerance is one of the details that can make a streetwear T-shirt look intentional or uneven. Buyers often approve the artwork file first, then discover during the pre-production sample that the print sits too high, drifts off center, or changes visually when the shirt is graded into larger sizes.
For T-shirt-specific quoting and production planning, review our custom T-shirt manufacturer page.
The goal is not to demand zero variation. Apparel production needs realistic tolerance because fabric panels move, cotton can shrink, and every size has a different surface area. The buyer’s job is to define the placement standard clearly enough that the factory, print room, and QC team can measure the same thing.
This checklist is written for startup streetwear brands, private label buyers, and low MOQ apparel teams preparing T-shirts with front, back, sleeve, or chest prints.
Start With a Measurable Placement Standard
Do not approve placement from a mockup alone. A mockup shows design intent, but production needs reference points on the real garment. For most T-shirt prints, the buyer should define placement from stable points of measure such as the high shoulder point, center front, neckline seam, side seam, sleeve hem, or bottom hem.
For example, a front print can be approved as a width and height in centimeters, centered on the body, with the top edge placed a defined distance below the neckline. A small chest print can be defined from center front and from the high shoulder point. Sleeve prints should reference the sleeve seam and sleeve opening because sleeve panels rotate when worn.
If your garment has a boxy or oversized fit, placement needs extra attention. Wider bodies and drop shoulders change how artwork sits on the wearer. StitchQuote has a separate guide on why graphic placement matters more on boxy fits, which is useful when the print looks right on a flat table but different on body.
Approve Artwork Size Before Placement
Artwork size and placement should be approved together. If the print size changes after the first sample, the placement may need to move. A 28 cm front graphic and a 34 cm front graphic do not create the same visual balance, even if both are technically centered.
Before sending a production approval, confirm these points:
- Final artwork width and height for each print location.
- Print method, such as screen print, puff print, discharge print, or water-based print.
- Whether artwork should scale across sizes or remain the same size for every size.
- Placement measurement points for each size in the size range.
- Accepted tolerance for horizontal and vertical movement.
Many streetwear brands keep the same artwork size across all sizes for a consistent brand look. Others scale the print for very large sizes. Either approach can work, but it should be decided before bulk production rather than corrected after printing.
Use Realistic Tolerances
A realistic placement tolerance depends on garment type, print size, fabric stability, and the print process. Small chest prints may need tighter visual alignment because even a small shift is easy to notice. Large back prints can tolerate a little more movement, but the top edge and center line still need clear controls.
For low MOQ production, a buyer should avoid vague approval language like “same as sample” unless the sample is paired with a measurement sheet and reference photos. Better approval notes might say: front print centered on body; top edge 7.5 cm below neckline on size M; tolerance plus or minus 0.7 cm; maintain center alignment within plus or minus 0.5 cm.
If you have not already defined garment measurement tolerance, review the StitchQuote guide to garment measurement tolerances for small batch clothing orders. Print placement tolerance should work with garment tolerance, not pretend the fabric body is perfectly identical across every piece.
Check the Sample Flat and On Body
Flat table measurement is necessary, but it is not the full approval. Streetwear buyers should also review how the print looks on body or on a mannequin with a similar fit. Oversized shirts, dropped shoulders, and heavy fabric can change the way artwork hangs.
When checking the sample, ask for clear photos:
- Flat front and flat back with a tape measure visible.
- Close-up of the top edge, side edge, and center line.
- On-body or mannequin photo at normal wearing distance.
- Photo after wash testing if shrinkage or print hand feel is a concern.
This is especially important for low MOQ orders where there may be limited room to reprint panels. A placement issue caught at sample stage is much cheaper than a placement issue found after the production lot is printed.
Decide Whether Prints Are Before or After Sewing
Screen printing can happen on cut panels or finished garments, depending on the artwork, garment construction, and production setup. Panel printing can improve access to flat fabric areas, but the sewing process may change final visual position. Finished garment printing lets the print room place artwork against the completed shirt, but seams, collars, and fabric thickness can limit print area.
Buyers do not need to control every production method detail, but they should ask which route is planned. This matters for all-over prints, oversized back prints, sleeve prints, and graphics that need to align with seams.
If the project is still deciding between decorating blanks and developing a custom body, read Cut and Sew vs Blanks for Streetwear Brands. The right production route affects how much control you have over fit, placement, fabric, and reorder consistency.
Build a Print Placement Approval Sheet
A print placement approval sheet does not need to be complicated. It should make the approval repeatable. Include the garment style name, size being approved, print location, artwork file name, artwork dimensions, placement measurements, tolerance, print method, sample photo date, and any comments about fabric shrinkage or hand feel.
For each print location, include at least one marked photo. If possible, use the same camera angle and same measurement points for each sample round. This prevents confusion when comparing first sample, revised sample, and pre-production sample.
For a broader pre-sample checklist, use what buyers should finalize before asking for a sample quote. Print size and placement should be part of that early package, not an afterthought.
Watch for Wash and Fabric Behavior
Print placement can appear to change after washing because the garment shrinks, twists, or relaxes. Heavy cotton jersey, pigment-dyed fabric, and oversized silhouettes can all move differently after wash. The print itself may also affect hand feel and drape.
For projects with strict visual standards, approve the print on a washed sample or at least compare before-wash and after-wash measurements. Do not assume the print is wrong if the garment body itself has changed. Separate print placement issues from garment shrinkage or twisting issues so the correction is aimed at the real cause.
StitchQuote Note
For custom streetwear manufacturing and low MOQ clothing production, StitchQuote treats artwork approval as part of the sample and QC process. The practical target is a clear buyer-approved standard: real garment measurements, marked photos, realistic tolerances, and production notes that can be repeated in bulk and reordered later.
If you are preparing a printed T-shirt order, connect artwork size, garment measurements, print method, and sample timing before approving bulk. The sampling and MOQ process is the right stage to catch placement problems.
FAQ
What is screen print placement tolerance?
Screen print placement tolerance is the accepted amount a print can move from the approved position during production. It is usually measured from garment reference points such as the neckline, center front, shoulder point, sleeve seam, or hem.
Should T-shirt print size scale across all sizes?
Not always. Many streetwear brands keep the same print size across the full size range for brand consistency. Scaling can make sense for very large sizes, but it must be approved before bulk production because it changes artwork setup and QC checks.
Is a digital mockup enough for print placement approval?
No. A digital mockup is useful for design intent, but production approval should use a real sample, marked measurements, photos, and tolerance notes. Mockups do not show fabric behavior, shrinkage, or how the print sits on the actual garment fit.