Custom Streetwear, Casualwear & Denim Manufacturer•MOQ 50 pcs•Denim MOQ 100 pcs•7-Day Sample Available
How to Check Stitch Density, Thread Tension, and Needle Damage Before Low MOQ Production
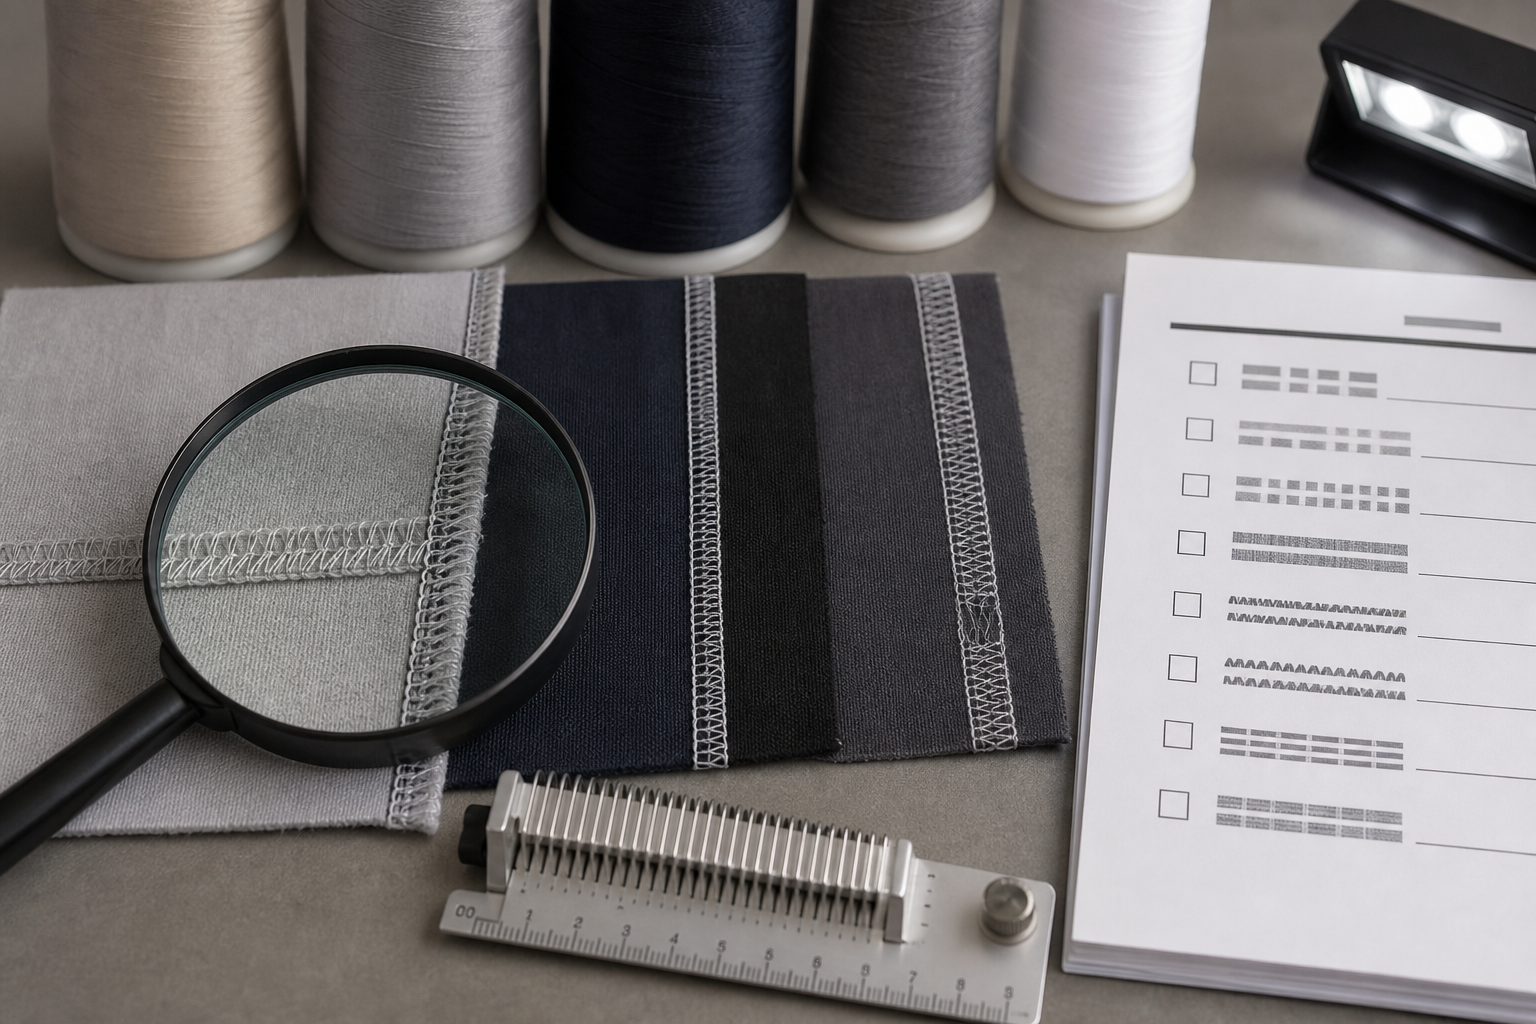
Check stitch density, thread tension, skipped stitches, and needle damage before low MOQ apparel production moves into bulk.
Stitch density, thread tension, and needle damage should be checked before low MOQ apparel production moves too far into bulk because sewing defects can look small on one sample but become expensive when repeated across every garment. Buyers do not need to run a sewing line, but they should know what to inspect and what to ask the factory to correct.
The low MOQ clothing manufacturer page explains why production decisions, sample approval, material choices, and quality expectations need to be aligned before a small run starts. Stitching quality is one of the details that should be locked before the order scales from sample to bulk.
Why Sewing Quality Should Be Checked Before Bulk Continues
Low MOQ does not remove the need for production discipline. A small run can still include several sewing operators, different machine settings, fabric lots, thread colors, and trim operations. If stitch problems are found only after final inspection, the factory may have to repair, rework, or reject finished garments.
For cut-and-sew styles, the buyer should check sewing quality during sample approval, pre-production sample review, and early bulk output. The cut and sew manufacturer page gives context for projects where pattern, construction, fabric behavior, and sewing operations all affect the finished garment.
Check Stitch Density by Fabric and Seam Type
Stitch density is usually discussed as stitches per inch or stitches per centimeter. More stitches are not always better. A lightweight knit, heavyweight fleece, denim, rib, and woven pocketing may each need a different setting. Too few stitches can reduce strength or look rough. Too many stitches can perforate fabric, add puckering, or make the seam feel stiff.
Ask the factory which stitch density is being used for visible topstitching, inside seams, hems, waistband seams, pocket seams, and stress areas. If the style has an approved sample, compare the early production seam against that sample instead of judging one isolated garment.
Review Thread Tension, Puckering, and Skipped Stitches
Thread tension should look balanced on both sides of the seam. Warning signs include loops on the underside, tight pulling, wavy seams, puckering, broken thread, skipped stitches, and inconsistent topstitching distance. These issues may come from machine setting, needle choice, thread type, operator handling, fabric stretch, or seam allowance control.
The cut-and-sew seam construction guide is useful when buyers need to connect stitch quality with seam type, seam allowance, reinforcement, and appearance before approving bulk production.
Look for Needle Damage and Fabric Cutting
Needle damage can appear as small holes, runs, broken yarns, shine marks, or cuts along the stitch line. It is especially important to check on knits, stretch fabrics, lightweight jerseys, rib, washed fabrics, and tightly woven materials. A wrong needle point or damaged needle can weaken the fabric even when the seam looks straight.
For woven garments, seam strength also depends on how the fabric behaves under stress. The seam slippage risk guide explains why buyers should check whether yarns pull away from the seam under tension before production is approved.
Compare Sample Approval to Early Production Output
The approved sample is the reference, but early production output proves whether the reference can be repeated. Compare stitch density, thread color, topstitch distance, seam straightness, reinforcement points, bar tacks, label attachment, hem shape, and visible seam balance against the approved sample.
This check belongs in the same approval chain as sample and MOQ planning. The sampling and MOQ page explains why buyers should not treat sample approval as separate from production readiness.
Decide Whether to Approve, Adjust, or Stop for Correction
Not every stitching issue requires stopping a run. A minor thread tail can be trimmed. A slightly uneven hidden seam may be monitored. But skipped stitches in stress areas, needle cutting, seam puckering across visible panels, inconsistent topstitching, or weak reinforcement should trigger correction before more units are sewn.
Use simple approval language: approved to continue, adjust machine setting and recheck, replace needle and inspect affected pieces, repair before packing, hold affected bundle, or stop until factory QC confirms correction. For a production quote or sample review, send seam photos, fabric type, garment area, defect notes, and order quantity through the StitchQuote inquiry page.
Questions Buyers Ask About Stitching QC
Should buyers specify exact stitch density?
Buyers can specify a target when they have a known standard, but many projects should confirm stitch density with the factory based on fabric, seam type, machine, and approved sample appearance.
Is high stitch density always a sign of better quality?
No. Excessive stitch density can perforate fabric, cause puckering, or make seams stiff. The right density depends on material, seam purpose, and appearance standard.
What stitching issues should block bulk approval?
Skipped stitches in stress areas, needle damage, severe puckering, broken thread, unstable reinforcement, or visible topstitch inconsistency should be corrected before production continues.
Can stitching quality be checked from photos?
Photos help identify visible issues, but important checks may need close-up inspection, measurement, seam handling, and comparison against the approved sample or pre-production sample.